Prerequisites
- A Selfmade Ninja Lab account (If you don’t have an account, create one here).
- A working installation of WireGuard for Windows.
Steps to Connect to Selfmade Ninja Labs
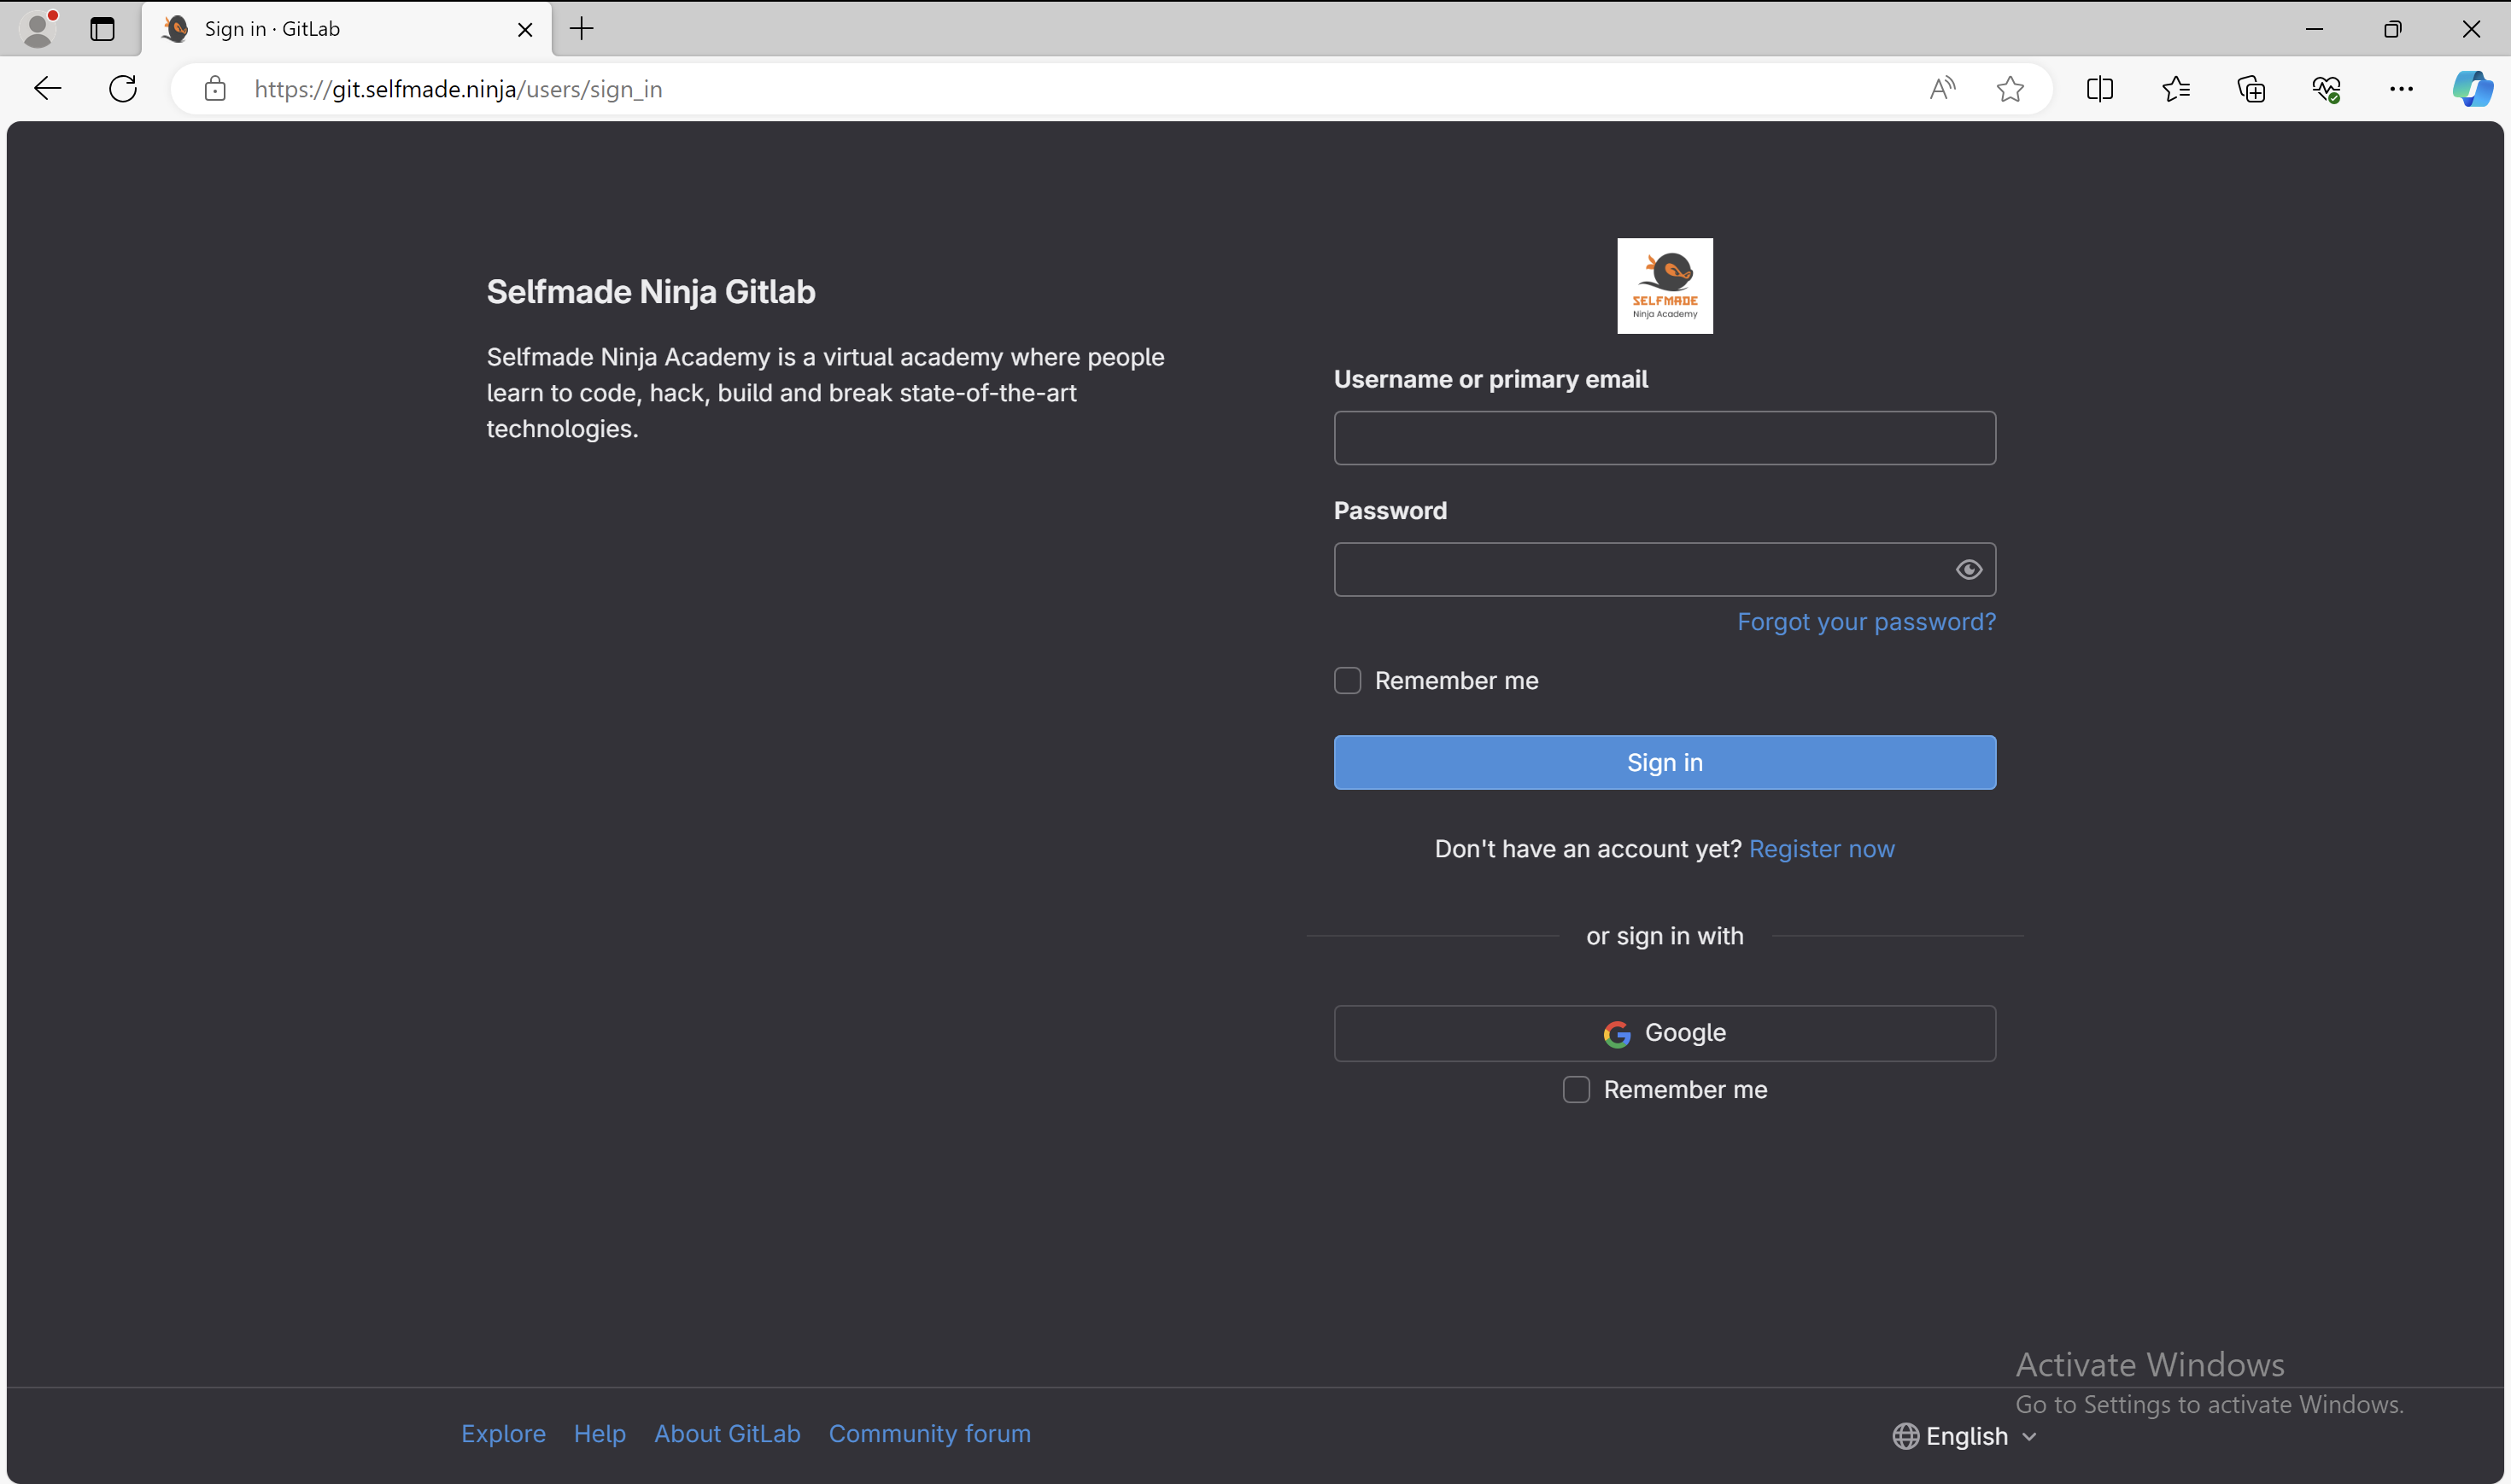
- Log in to your Git Selfmade Ninja account (click here) using your credentials.
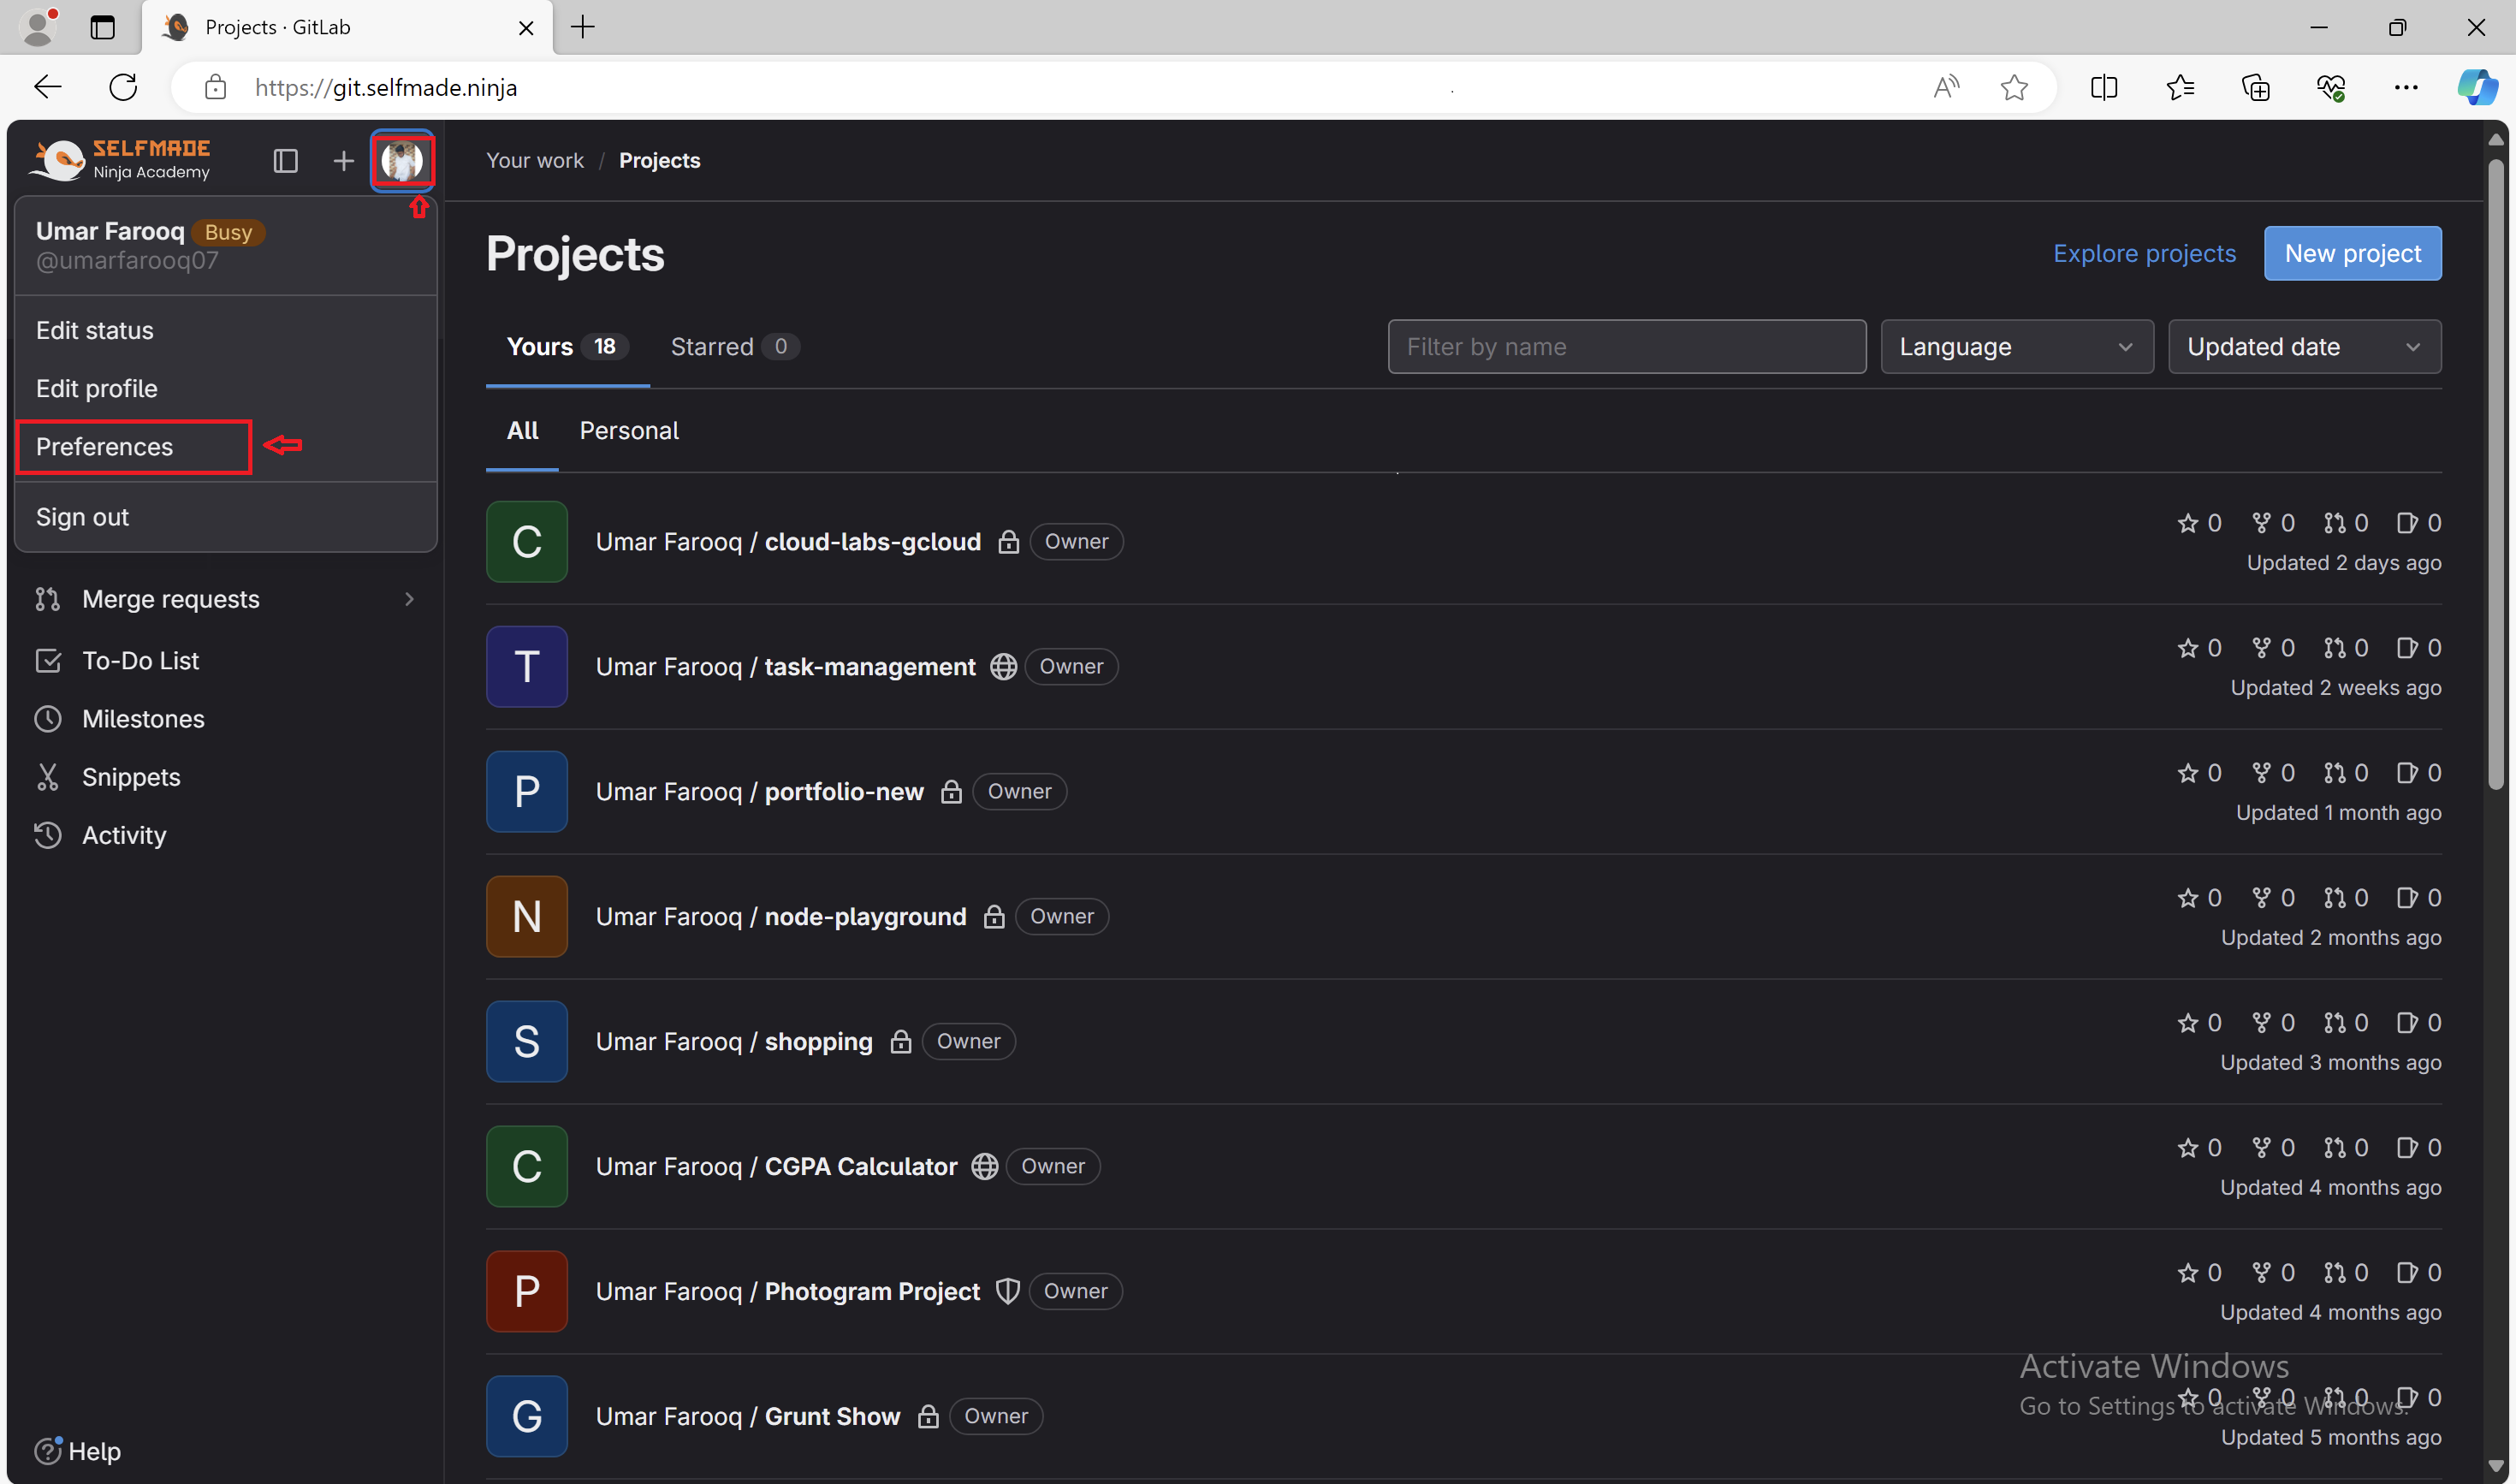
- Click on your profile and select the Preferences tab.
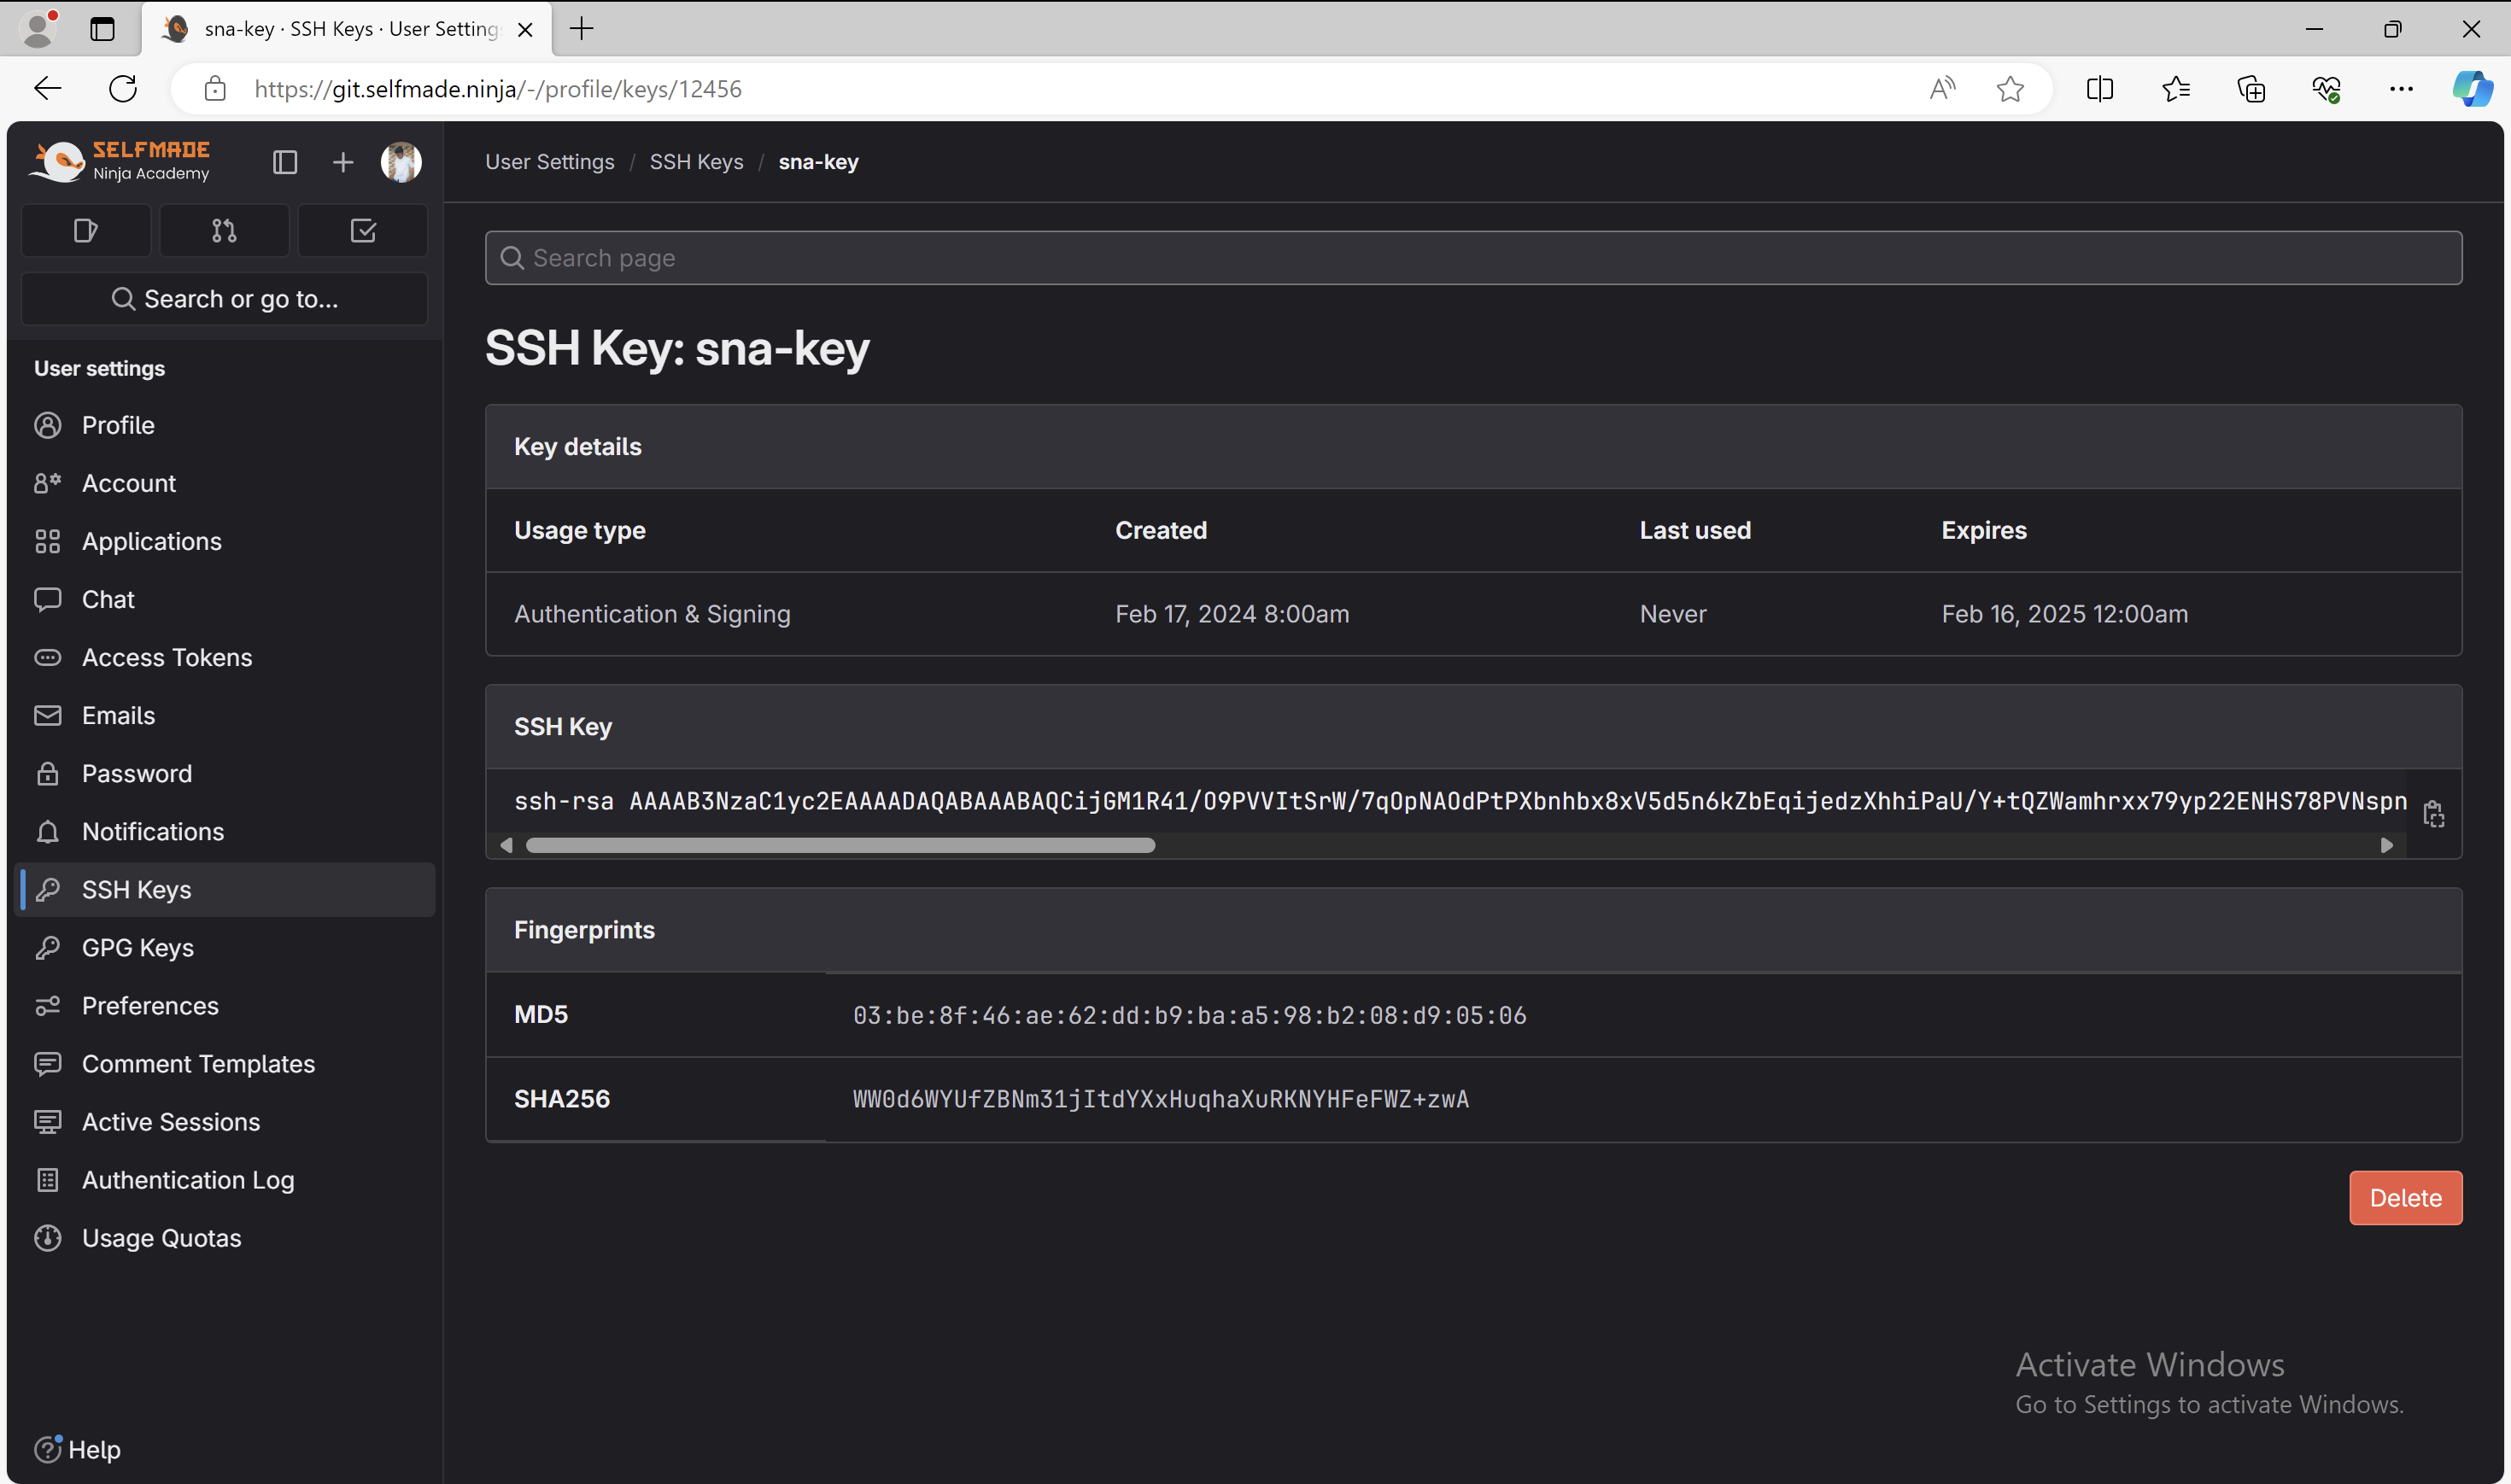
- Under Preferences, choose SSH Keys, then click Add new key.
Connect to Selfmade Ninja Labs
- Login to your GitLab account using your credentials here.
- Select your profile, then click on ‘Preferences’ tab
- Select ‘SSH Keys’ from the list of options, then select ‘Add new key’.

-
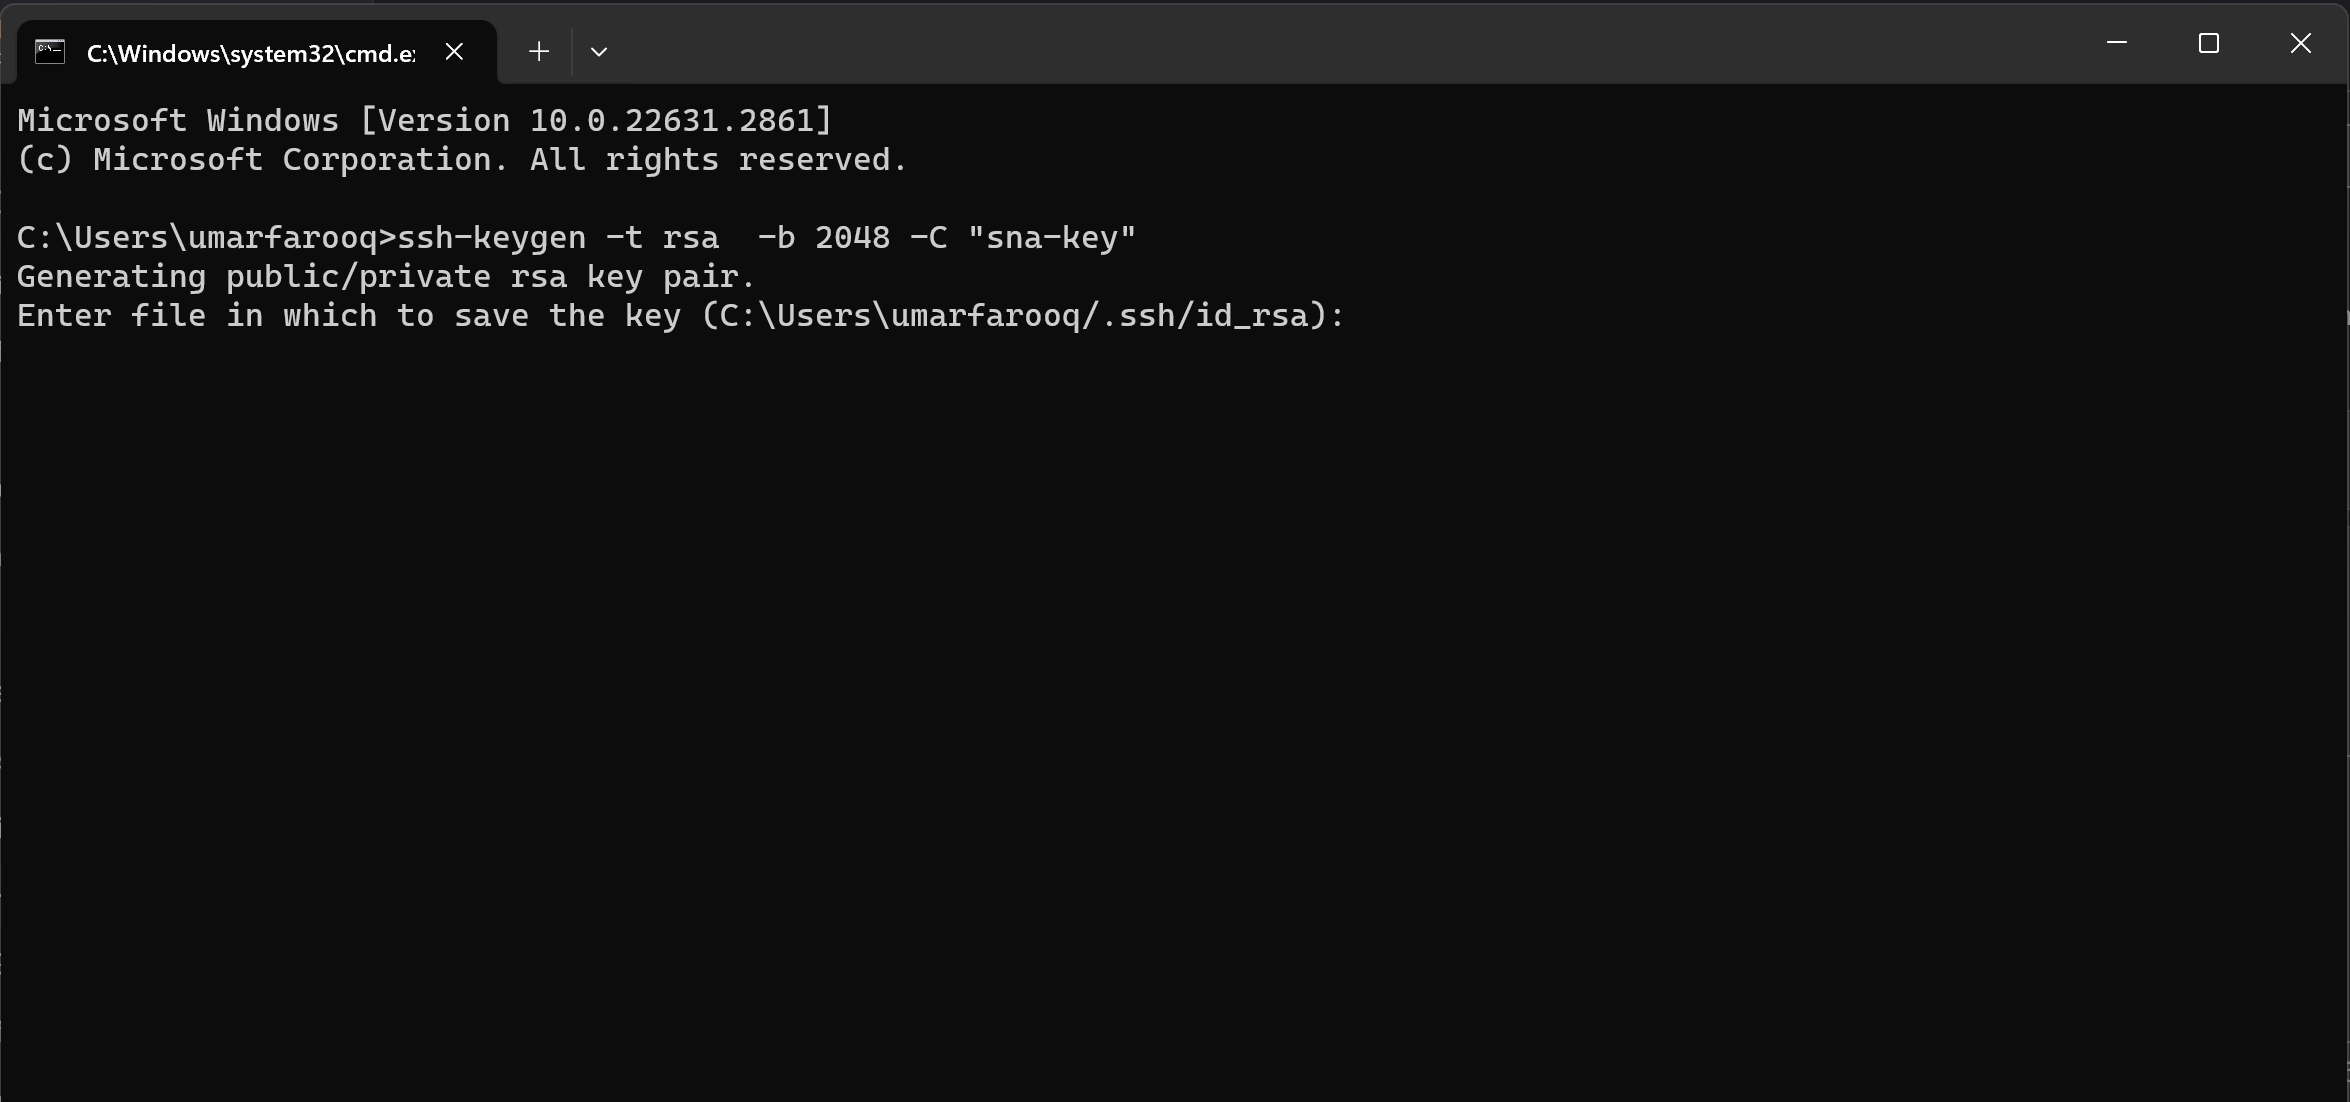
Open your command prompt, type the following command:
ssh-keygen -t rsa -b 2048 -C “your-key-name”
-
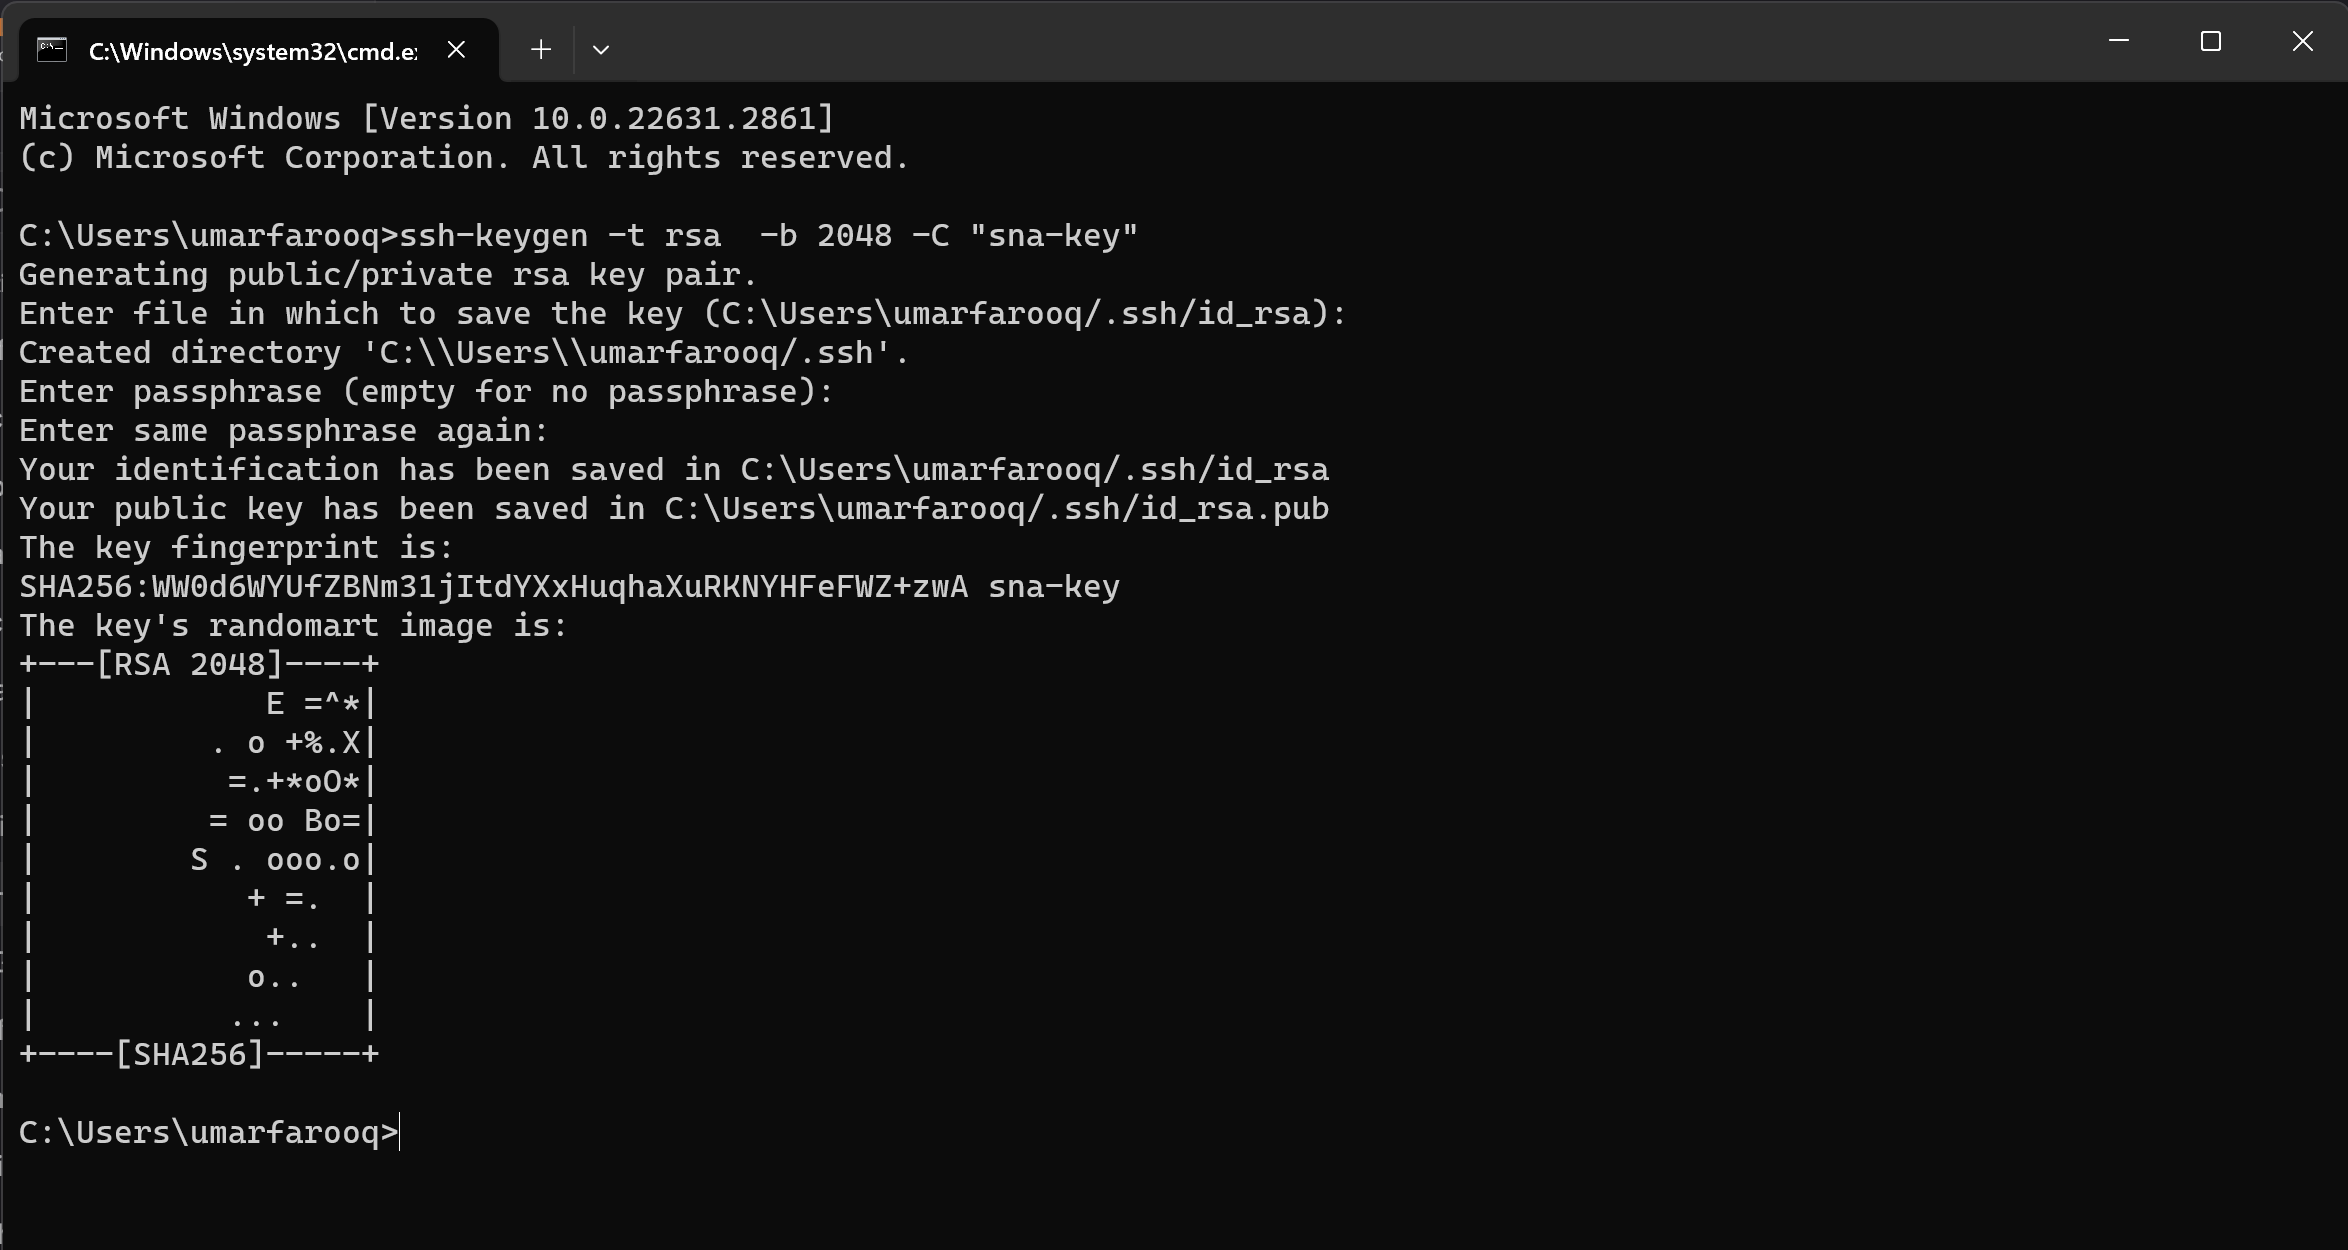
Enter a passphrase for your key, if needed.
-
Now, in the command prompt, type
type your_key_location
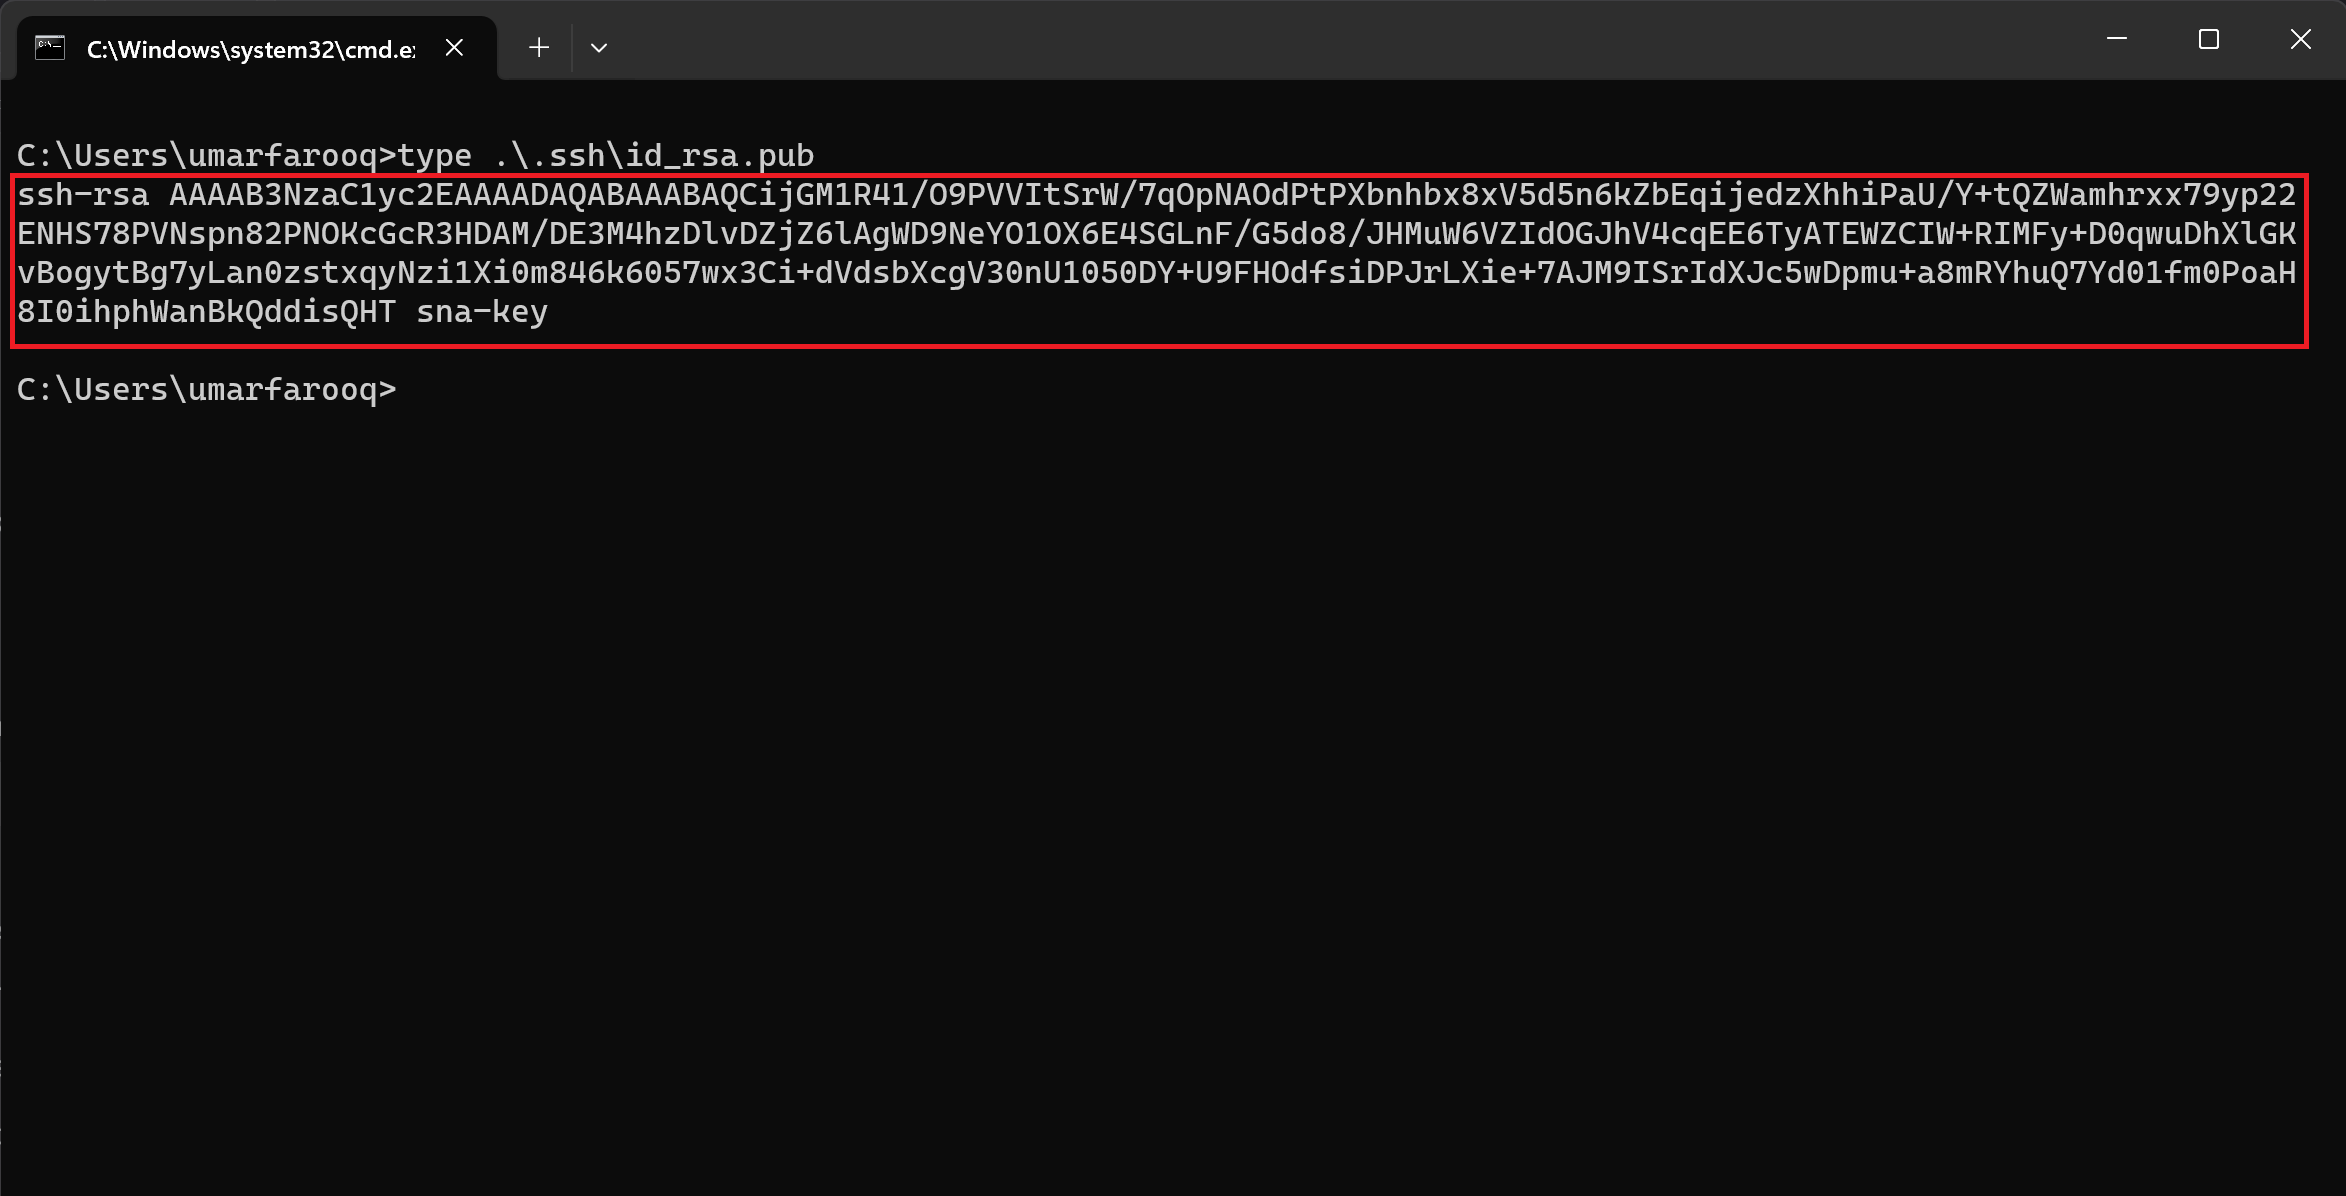
- Copy your Public key and paste it in the ’Key’ field.
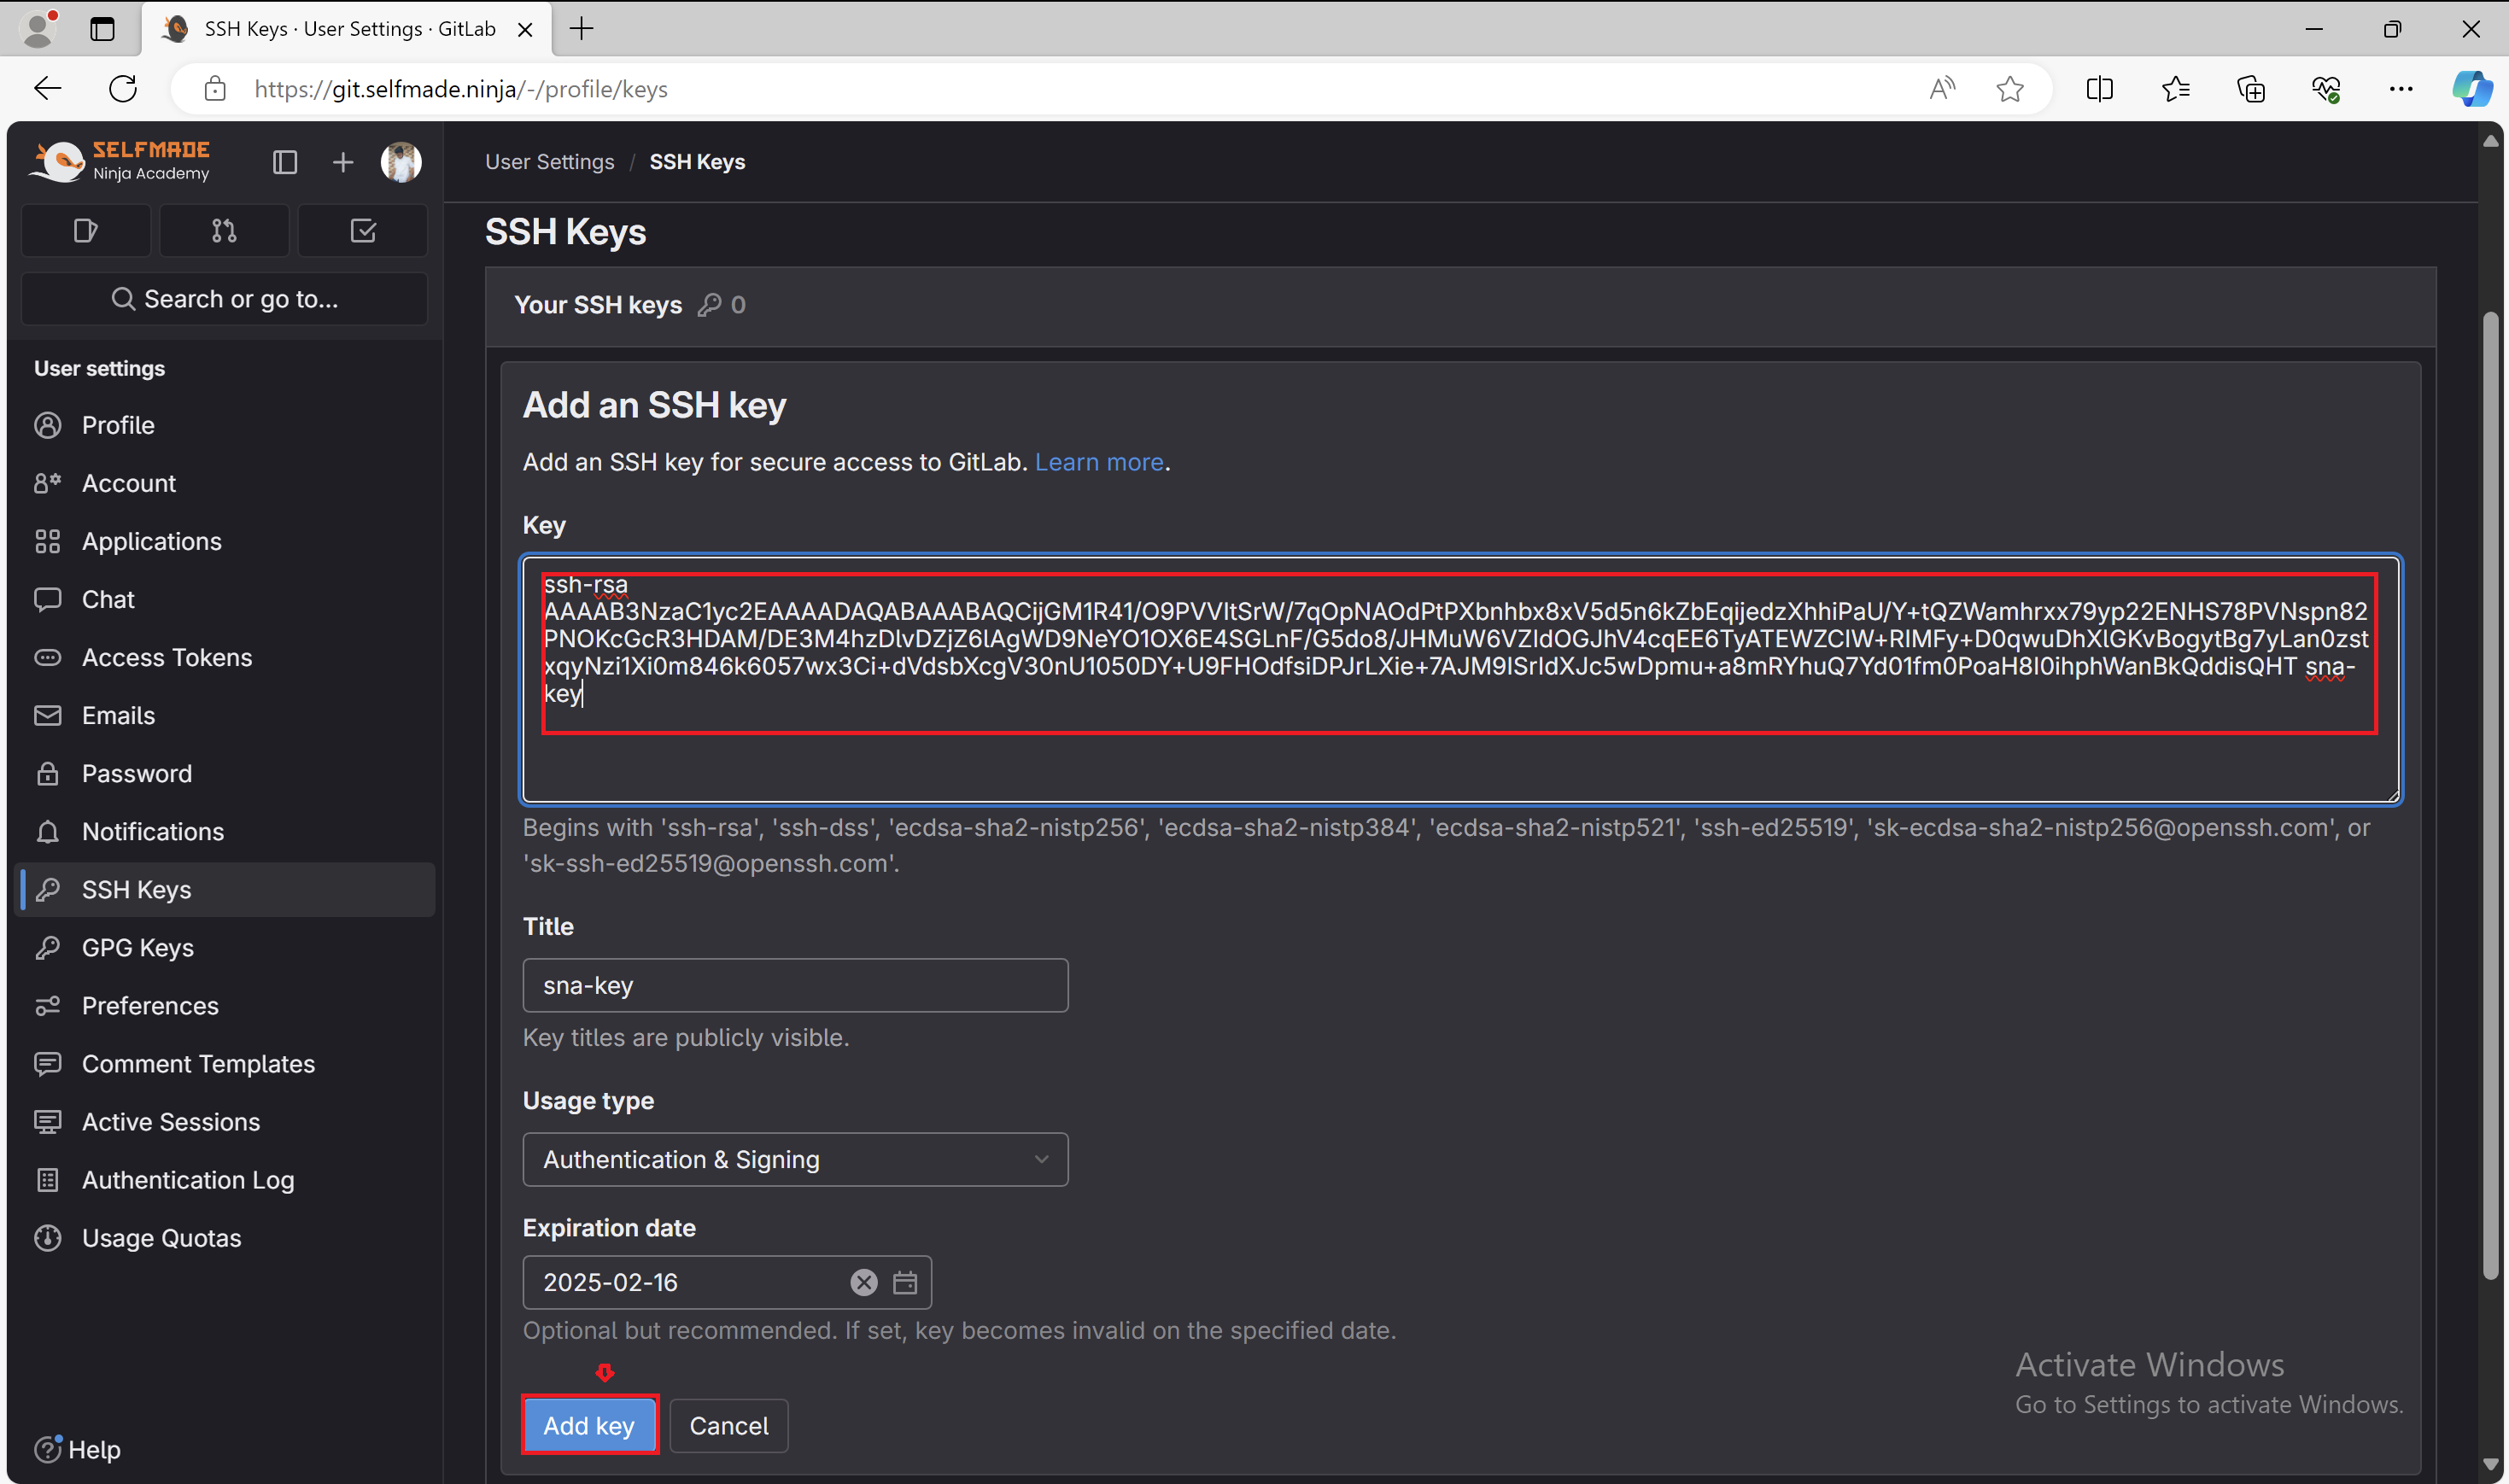
- Click ‘Add key’, and your Key is added.
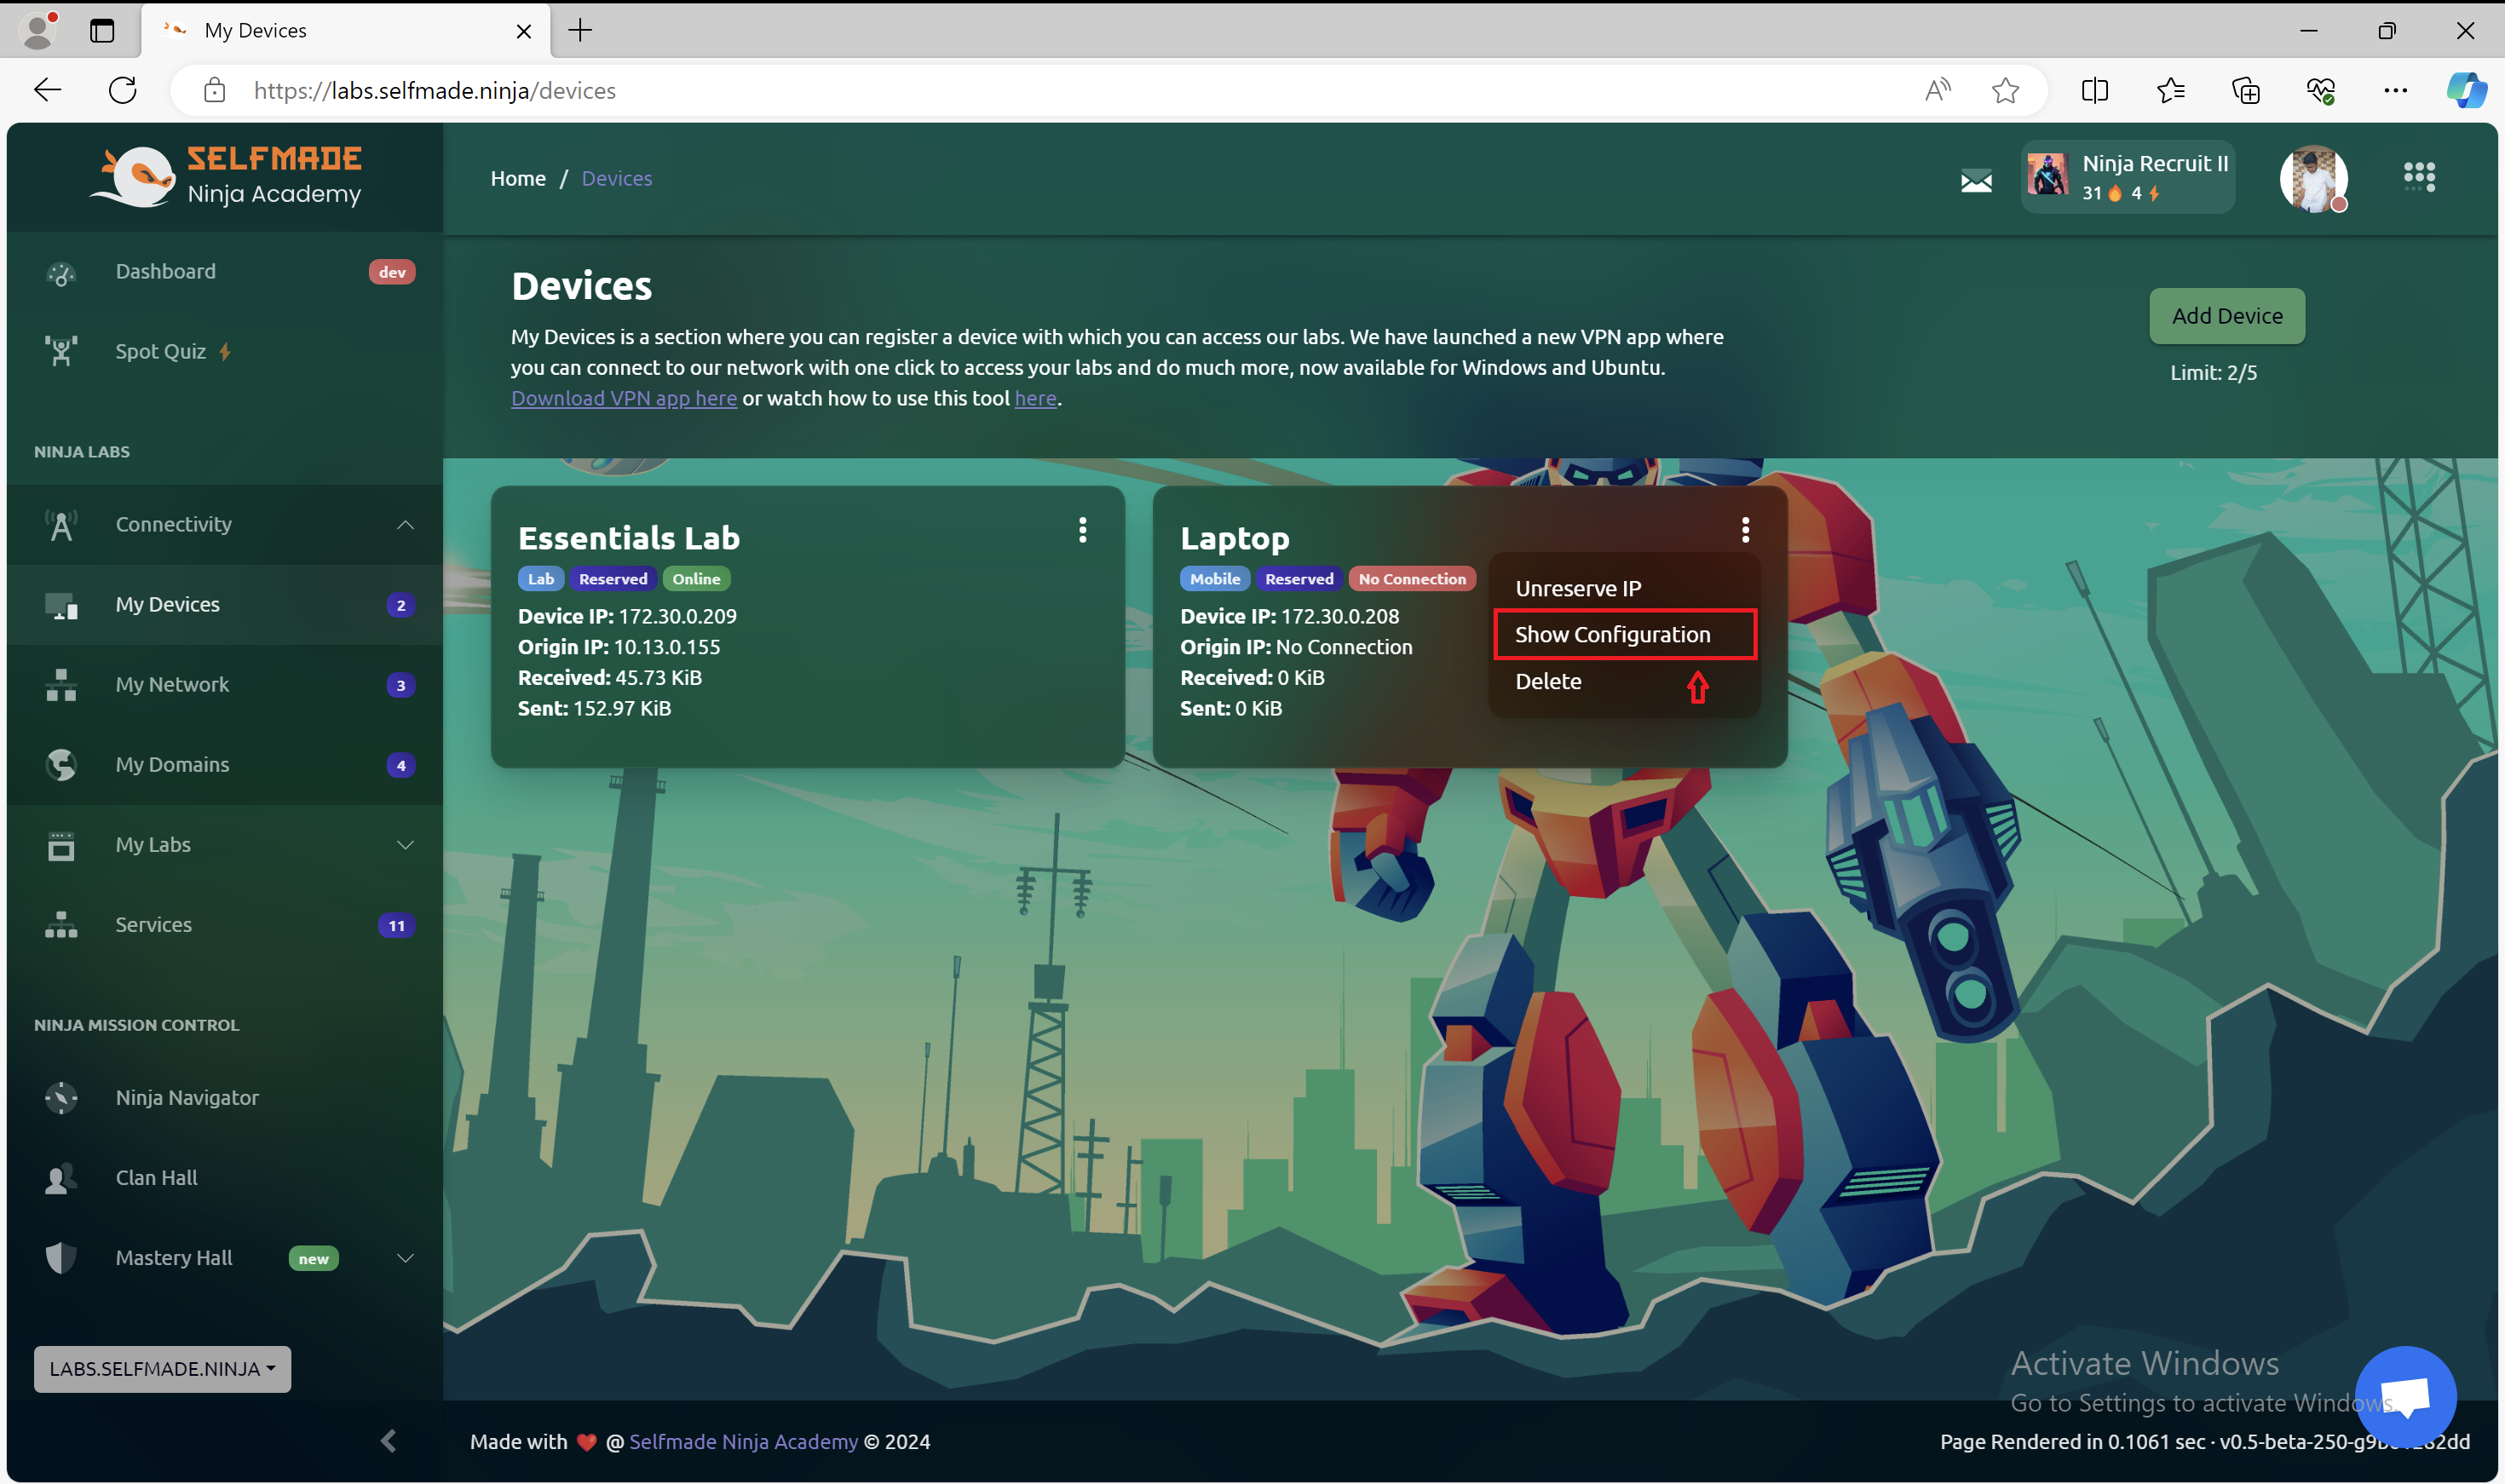
- Under ‘Connectivity’ tab, Click ‘My Devices’.

- Click ‘Add Device’ option.

-
Now, to configure your PC to WireGuard, Install WireGuard for windows by clicking here
-
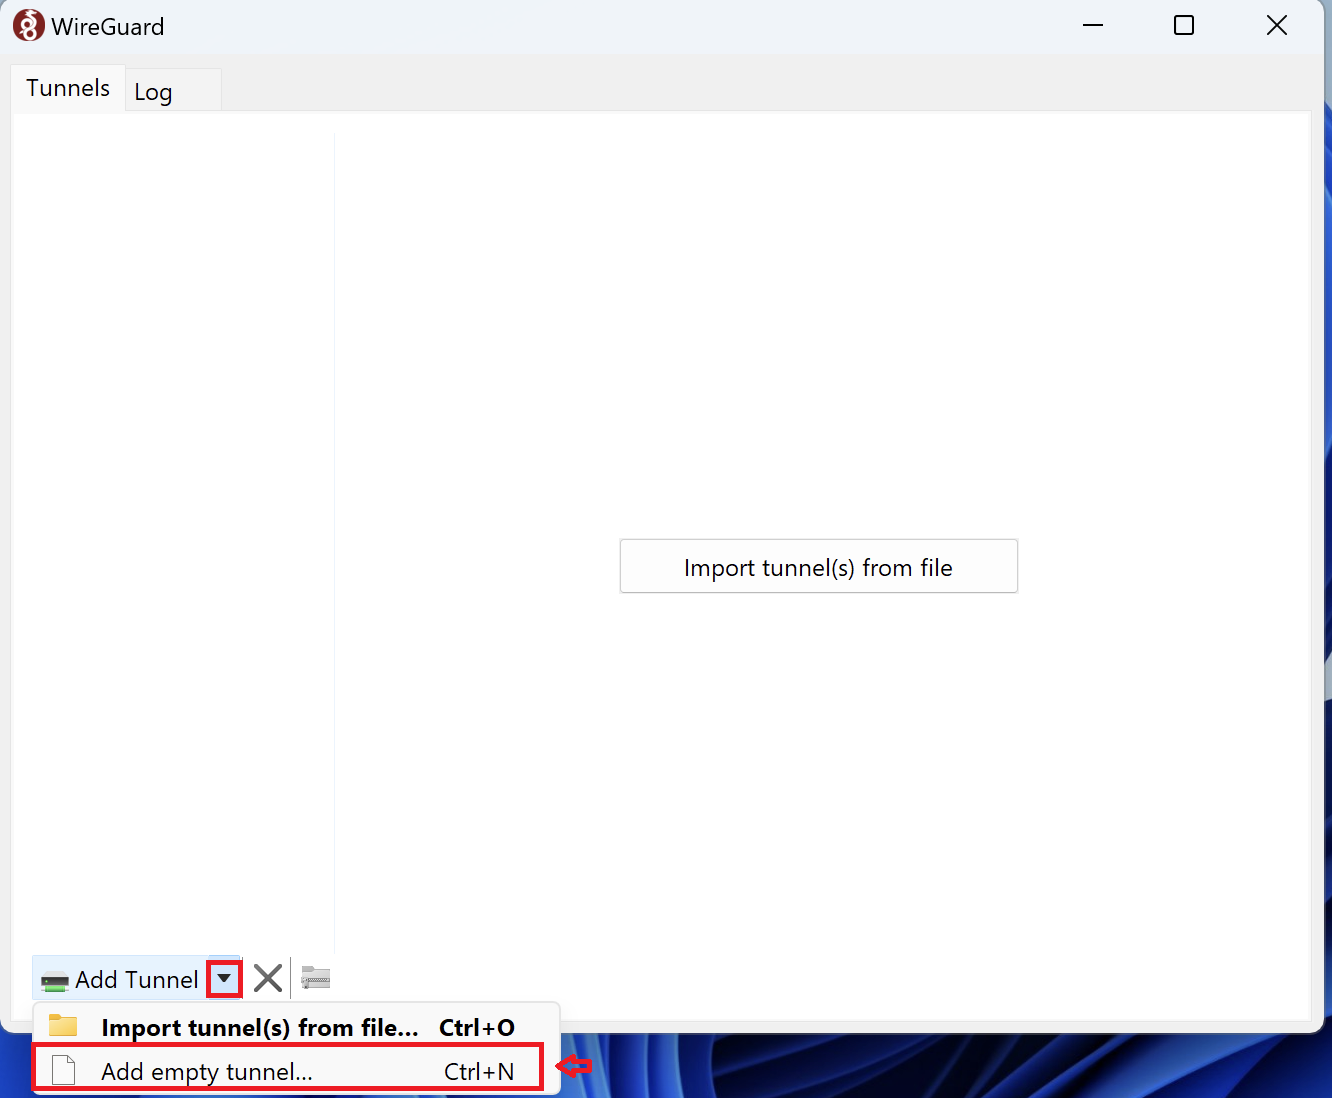
Now, Open WireGuard on your windows. Under the ‘+’ symbol, Click ‘Add an empty tunnel’.
- Copy the public key.
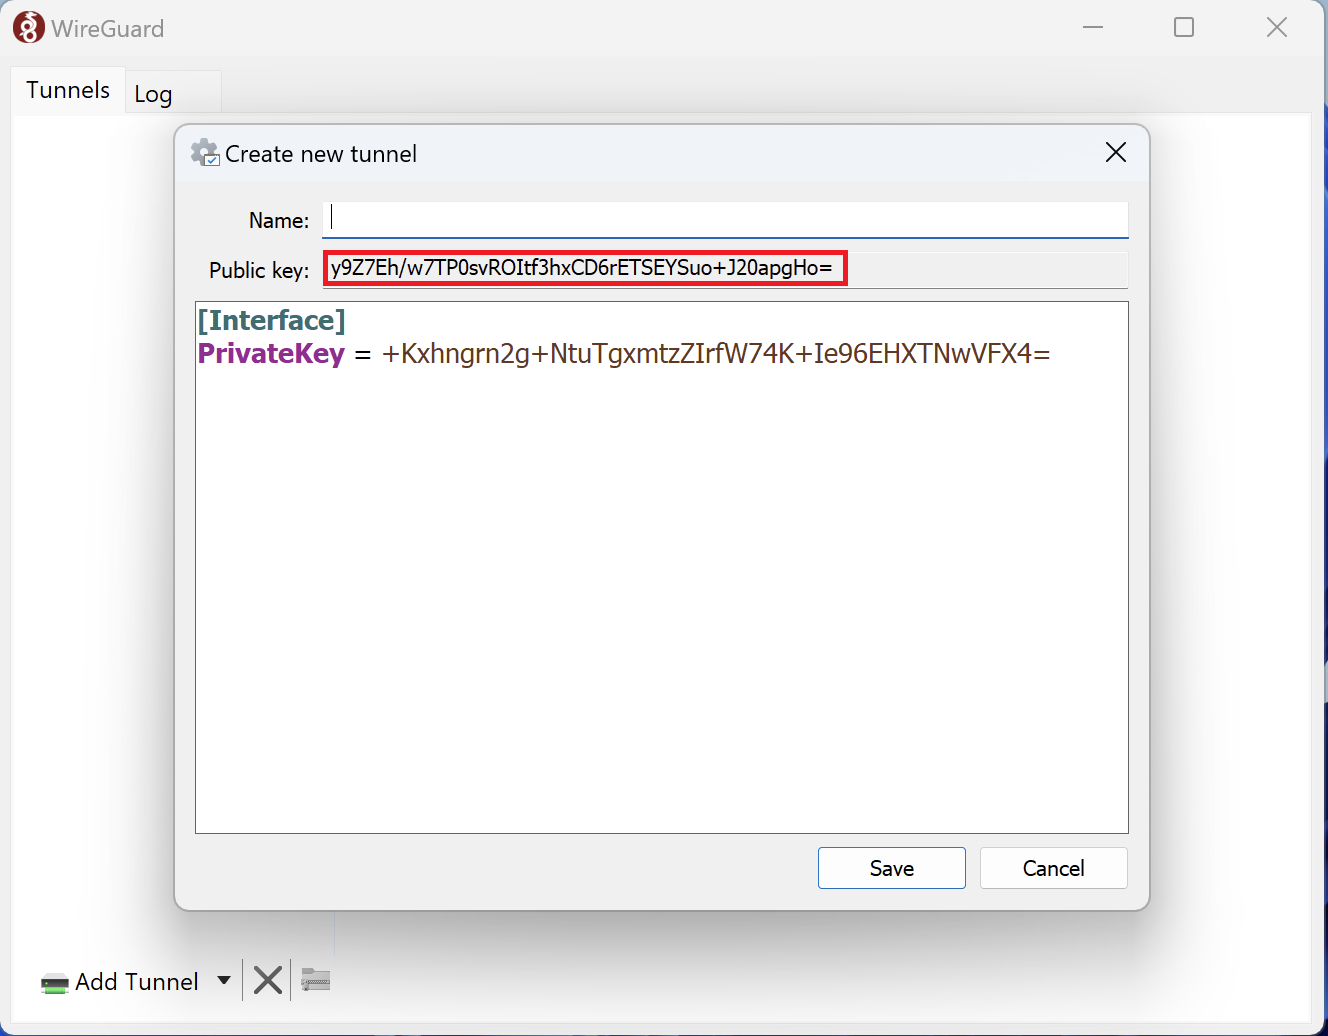
- Paste it in the ‘Wireguard Public Key’ field, and click ‘Verify and add’ option

- Under your device, click ‘Show Configuration’.
- Copy from the ‘Address’ field to the end of the configuration as shown below.
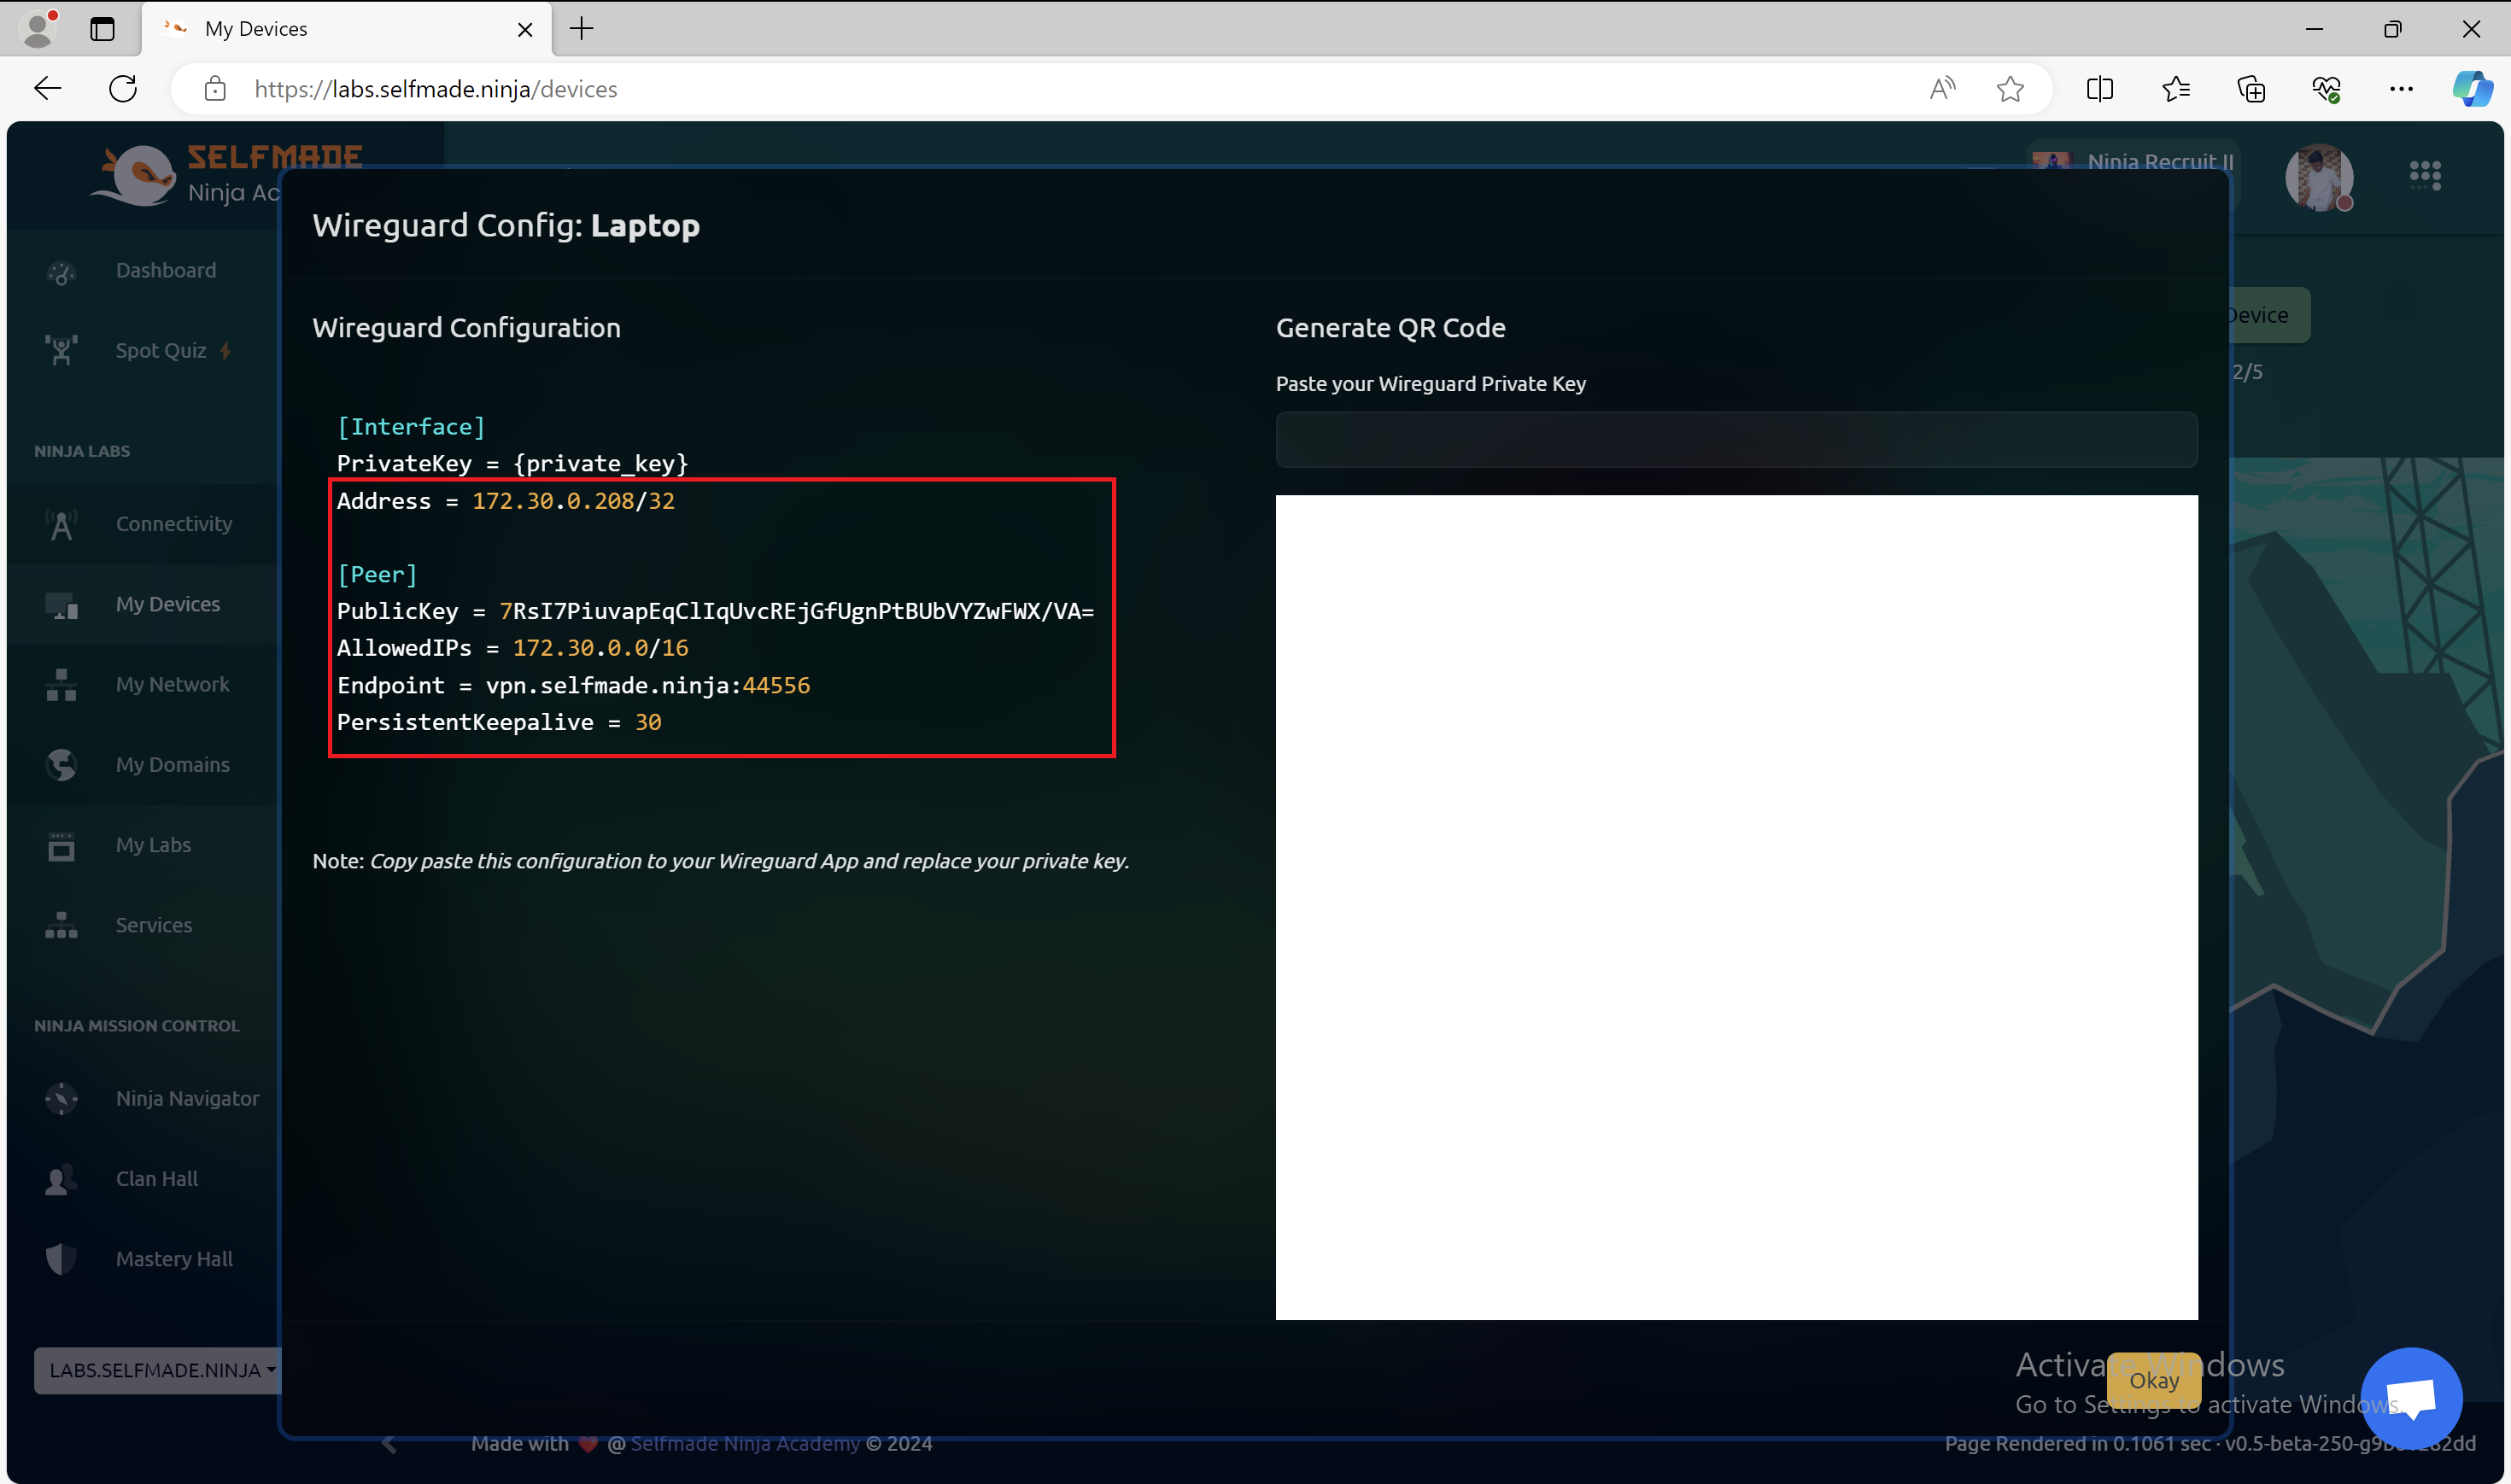
- Paste it in the WireGuard Configuration as shown below. Add a name to the interface in the ‘Name’ field, and hit ‘Save’.

- Now click ‘Activate’ to connect to the WireGuard Interface.


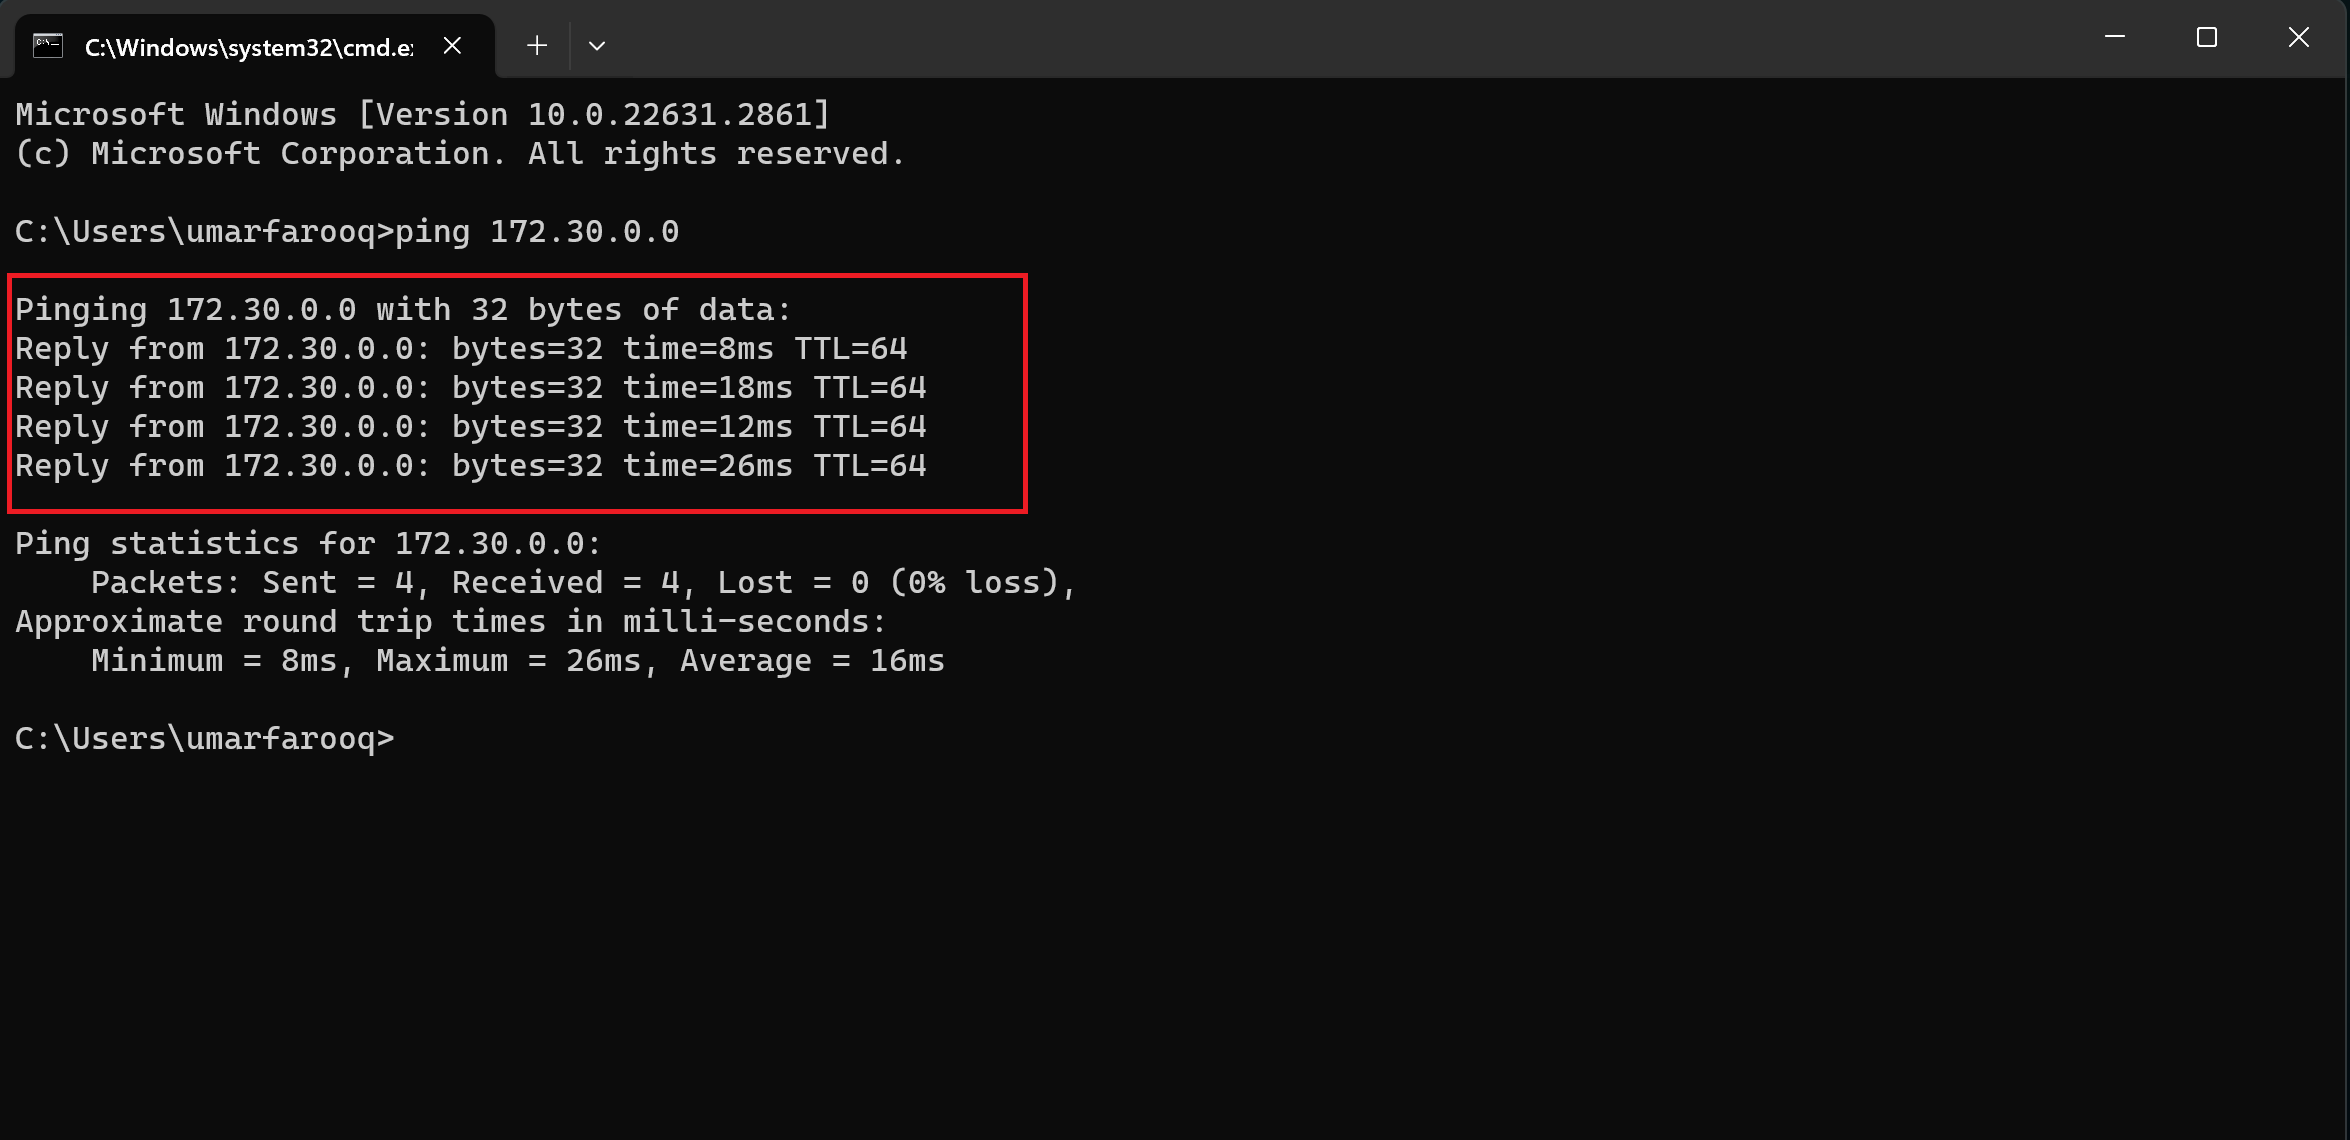
- Open your Command Prompt, type
'ping 172.30.0.0'to check whether the WireGuard connection is working or not. Now you have configured your PC to WireGuard.
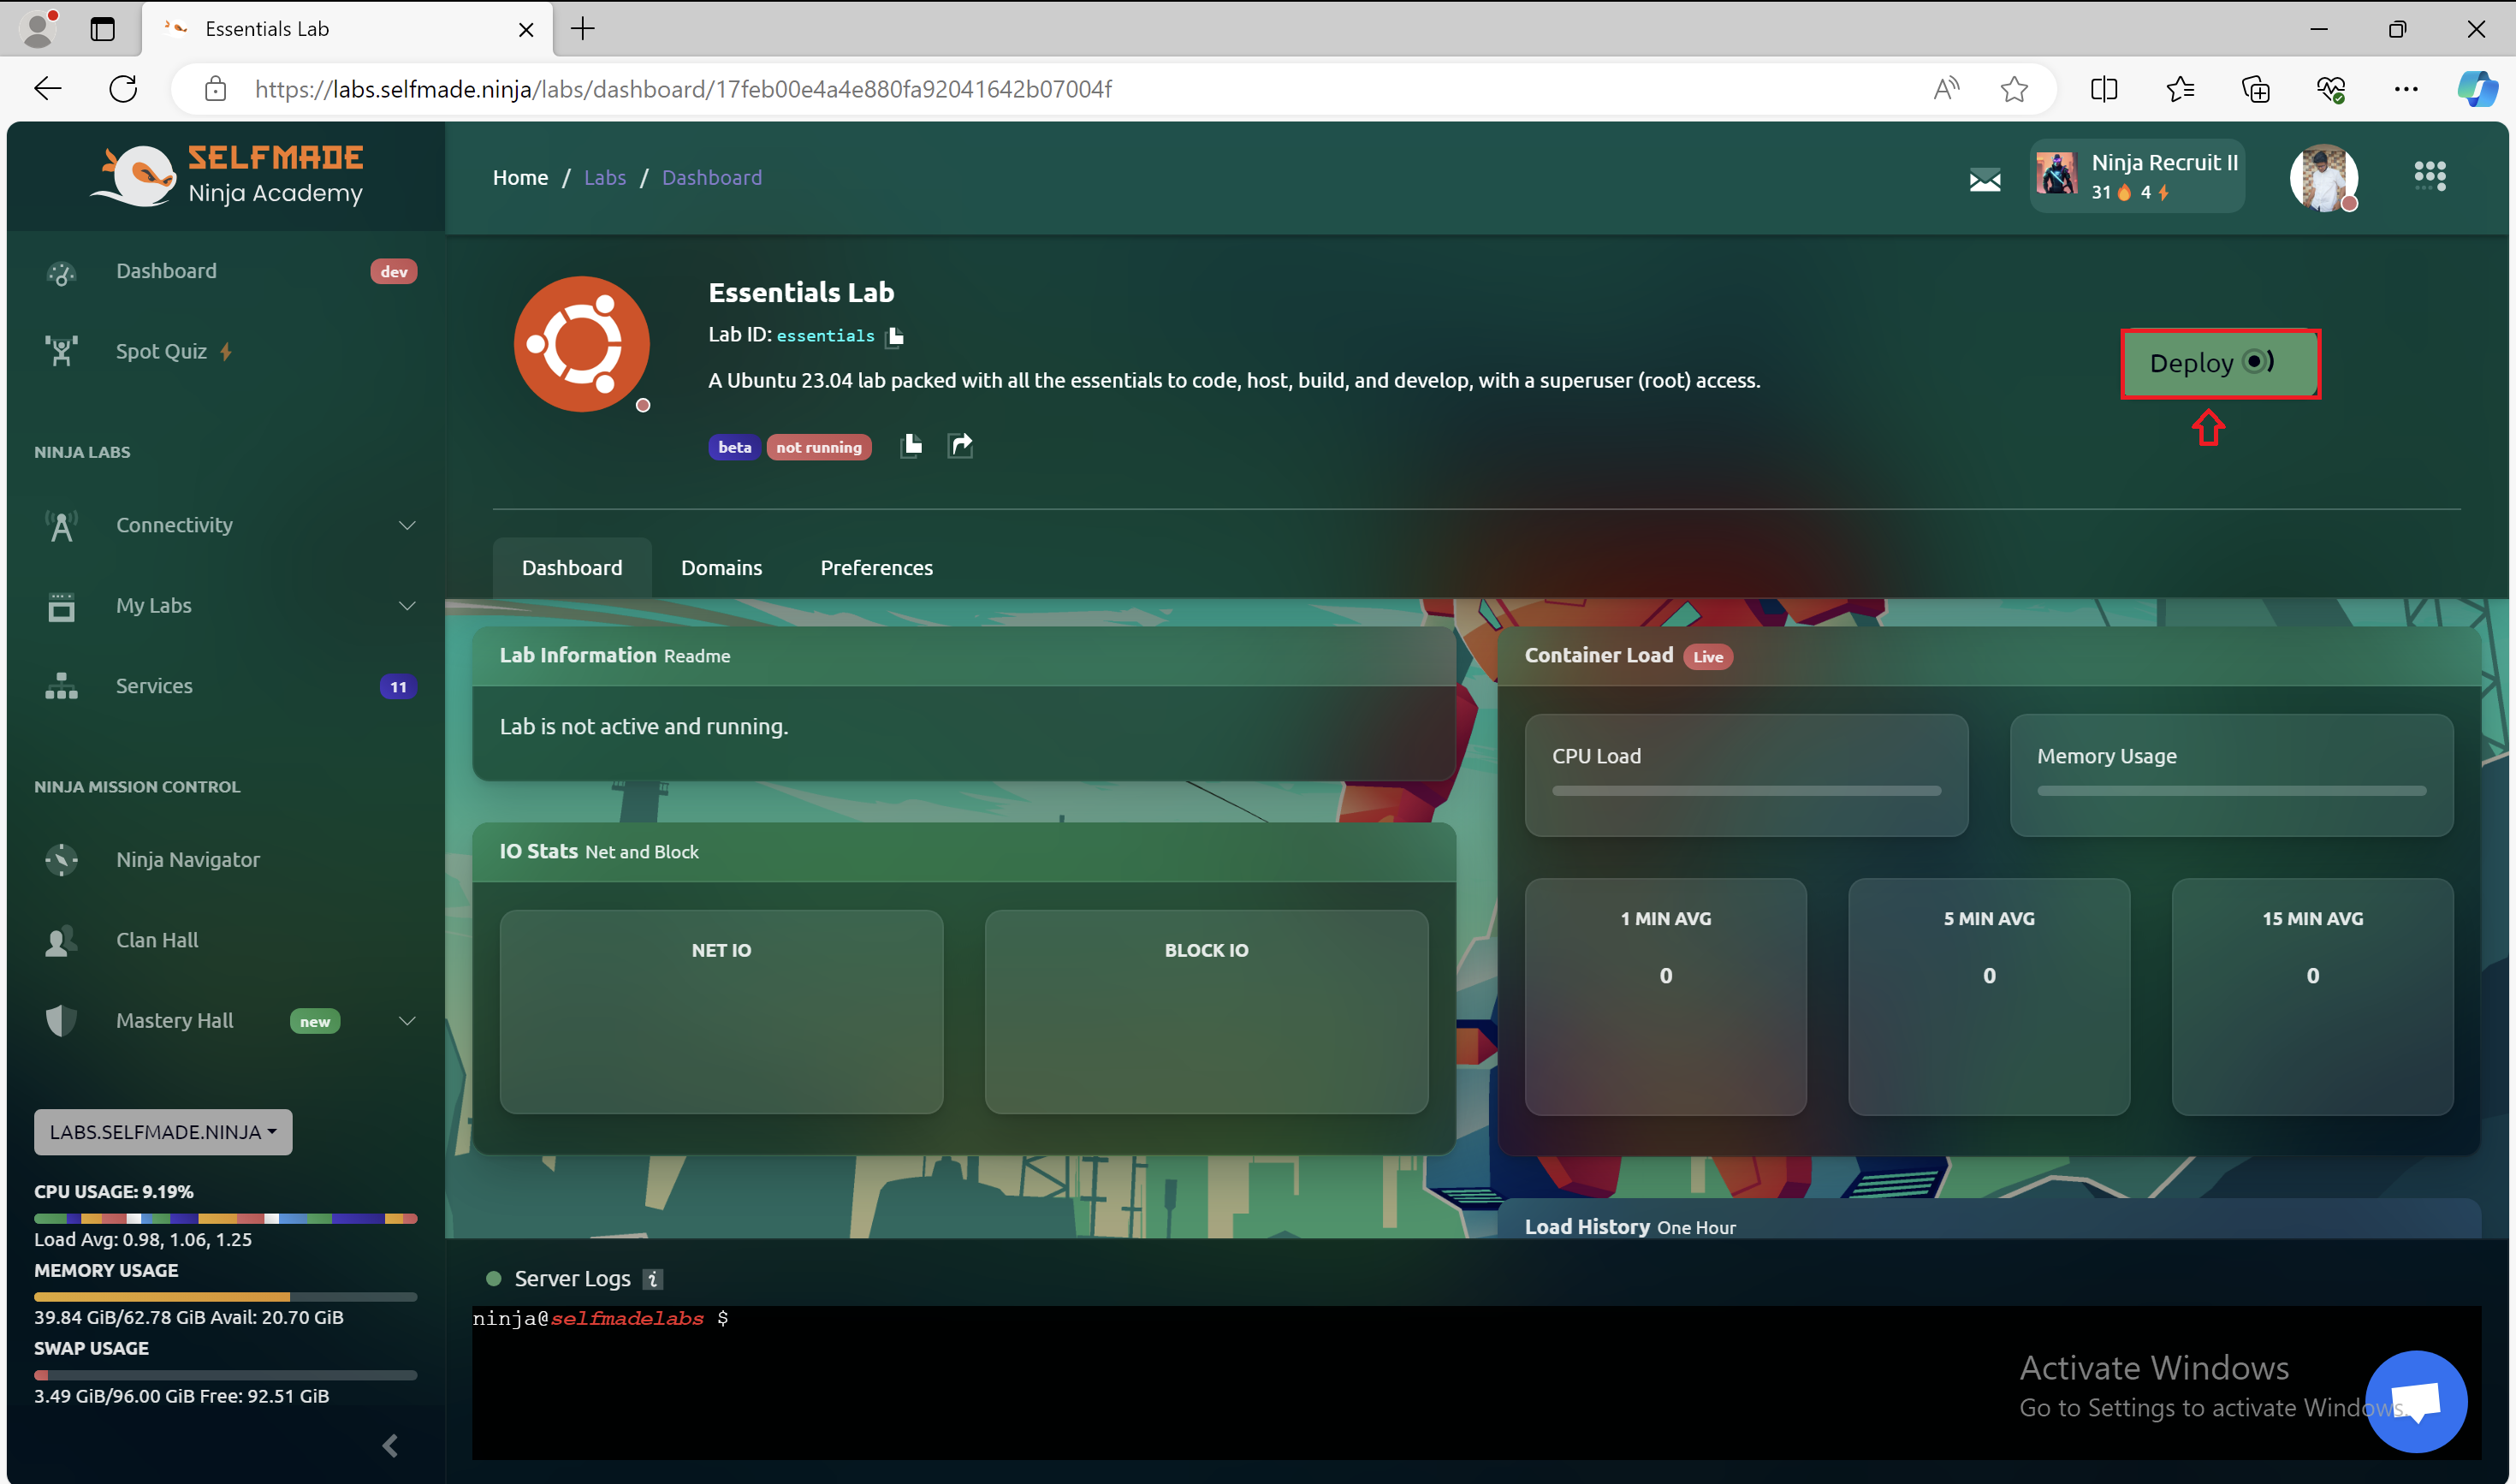
- Now, from your ‘Labs’ page, click ‘deploy’
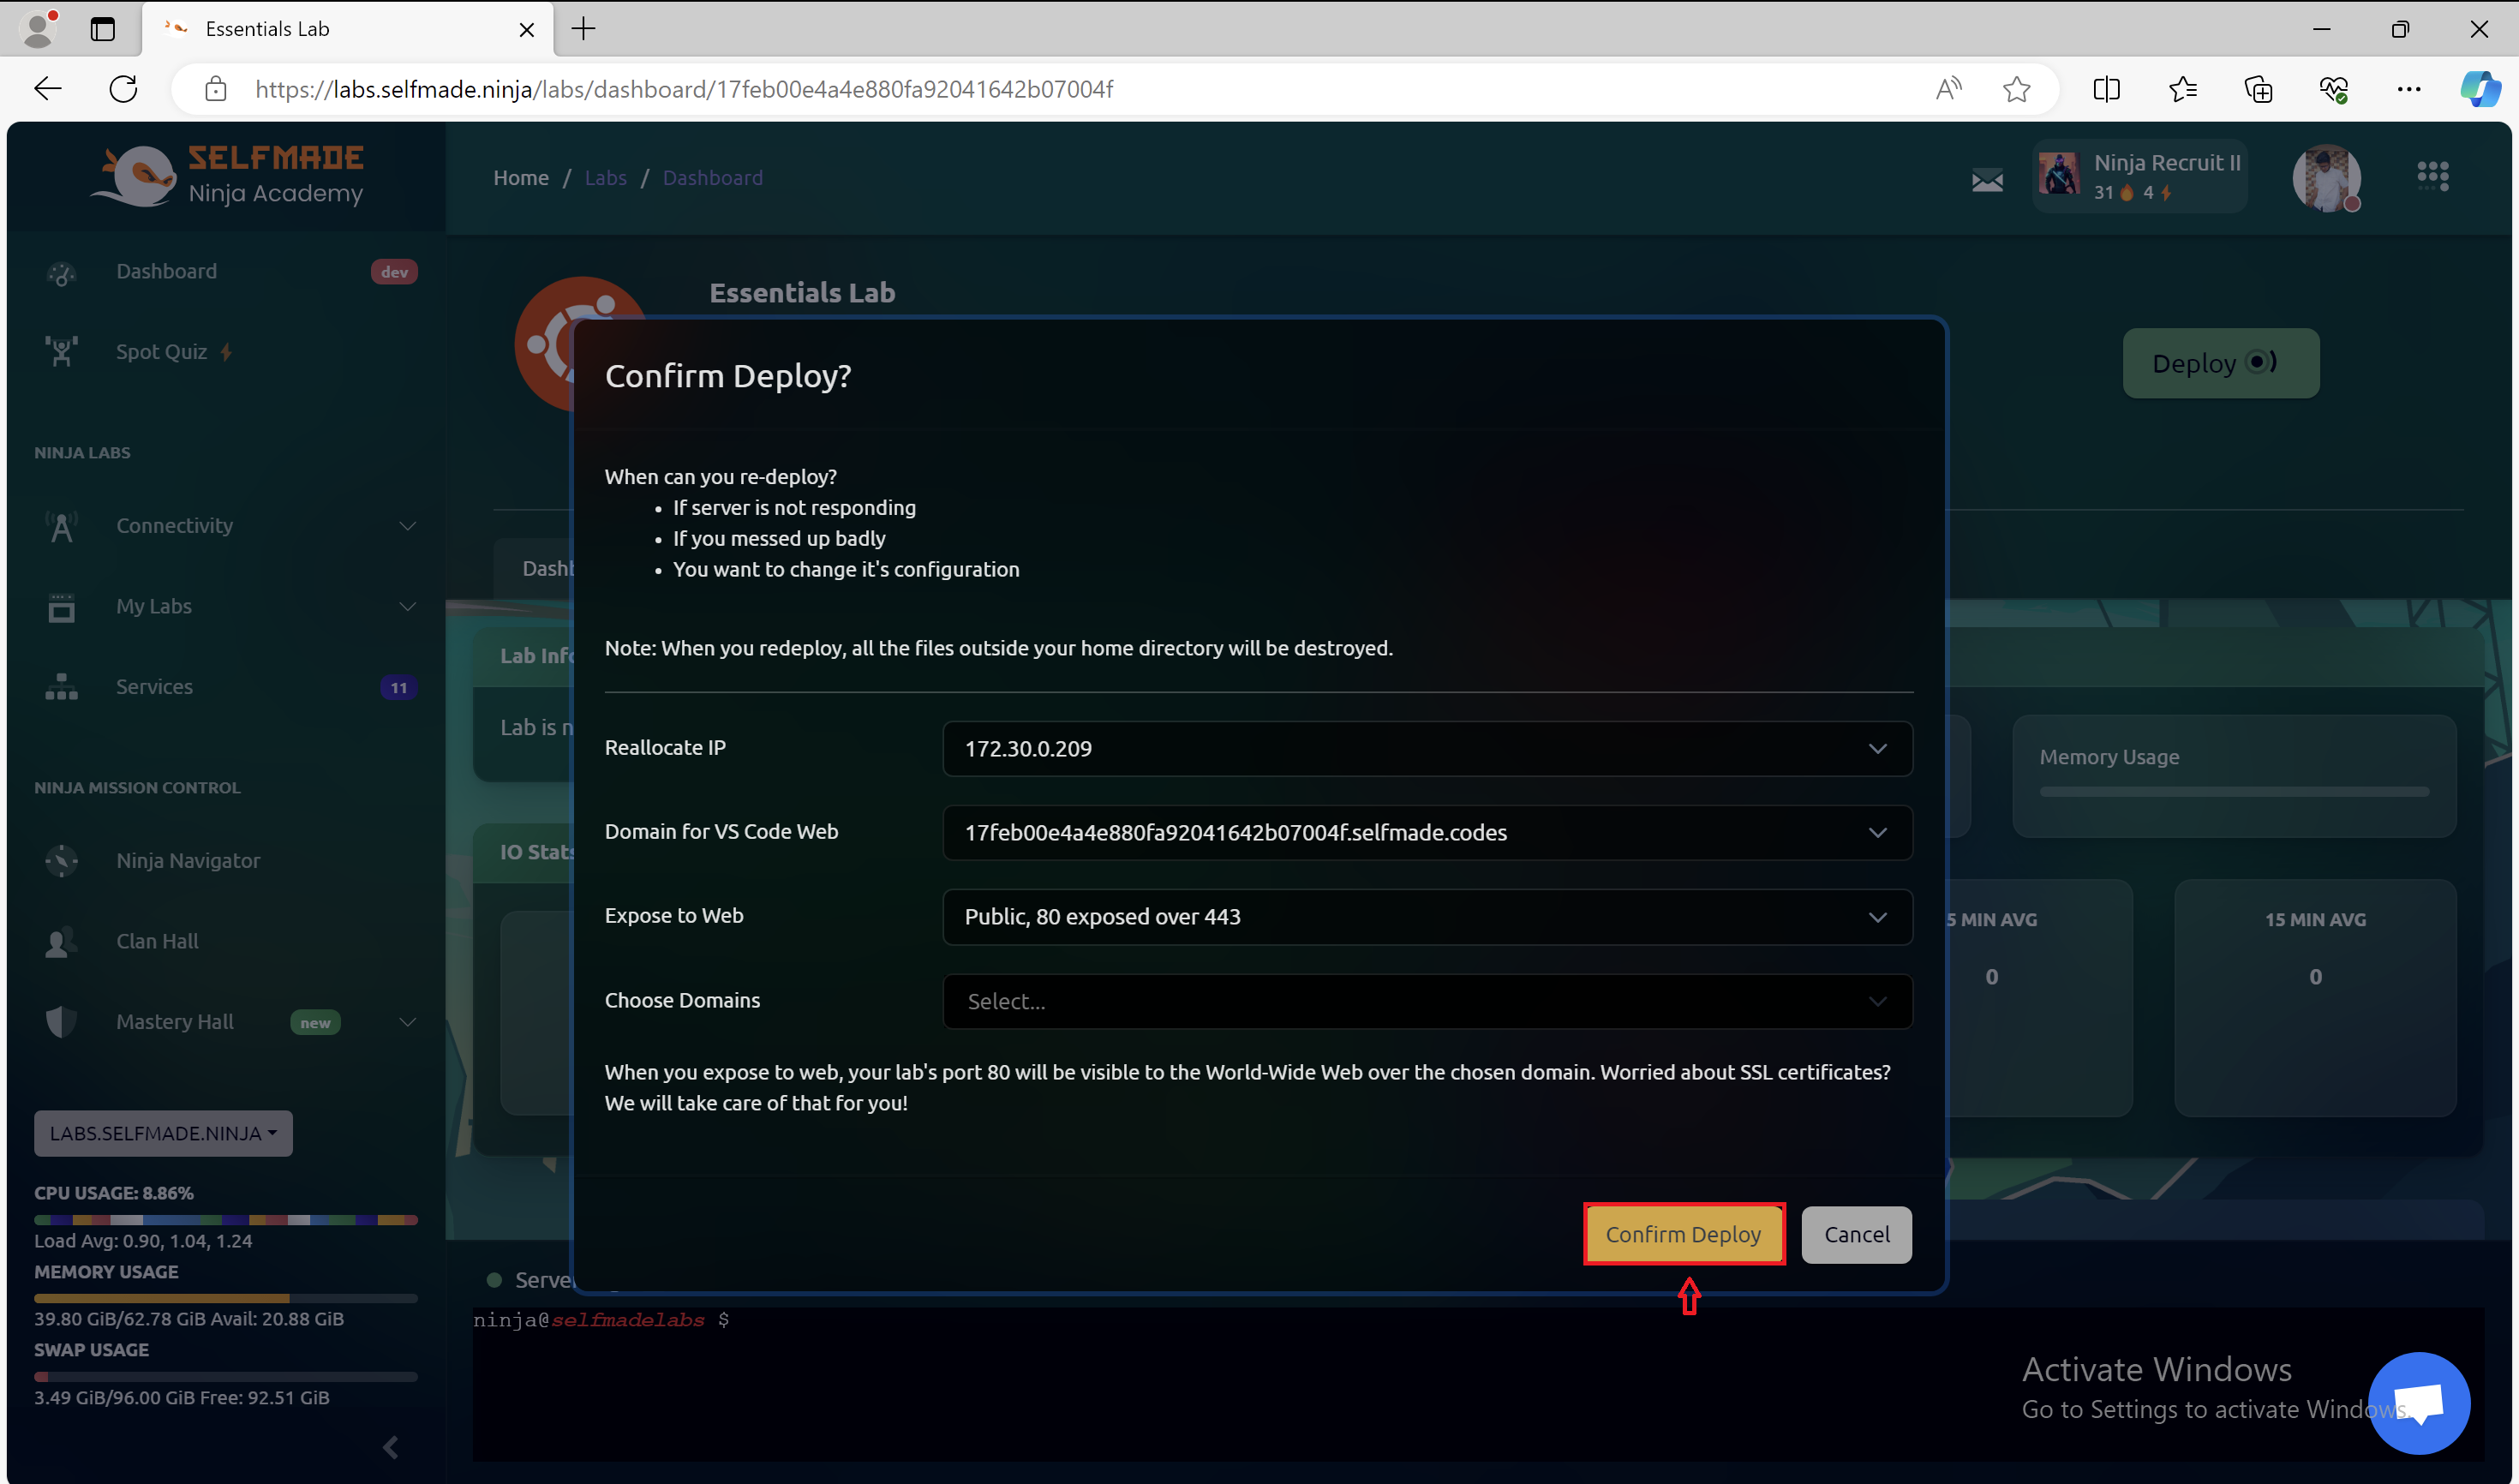
- Click ‘Confirm deploy’
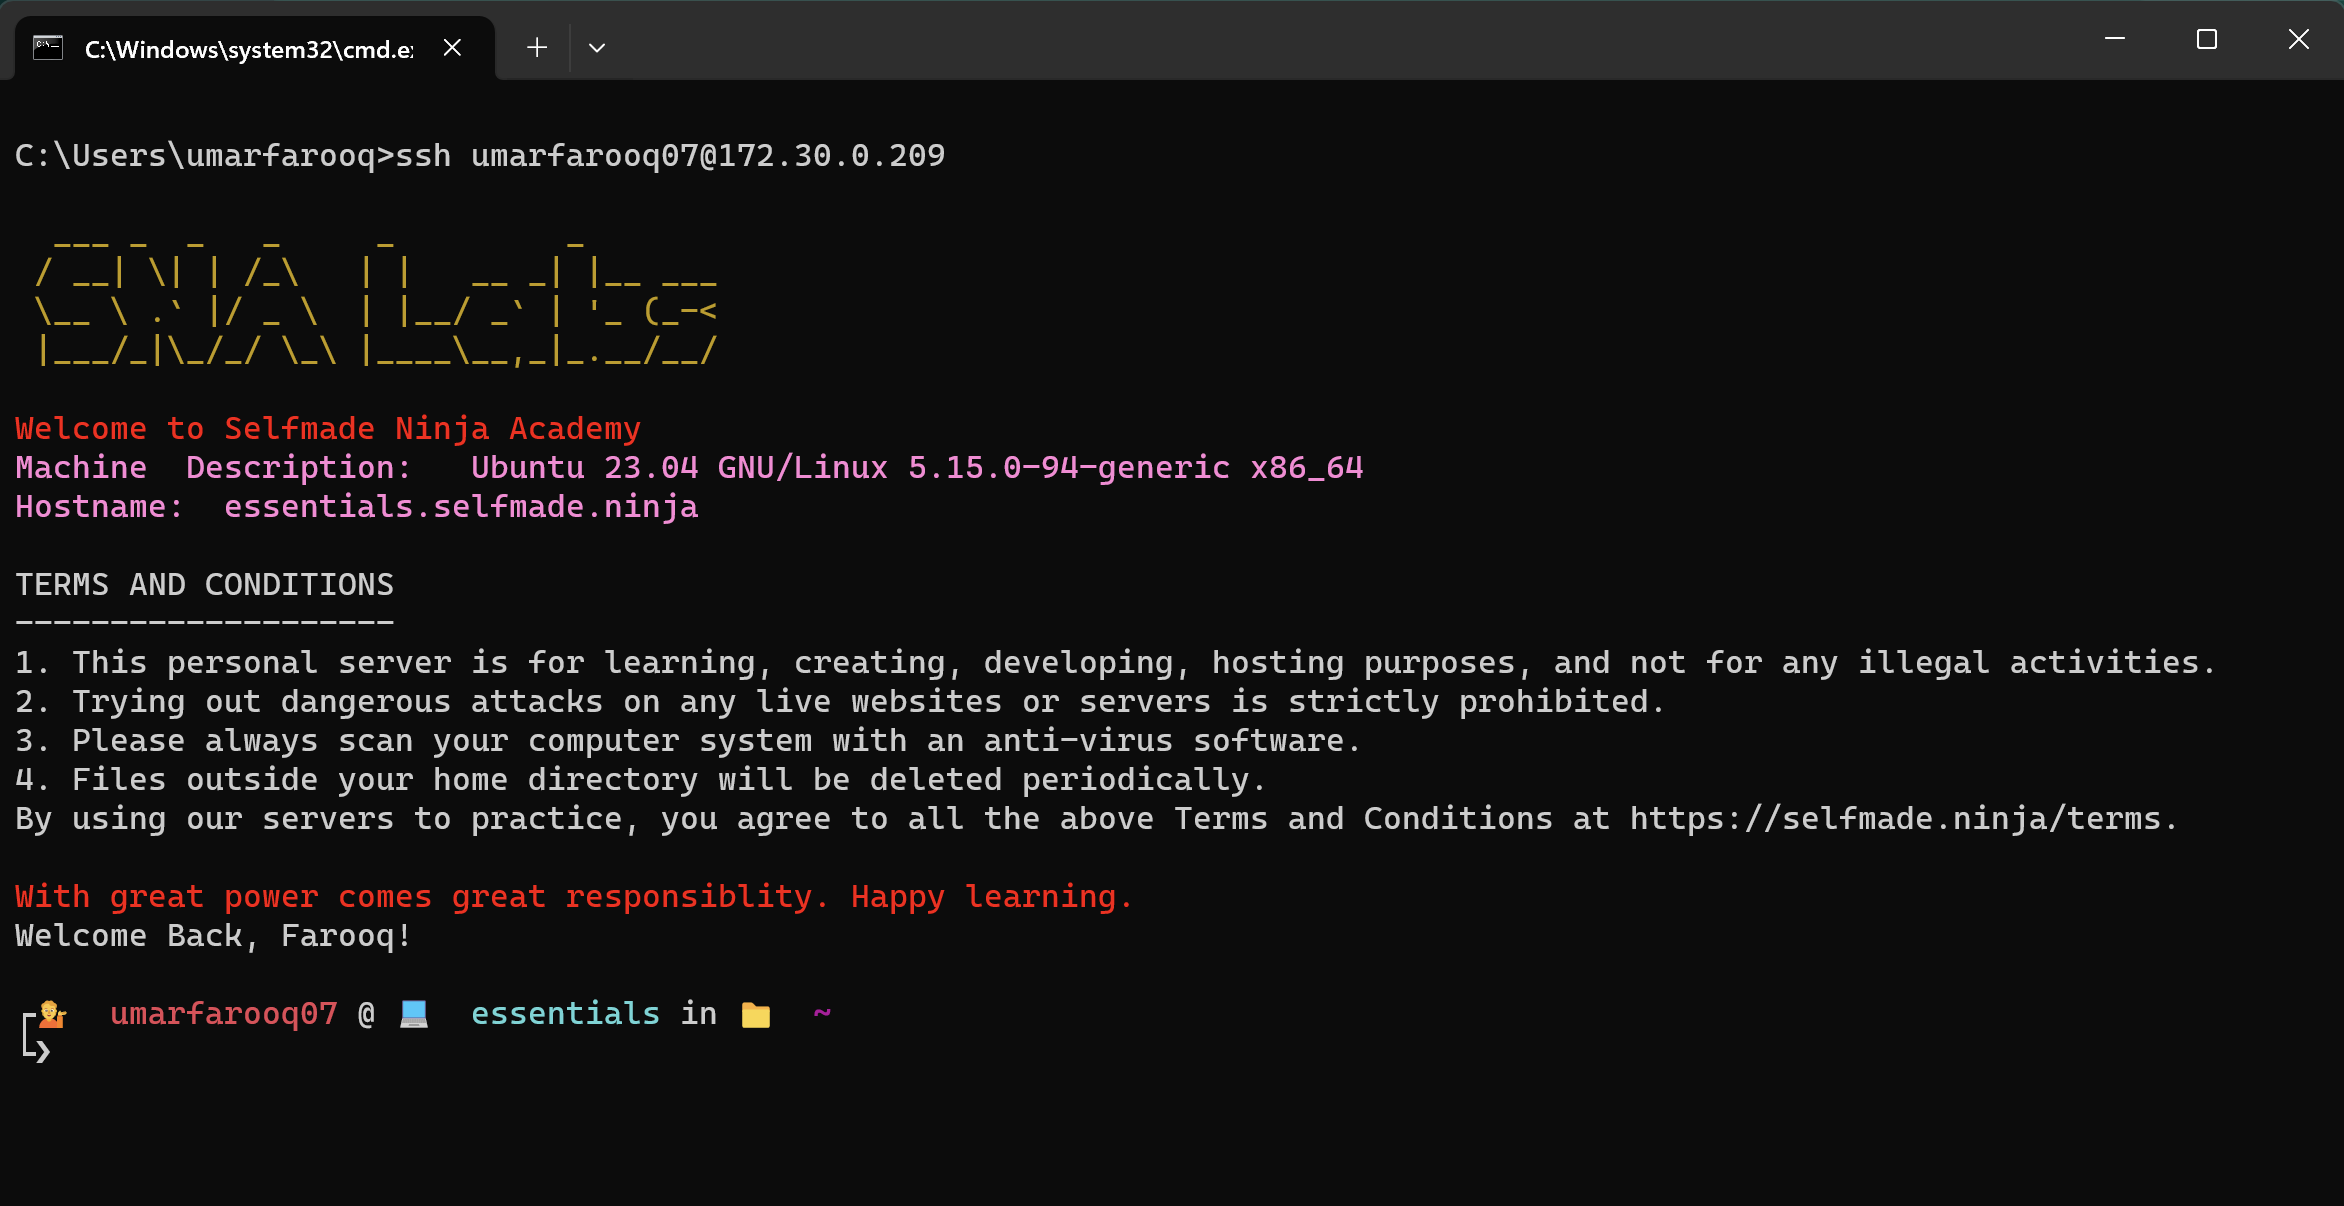
- After the server is deployed, you can copy the SSH command from the field below and run it in the terminal.

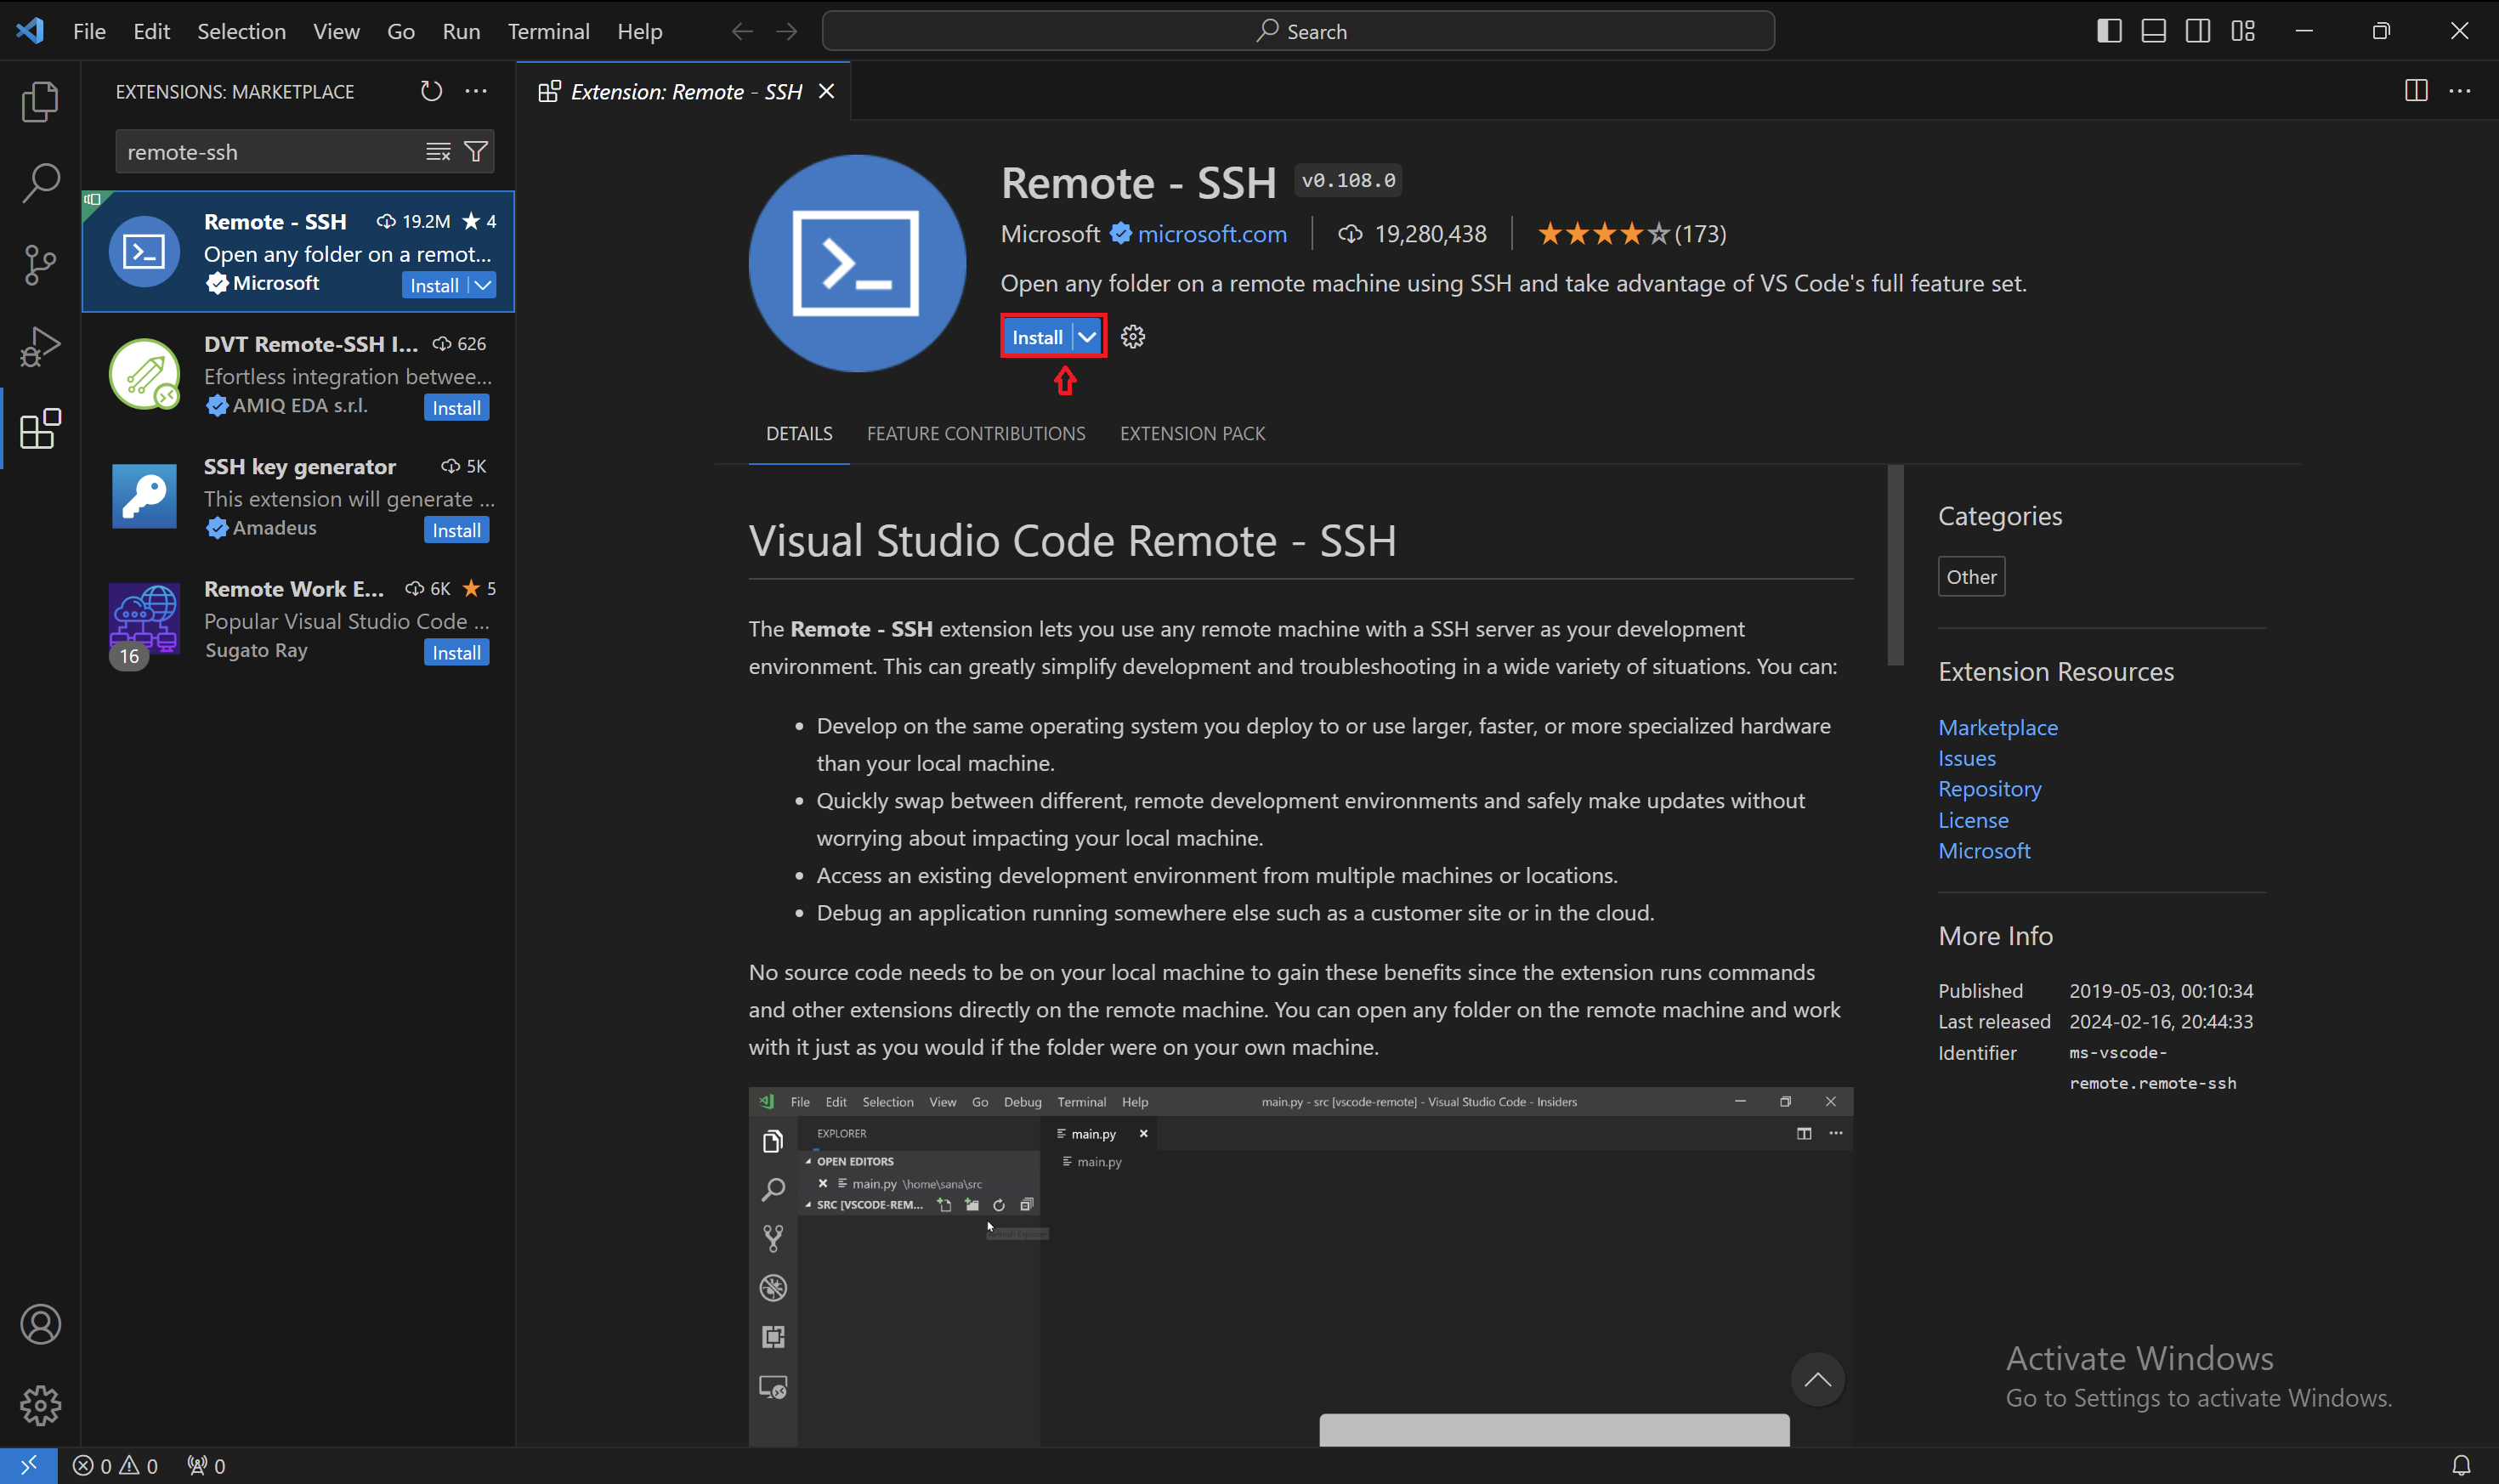
- If you want to connect it via VS Code, make sure Remote-SSH extension is installed (If you don’t have VS Code Installed, Click here to download.)
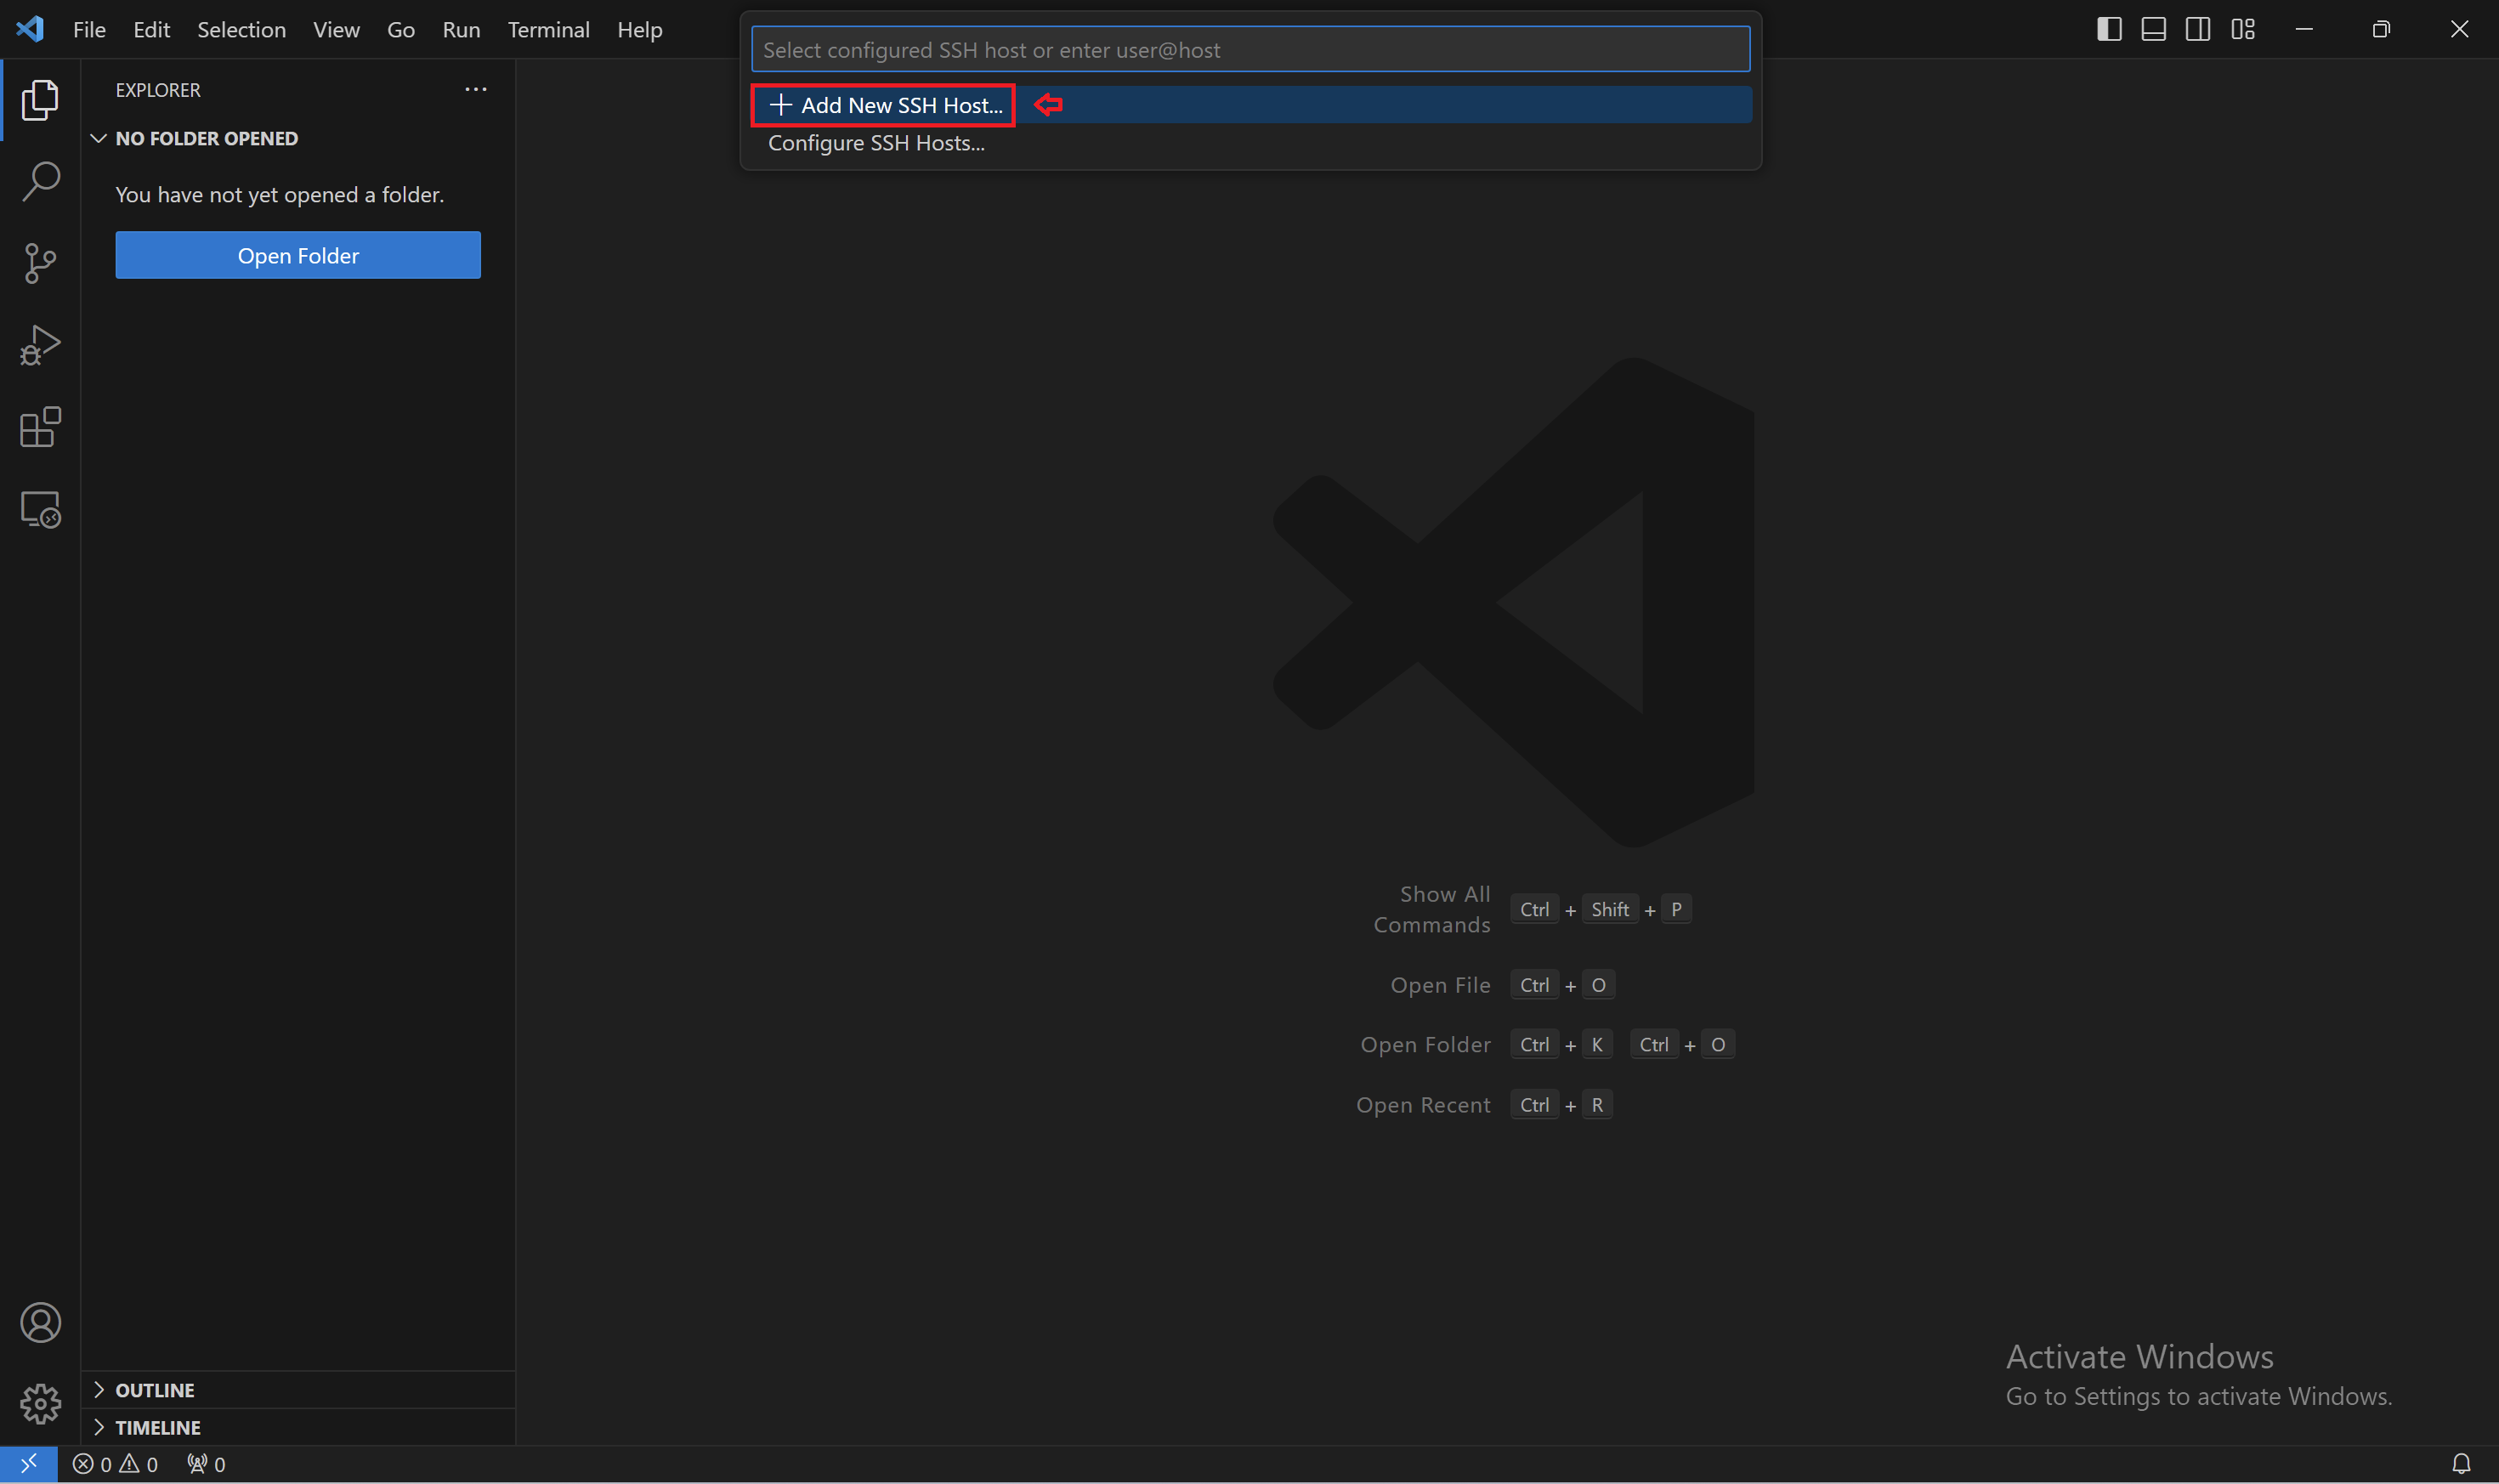
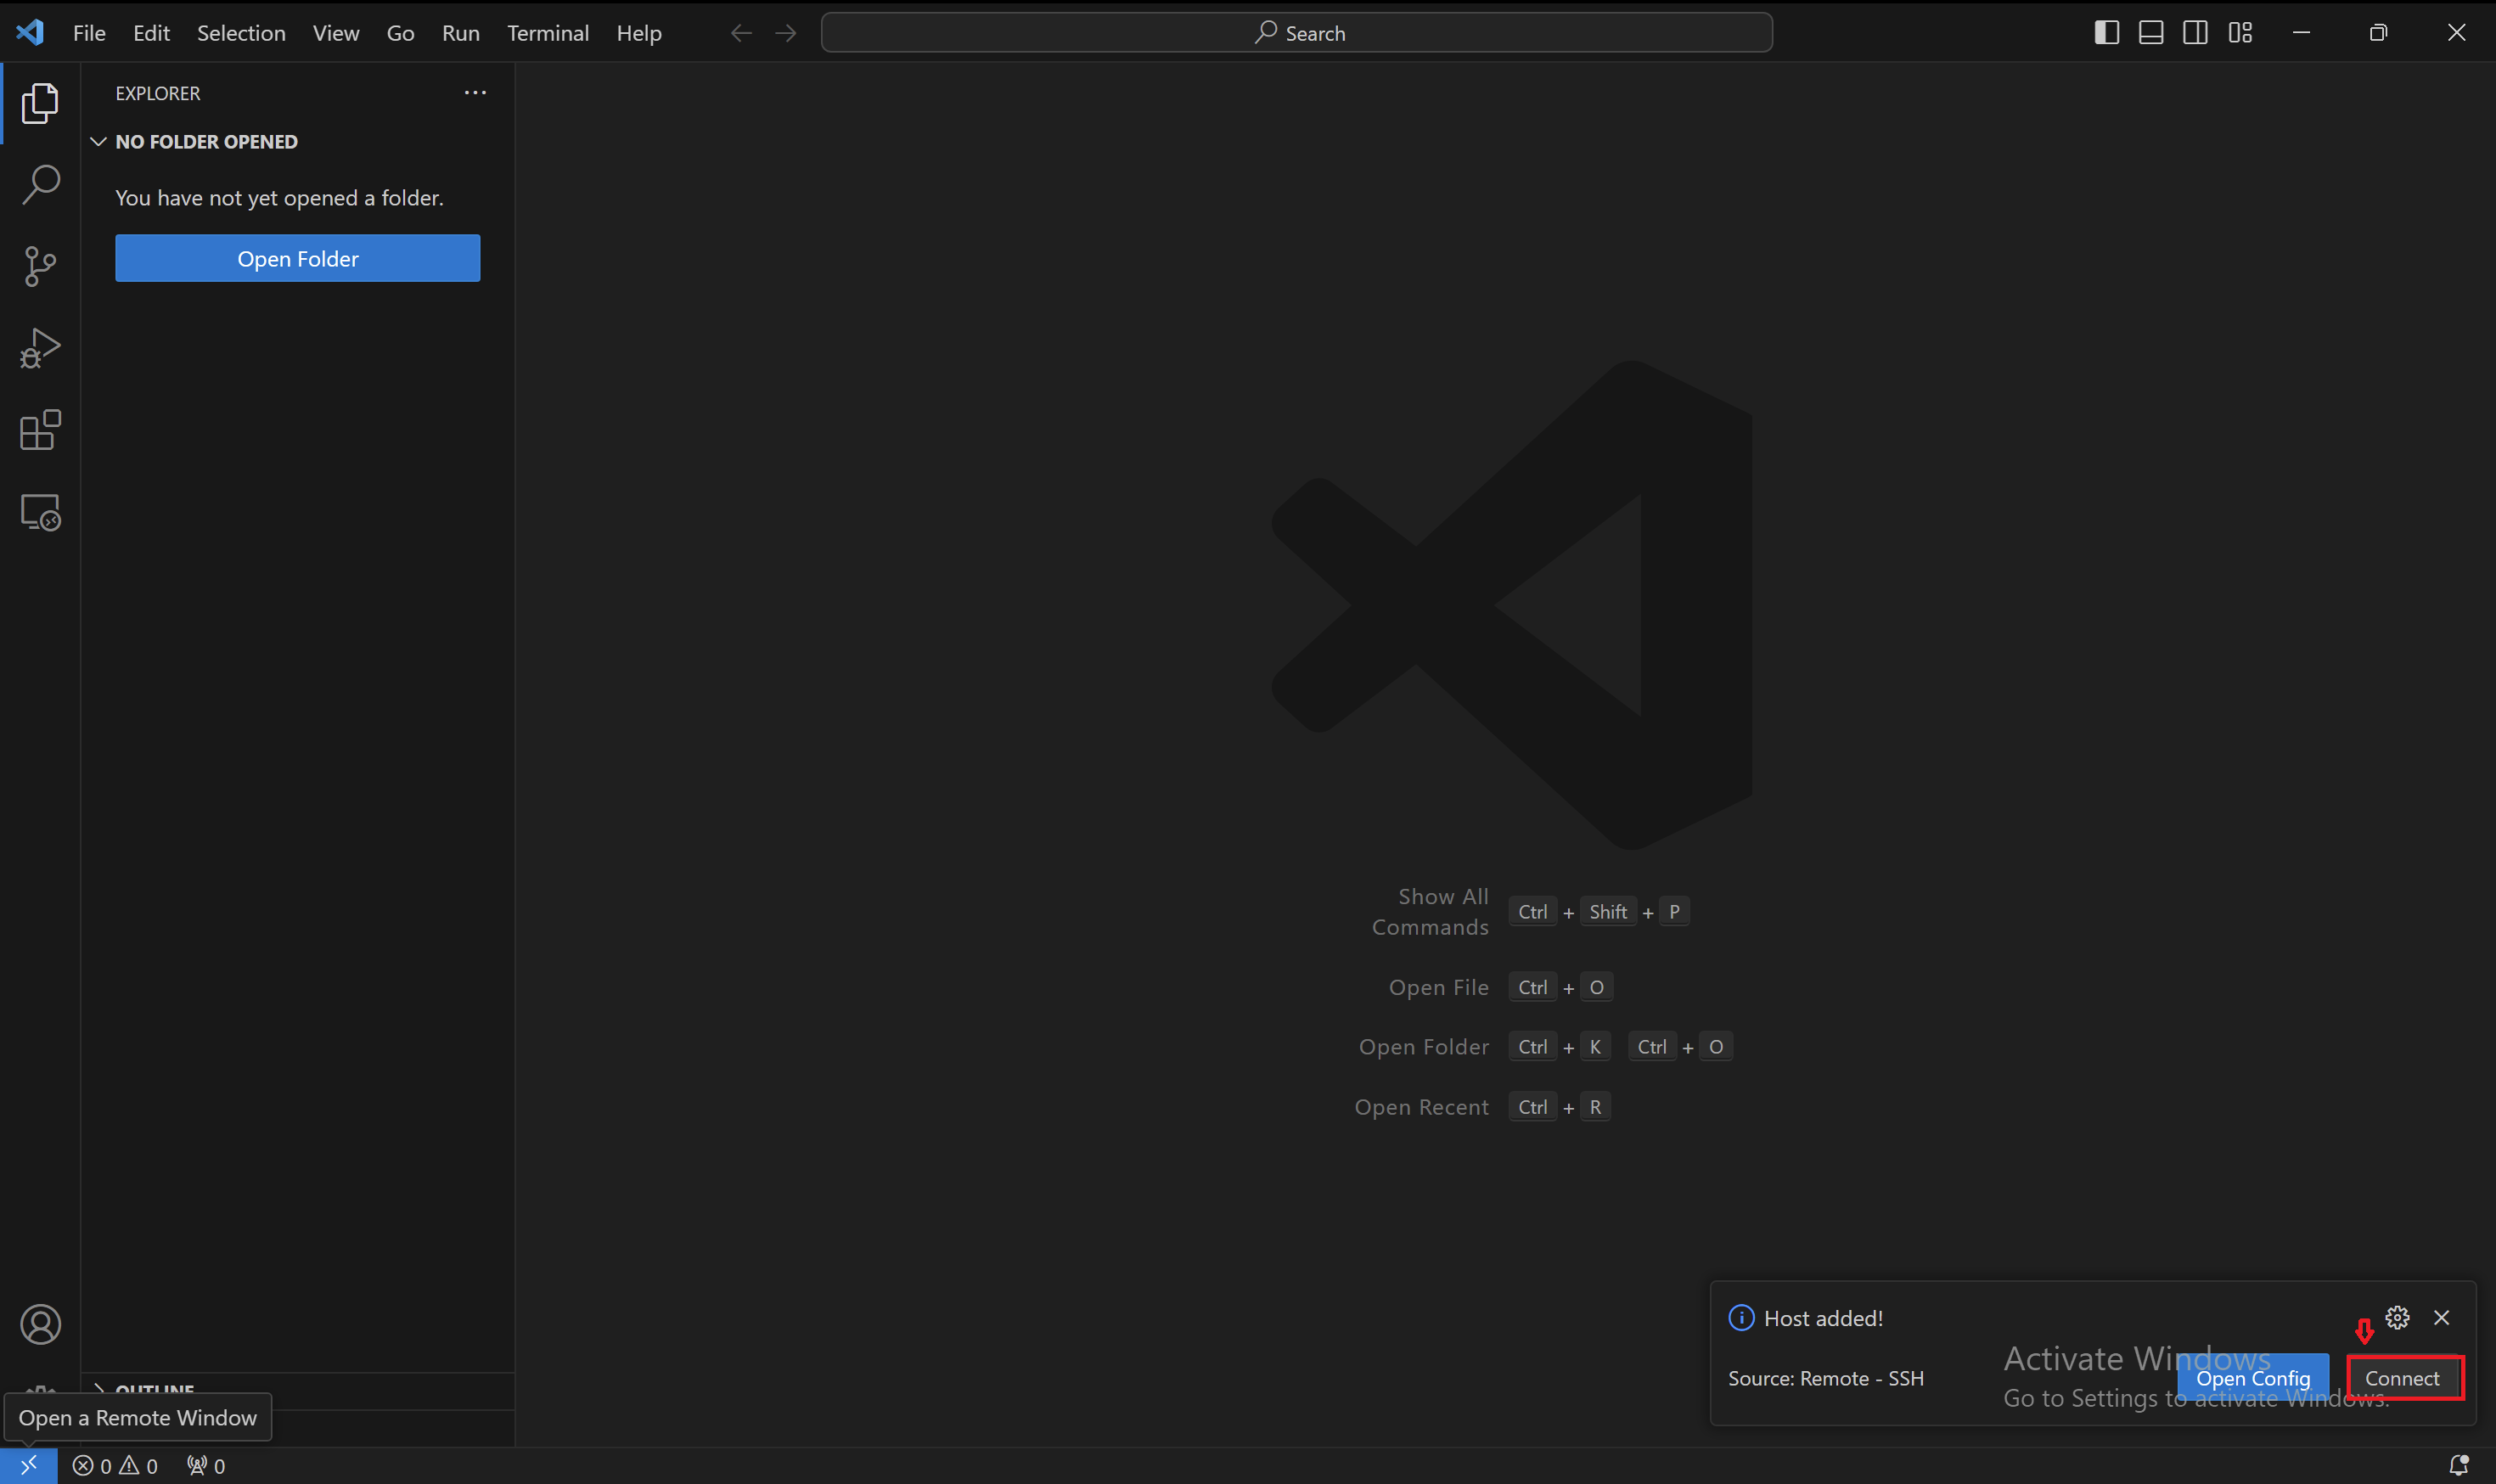
- Click SSH icon from bottom-left of VS Code, Click ‘Connect to Host’, and click ‘Add new SSH host’

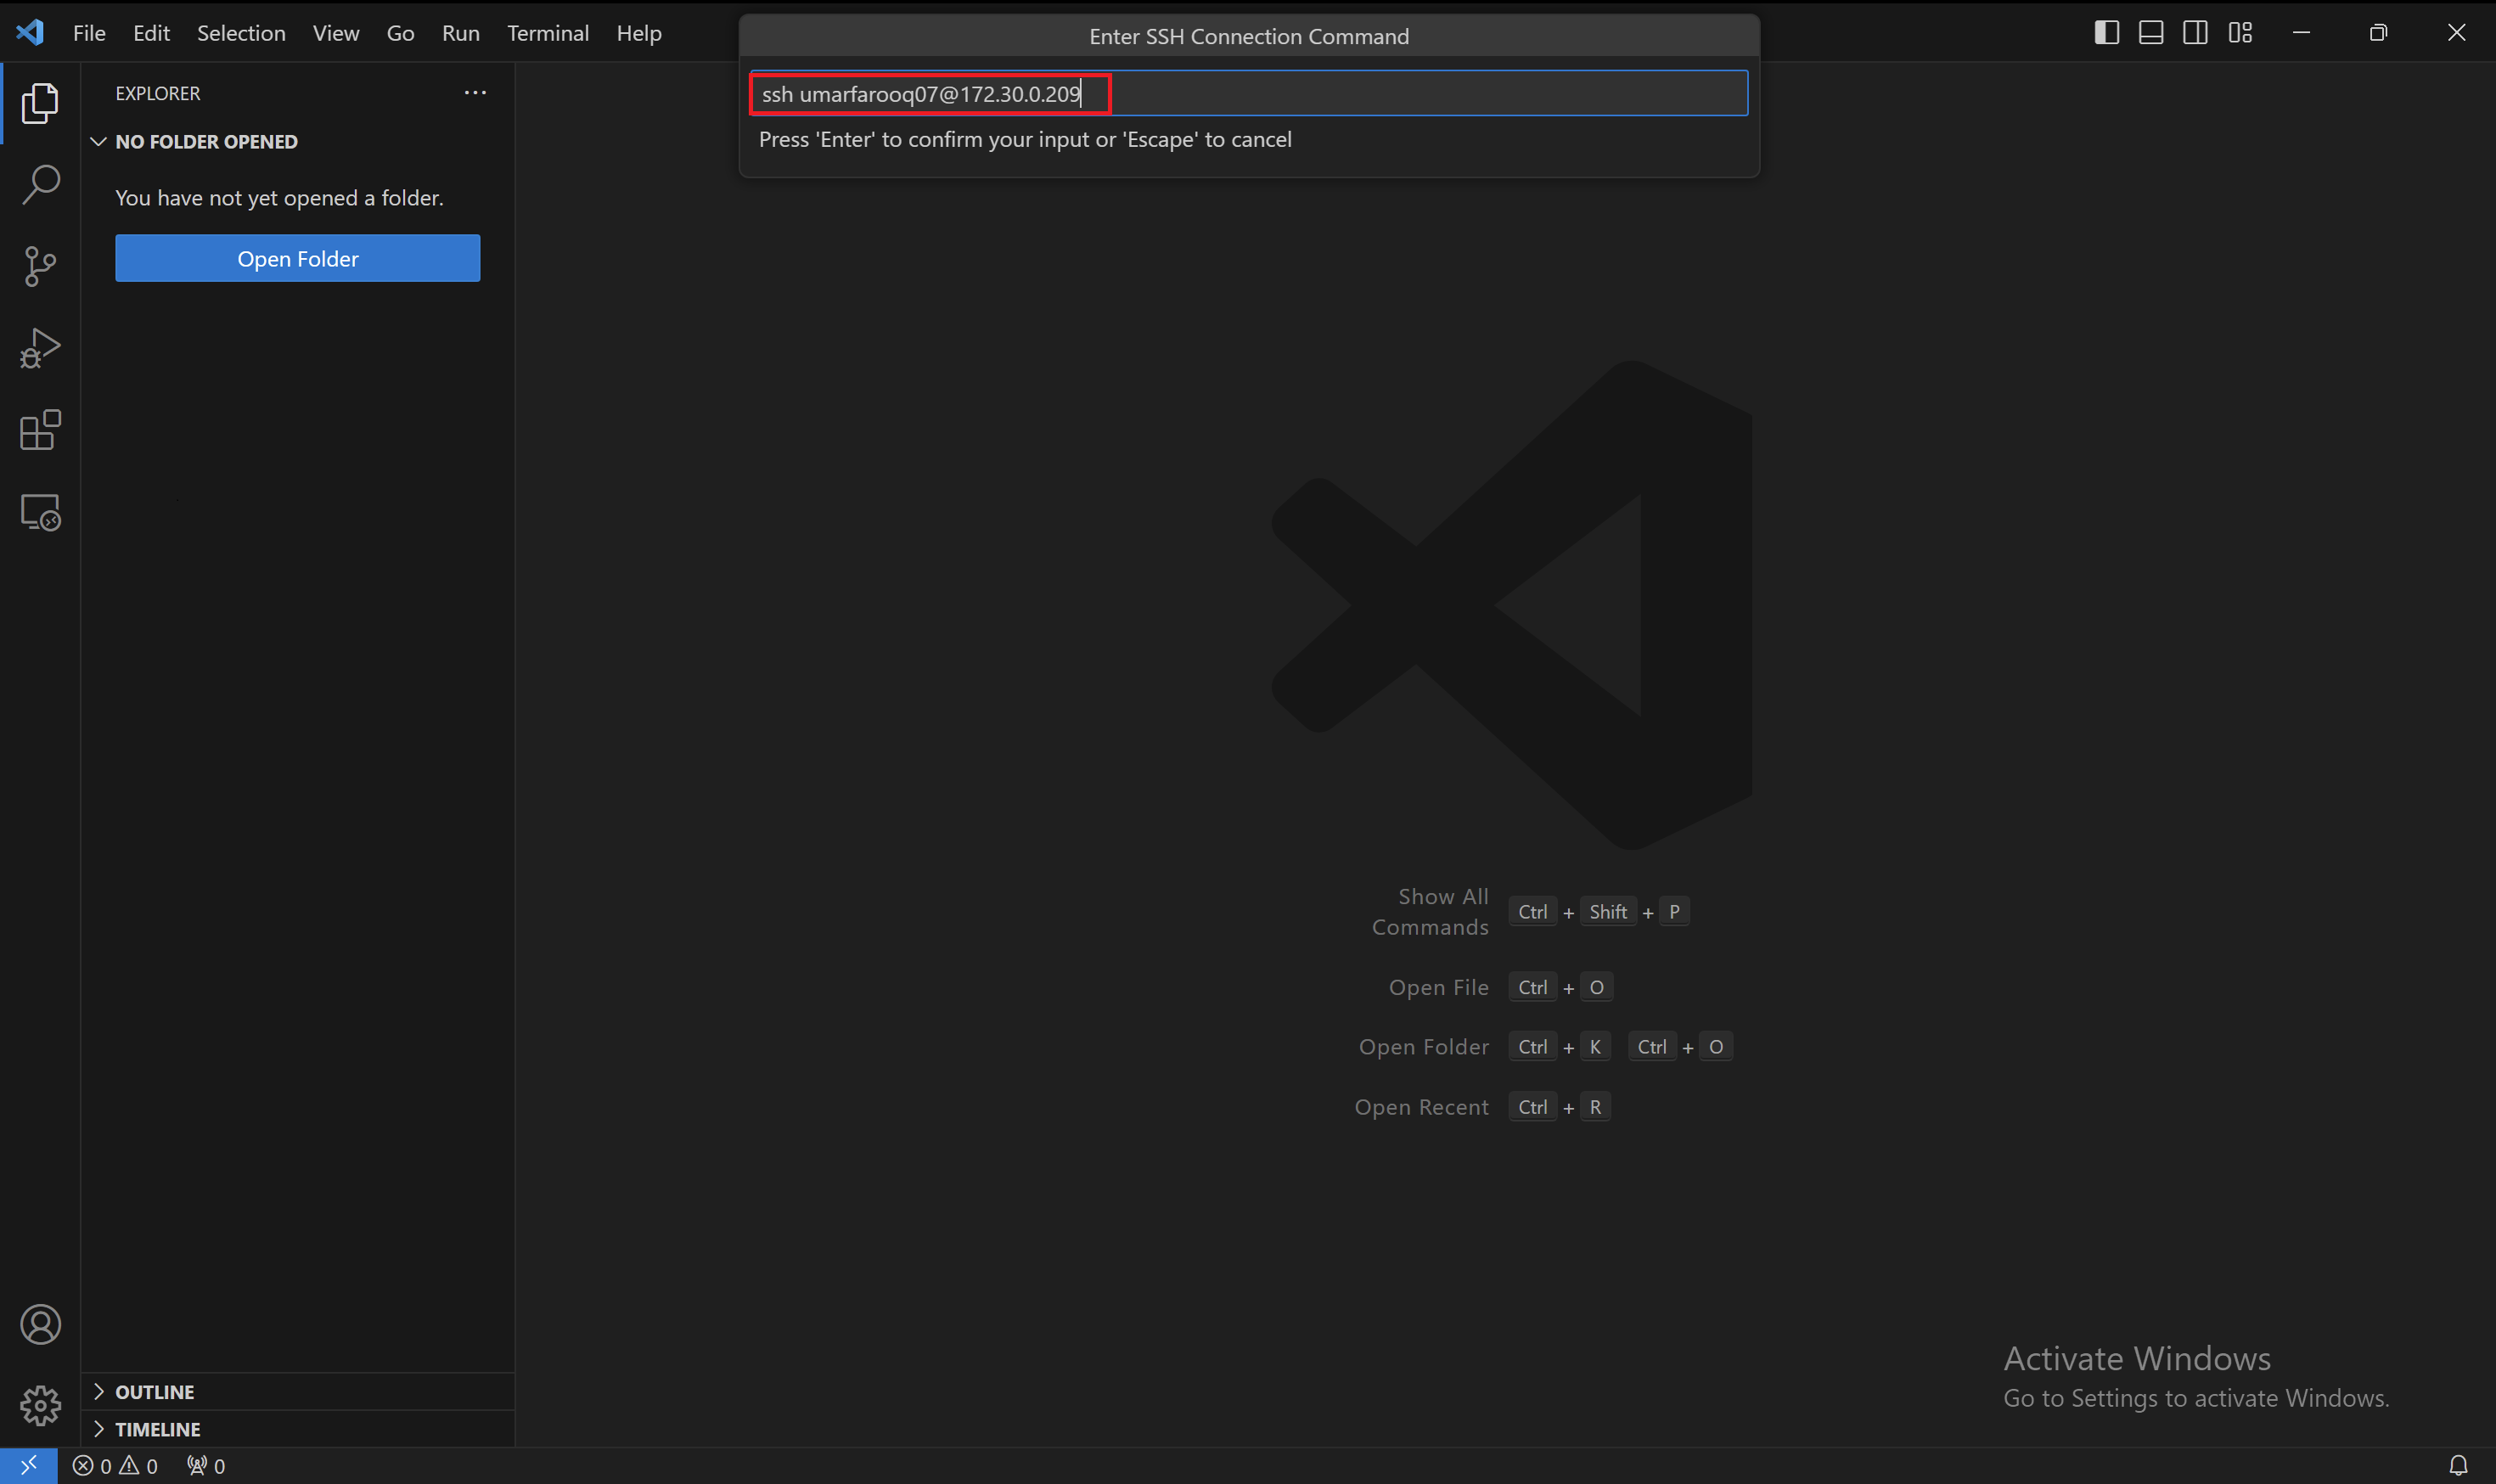
- Then paste the SSH command, and hit enter. then click ‘Connect’ below.
- Your Labs is now connected via VS Code. To open the terminal within the code server environment, simply press Ctrl and the backtick (`) button simultaneously. This action will grant you direct access to the terminal.

Why Choose Selfmade Ninja Lab?
Selfmade Ninja Lab provides aspiring IT students with a cutting-edge cloud-based training environment. Through seamless connectivity and practical learning experiences, learners can master advanced technologies using the Selfmade Ninja Lab cloud lab training for aspiring IT students. Our platform is designed to empower students with hands-on expertise in a secure and efficient environment.