Introduction
Welcome to the guide on setting up and using MQTT in SNA Labs. MQTT (Message Queuing Telemetry Transport) is a lightweight and efficient messaging protocol, perfect for seamless communication in your projects. In this guide, we will explore its application and delve into how perfect it is for facilitating various tasks. We will also discuss the wide range of things you can achieve by harnessing MQTT services within the SNA Labs environment. Whether it's enabling real-time data exchange, optimizing IoT solutions, or enhancing communication between devices, MQTT offers a versatile and powerful toolset. So, let's embark on this journey to discover the immense potential and practicality of MQTT in the context of SNA Labs.
Prerequisites
Before diving into MQTT configuration, ensure you have the following:
- SNA Labs account
- Basic knowledge of MQTT concepts
Benefits of Hosting Your Application in SNA Labs
- Blazing Fast Internet Connection
- Robust Denial-of-Service (DoS) Protection
- User-Friendly Setup and Understanding
- 24/7 Availability
- Free Services for Enhanced Functionality mongodb,memcache, etc ...
- Real-Time Learning Experience
Publisher:
Imagine you have a weather station that collects temperature data from various sensors located across a city. This weather station acts as an MQTT publisher. It generates real-time temperature readings from these sensors and publishes this data to an MQTT broker under a specific topic, such as "city/weather/temperature." The MQTT broker {rabbitmq}, acting as a central hub, receives this data from the publisher.
Subscriber
On the other side of the equation, there are residents in the city who want to stay updated on the current temperature in their neighborhood. They have a weather app on their smartphones that serves as an MQTT subscriber. This weather app has subscribed to the "city/weather/temperature" topic on the MQTT broker. As a subscriber, it doesn't send messages but actively listens for updates
RabbitMq server
RabbitMQ is an open-source message broker used to facilitate communication between components in a distributed system. It enhances system reliability, scalability, and decouples components for independent operation. RabbitMQ primarily supports the Advanced Message Queuing Protocol (AMQP) but also offers compatibility with protocols like MQTT and STOMP, making it versatile for different integration needs. It's a critical tool for building efficient and robust distributed applications
Configuring MQTT in SNA Labs
Log in to the SNA Labs Dashboard:
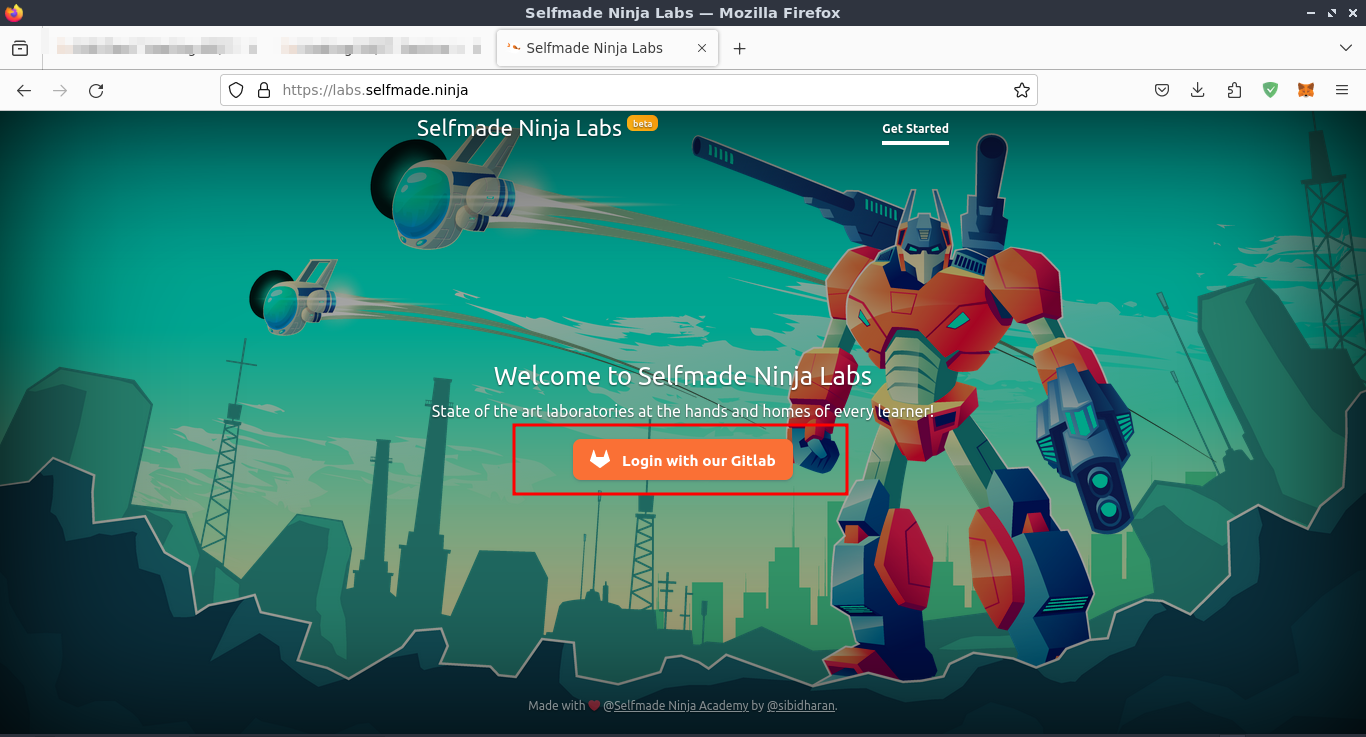
To get started, visit https://labs.selfmade.ninja/ and then click on "login with our Gitlab."
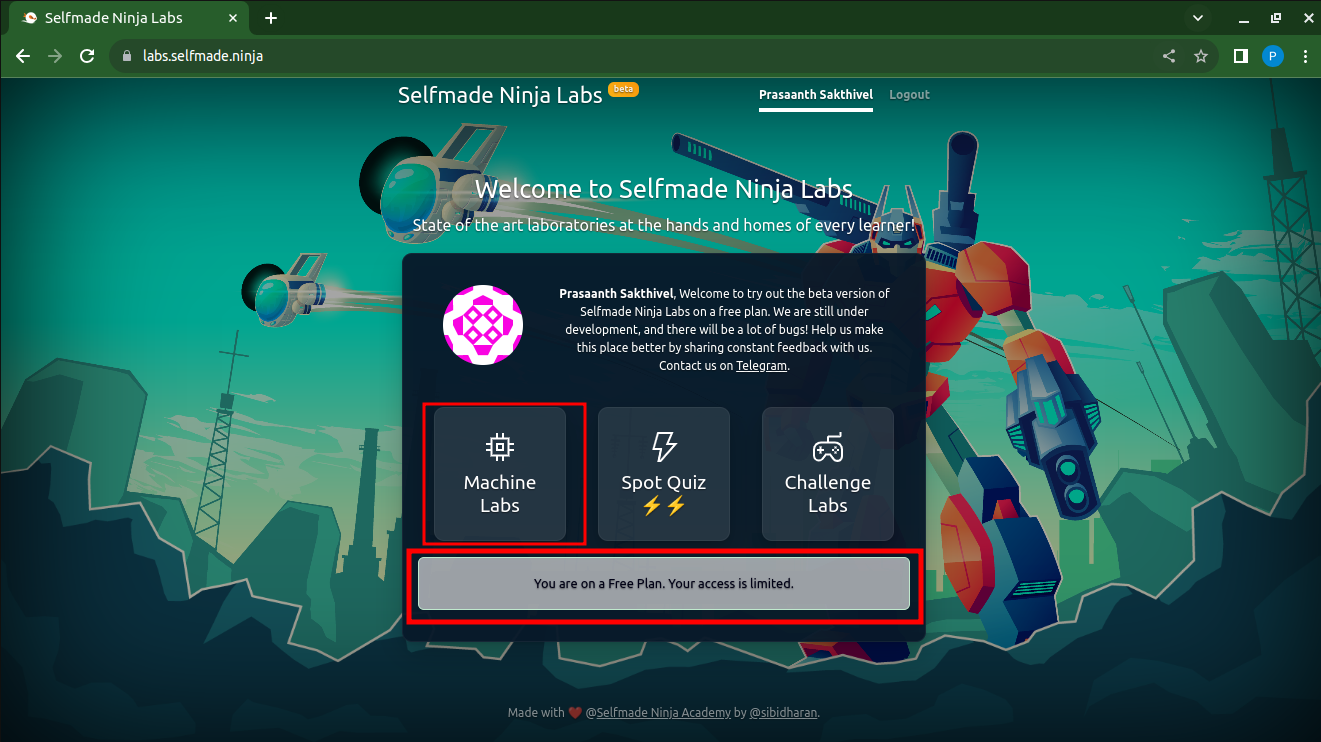
To get started, simply click on "Machine Labs," which serves as the gateway to our virtual laboratory. Here, you'll find a wide range of resources and tools to support your learning and experimentation. Additionally, it's worth noting that even if you're a free user, you can still take advantage of the lab; however, there may be some limitations imposed on your access or features.
Upon entering the laboratory, your next step is to access the lab through the code server. To do this, simply click on "Machine Labs." Inside Machine Labs, you'll discover a plethora of labs, each one remarkable in its own unique way. These labs offer a diverse range of learning and experimentation opportunities, allowing you to explore and engage with various topics and tools.

To begin your journey, navigate to the Essential lab section and click on "Code." This Essential lab serves as your personal computer located remotely, providing you with a powerful platform to perform tasks, experiments, and coding exercises

Once you reach this stage, follow these steps to proceed smoothly:
- First, you'll notice a popup on your screen.
- Within the popup, you should locate and copy the code server password.
- With the password in hand, proceed by clicking "Launch Code IDE." This action will open the code environment directly in your web browser, providing you with a convenient and accessible workspace for your coding tasks and projects.

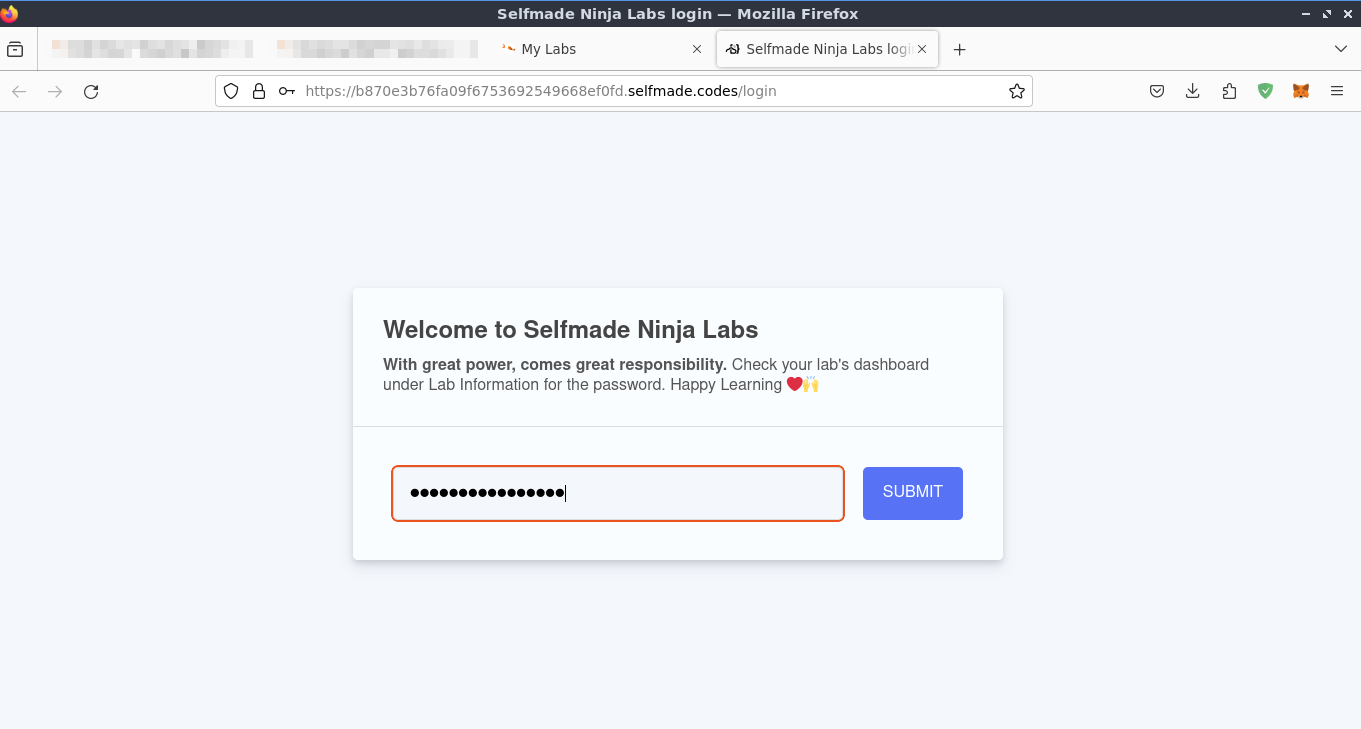
As you initiate the code IDE, you'll encounter a password prompt. Simply paste the previously copied password into the prompt field. After doing so, all that's left to do is wait for the magic to happen. The code environment will initialize, granting you access to a powerful workspace for your coding endeavors.
With the password successfully entered, you now have full access to the code server. To open the terminal within the code server environment, simply press Ctrl and the backtick (`) button simultaneously. This action will grant you direct access to the terminal, providing you with a versatile tool for executing commands and managing your coding tasks efficiently.
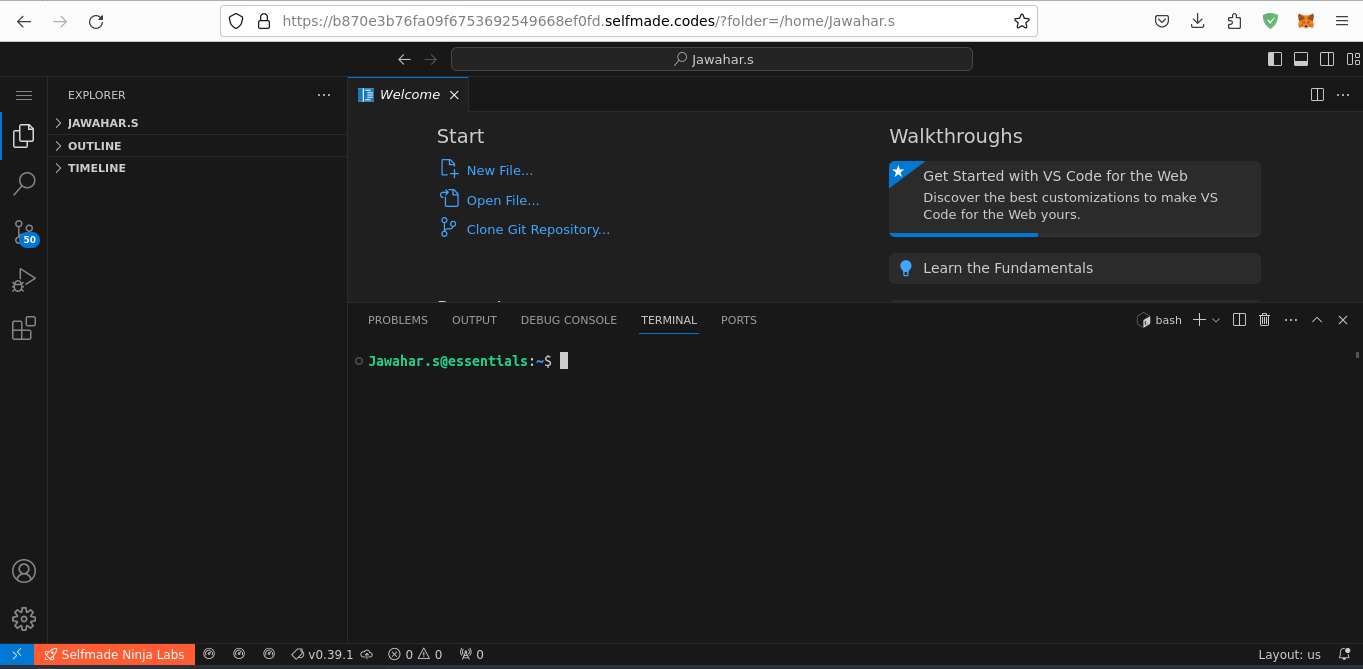
"Congratulations! 🎉 You've successfully accessed the code server in your browser. You're now ready to dive into the world of MQTT and RabbitMQ services in SNA Lab. Let's get started!"
Accessing the RabbitMQ Service in Your Browser
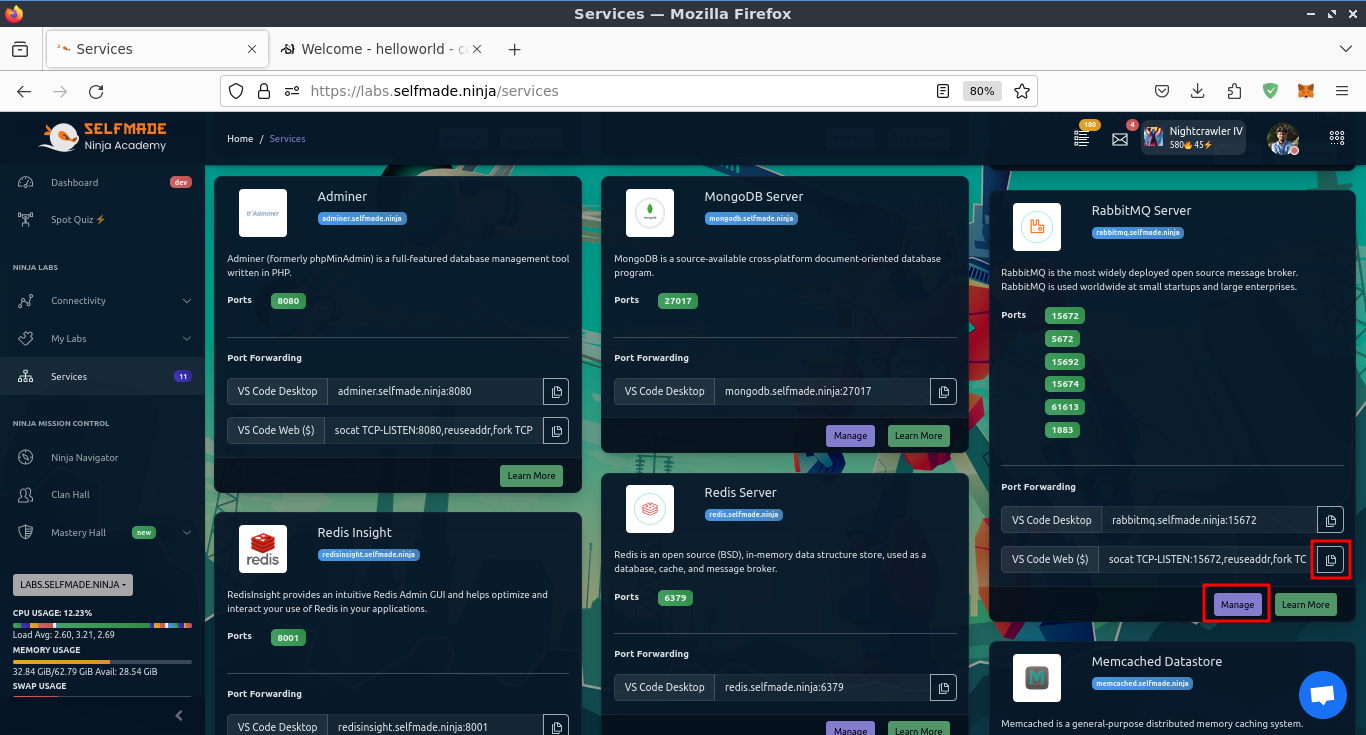
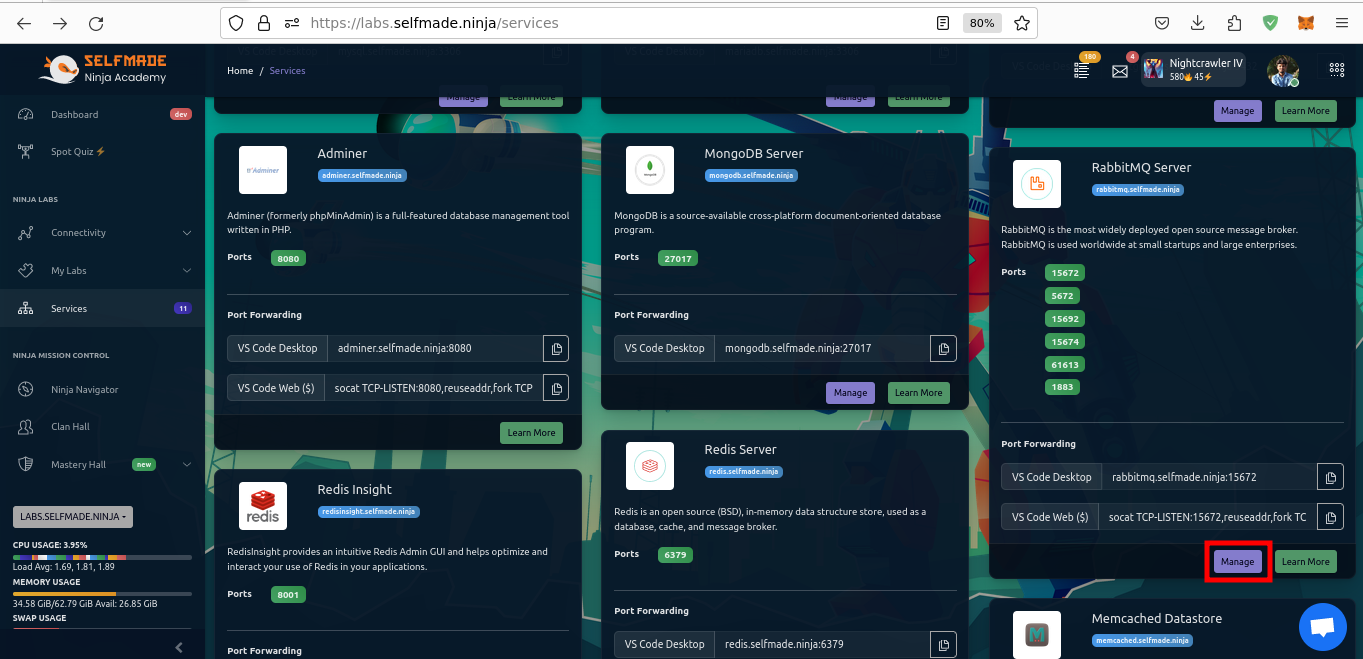
- Navigate to the service tab using this link: https://labs.selfmade.ninja/services.
- Once on the service tab, locate the "VS Code Web" command and copy it.
- Now, proceed by clicking the "Manage" button. This action will allow you to configure.
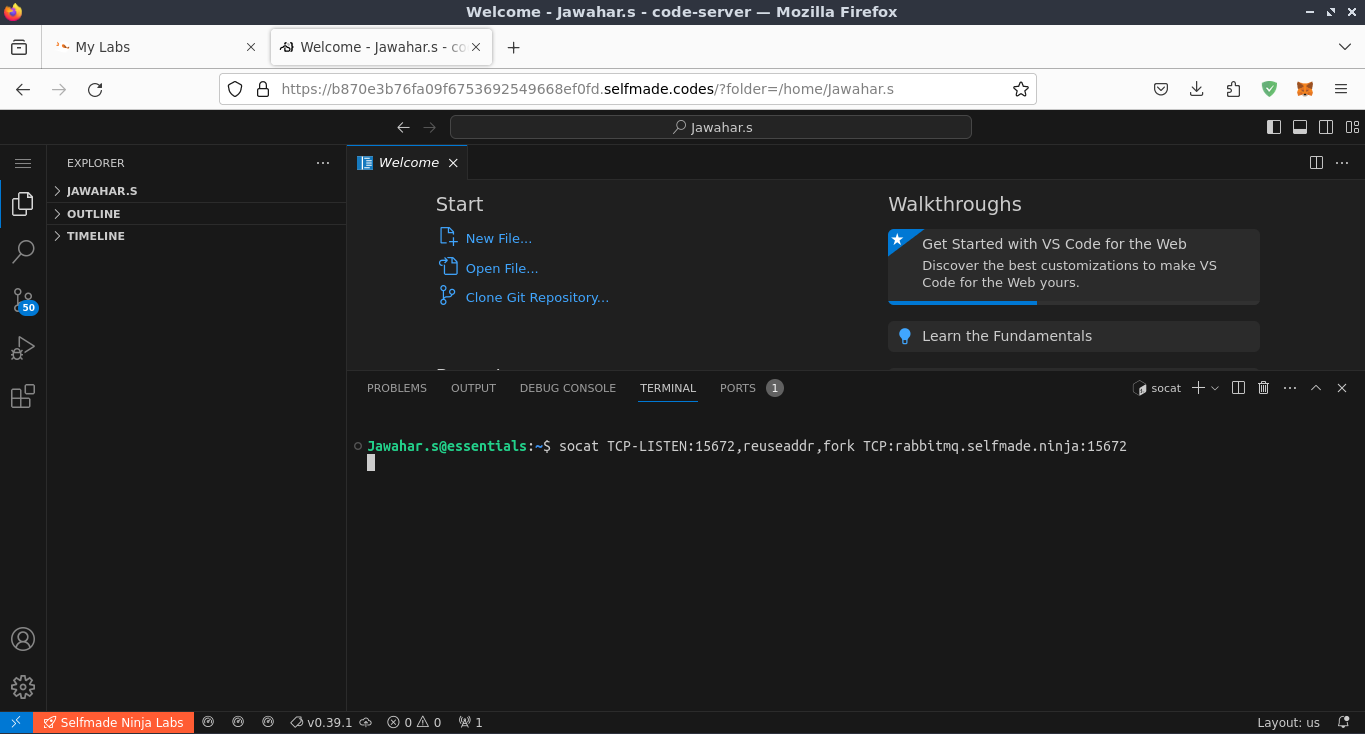
- Begin by opening the code server environment.
- Inside the code server terminal, paste the previously copied "socat" command.
- what is socat and why?
socat is a versatile command-line utility for networking tasks. It enables bidirectional data streams between two endpoints and serves various purposes, including port forwarding, proxying, file transfers, serial communication, and encryption. It's a valuable tool for network administrators, developers, and security professionals to establish, monitor, and manipulate network connections. In your specific case, socat was used to bridge a local port to a remote service, allowing you to access and interact with the remote service as if it were running on your local machine. This is particularly useful for remote development and accessing services in virtual environments.
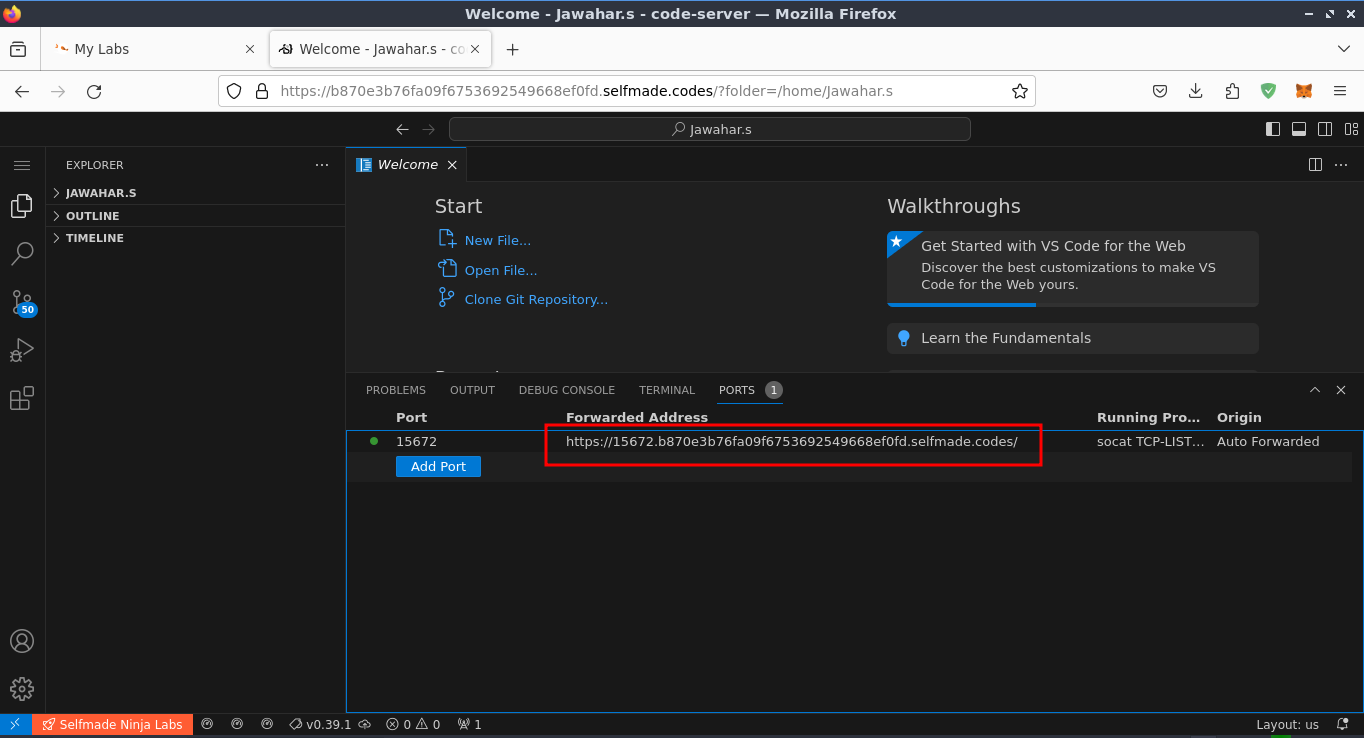
- Navigate to the port tab, where you'll find a specific link.
- Copy the URL provided within the port tab.
- Now, paste this URL into your web browser's address bar.
All that's left to do is wait for the magic to happen. This action will initiate the desired process and unlock additional functionality within your coding environment.
Congratulations! You've successfully accessed the RabbitMQ interface. However, the journey is not complete yet. Stay tuned for more information and guidance, as our blog will provide you with additional insights and instructions to make the most out of your RabbitMQ experience.

Enter your username and password when prompted, but wait a minute! I won't leave you hanging like that. 🤔🔒

Don't worry; I've got your back! Let's demystify how to retrieve your username and password. 🕵️♂️
Create a New User in Rabbitmq server:
Note: I would like to clarify that if you create a 'publish user,' they can both act as a publisher and subscribe to messages. However, if you create a 'subscriber user,' they can only receive messages and cannot publish data.
- Begin by visiting the RabbitMQ Services section using the following link: https://labs.selfmade.ninja/services/rabbitmq
- Once you're on the RabbitMQ Services page, look for and click the "Manage" button associated with the RabbitMQ server. * This action will enable you to configure and manage your RabbitMQ server, allowing you to harness its capabilities effectively.
- Click on 'Add User' to initiate the user creation process.
- Within the user creation interface, set the desired username and password according to your preferences and security requirements. This step will allow you to create a new user with the specified credentials for RabbitMQ access.

- After setting the desired username and password, click the "Add User" button
NOTE: Now you have your RabbitMQ username and password
- Enter your username and password in the RabbitMQ interface
"Congratulations! 🎉 You've successfully accessed the RabbitMq server in your browser!"
NOTE: If you want to use mqtt via rabbitmq server , you must create Vhost
Create Vhost RabbitMQ Server for Mqtt
A vhost in MQTT is a virtual messaging space within a single MQTT broker, allowing for the isolation and organization of MQTT resources such as topics and clients. It helps keep different projects or applications separate and secure within the same MQTT infrastructure
- Start by visiting https://labs.selfmade.ninja/services/rabbitmq.
- Once you're on the RabbitMQ Services page, look for and click the "Manage Vhost" option.
- Within the Vhost management interface, you can enter the desired vhost name as needed. This step allows you to create and configure virtual hosts to organize and separate your RabbitMQ resources and messaging components efficiently.
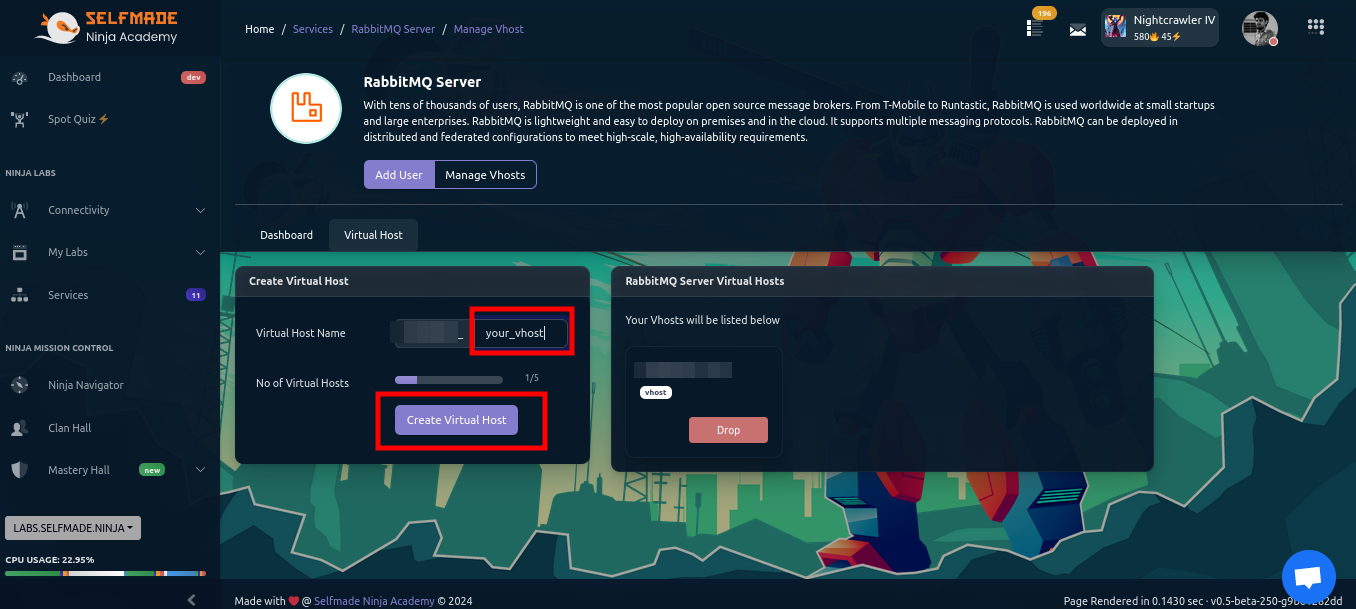
- And Click the "Create Virtual host" button.
MQTT Credentials:
NOTE: Represent the username and password as follows:
- Your username =
your_Vhost:Your_username - Your password =
password
Implement MQTT in Your Projects
pip3 install paho-mqttMQTT Publisher
import paho.mqtt.client as mqtt
import time
mqtt_broker = "rabbitmq.selfmade.ninja"
username = "vhostname_iot:your Username"
password = "your password"

client = mqtt.Client(client_id="id1")
client.username_pw_set(username, password)
client.connect(mqtt_broker)

def mqtt_msgsend_cam(data, topic="topic1", qos=0):
    client.publish(topic, data, qos=qos)

message_data = "temp=>20C"

while True:
    mqtt_msgsend_cam(message_data)
    print(message_data)
    time.sleep(1)
Copy the code, update the username and password, then save it as publisher.py or any desired name. Ensure you have the MQTT library installed before running the Python code.
python3 Publisher.pyMqtt Subscriber
import paho.mqtt.client as mqtt
import subprocess

mqtt_broker = "rabbitmq.selfmade.ninja"
mqtt_port = 1883
mqtt_topic = "topic1"  # Replace with the MQTT topic you want to subscribe to
mqtt_username = "vhost_name:yourUsername"  # Replace with your MQTT username
mqtt_password = "password"  # Replace with your MQTT password

def on_message(client, userdata, message):
    print(f"Received message '{message.payload.decode()}' on topic '{message.topic}'")

client = mqtt.Client()
client.username_pw_set(mqtt_username, mqtt_password)

client.on_message = on_message
client.connect(mqtt_broker, mqtt_port)
client.subscribe(mqtt_topic)
client.loop_forever()
Copy the code, update the username and password, and save it as Subscriber.py (or any preferred name). Ensure that the MQTT library is installed before running the Python code.
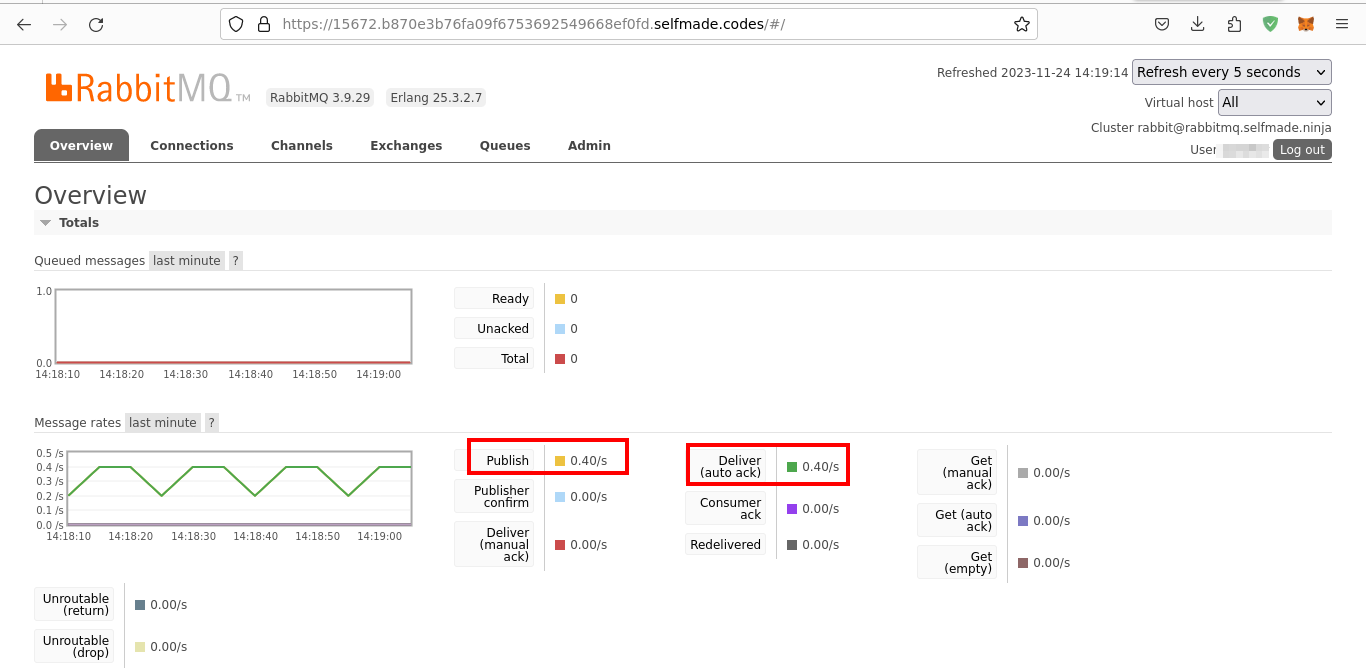
python3 Subscriber.pyRabbitMQ Server Graphical Representation
- It illustrates how the publisher sends data, and the receiver receives it.

- This is the graphical representation of the data displayed in the RabbitMQ server
Conclusion
Congratulations! You have successfully configured and utilized MQTT effortlessly in SNA Labs. Enjoy seamless messaging and real-time communication in your projects.
For more tutorials and tech insights, visit https://blog.selfmade.ninja.
Happy Coding!
Author: [Jawahar.S]