Prerequisites
- SNA Gitlab account (Create one by clicking here)
Connect to SNA Labs
Adding SSH Keys
-
Login your credentials by clicking here.
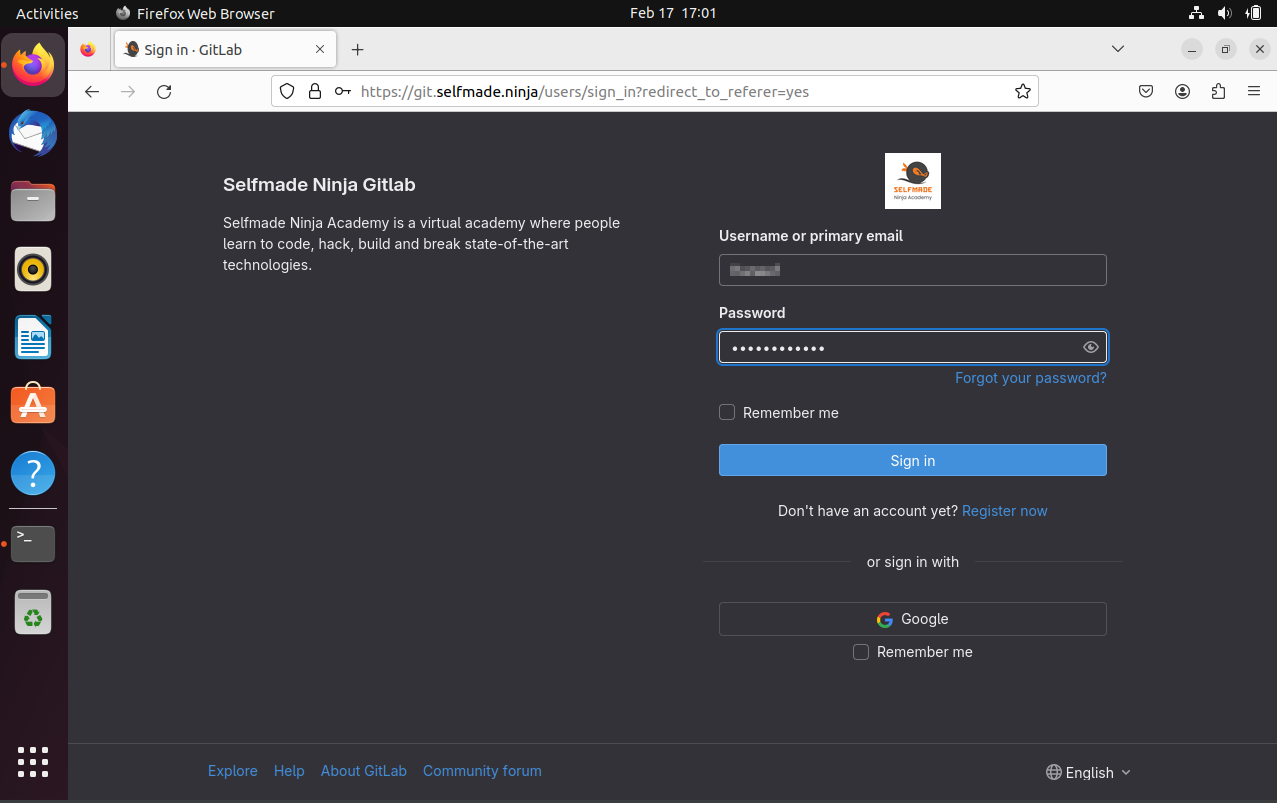
-
Select your profile, then click on 'preferences' tab
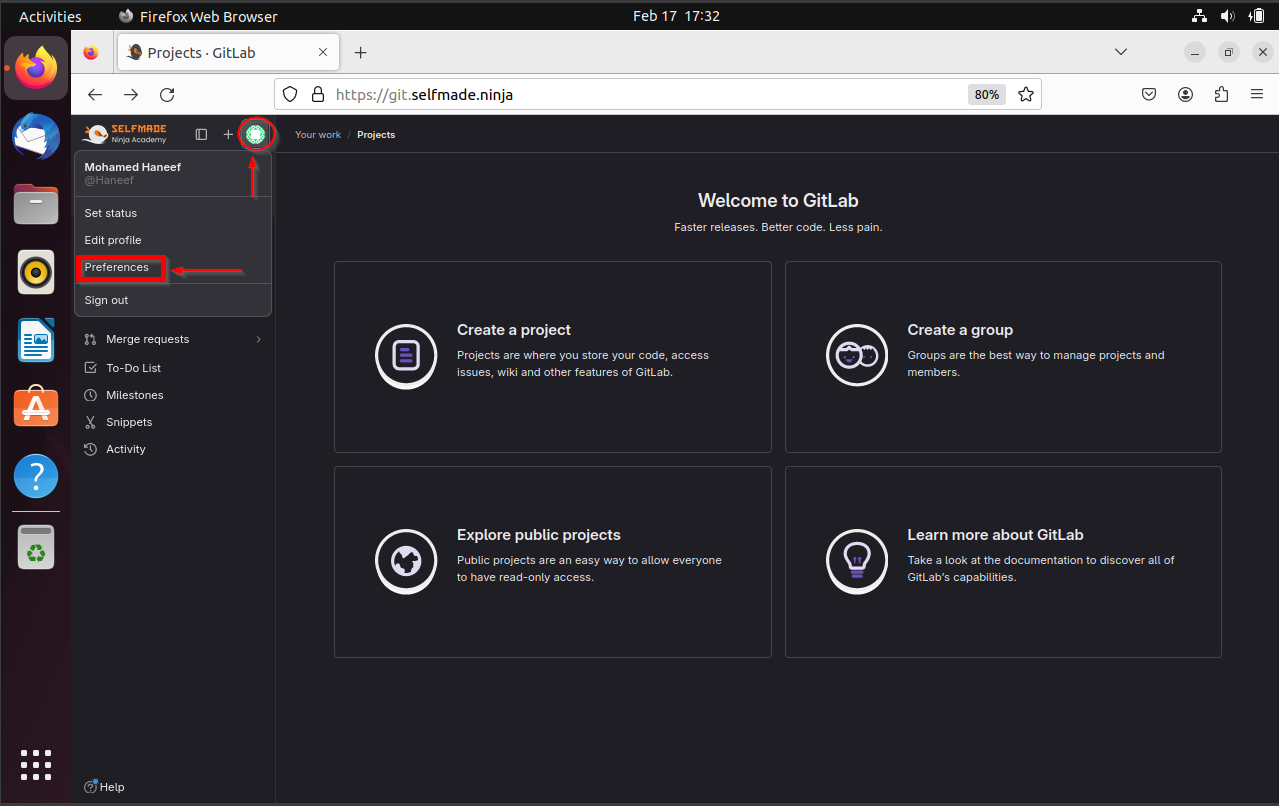
-
Select 'SSH keys' from the list of options, then select 'Add key'

-
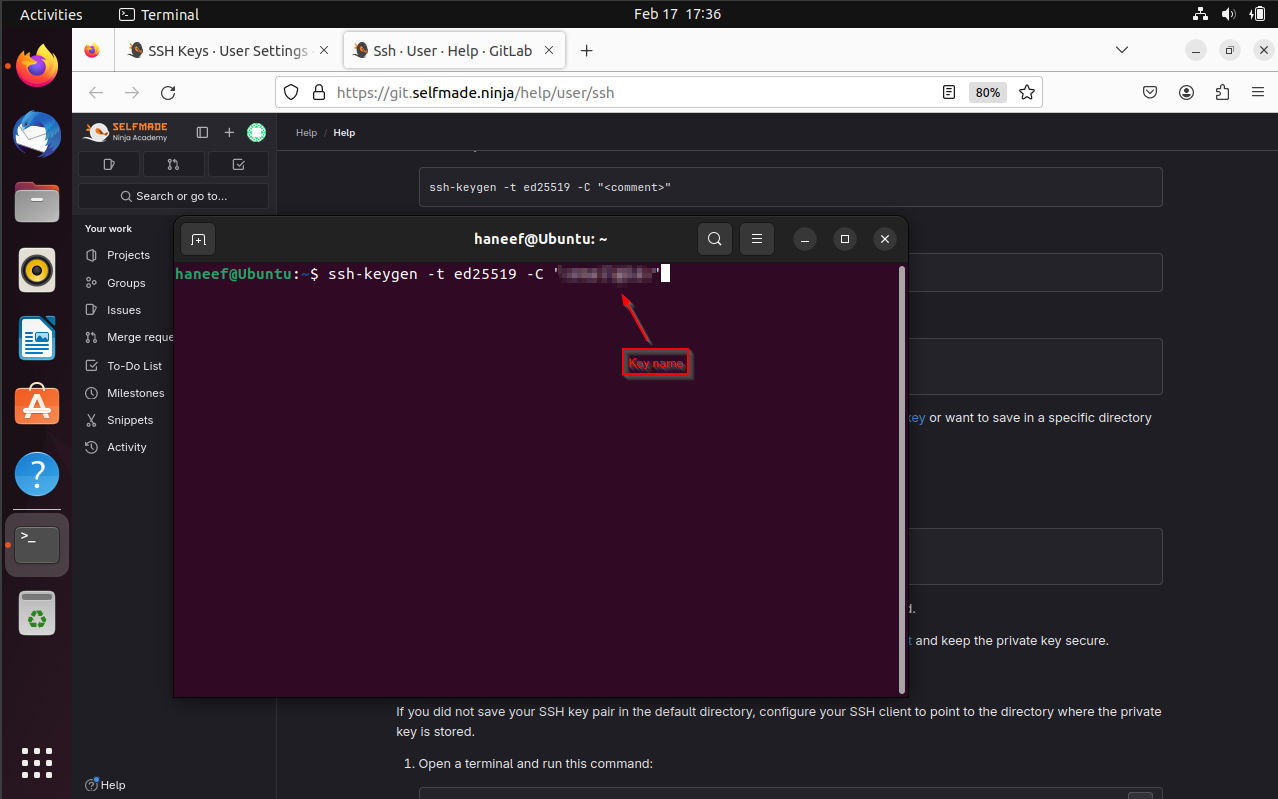
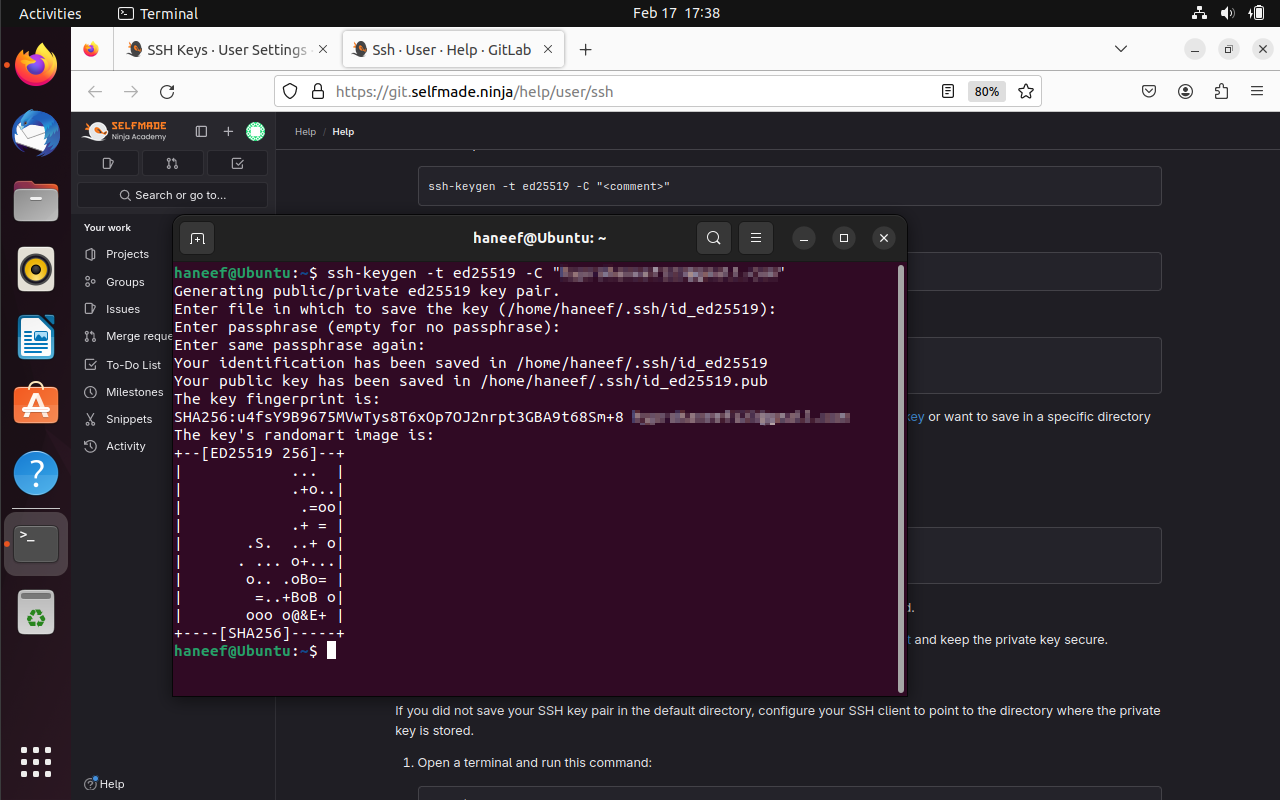
Open your Terminal and put any of the following commands to generate SSH keys
- For example, for ED25519:
ssh-keygen -t ed25519 -C "key-name" - For 2048-bit RSA:
ssh-keygen -t rsa -b 2048 -C "key-name"
You can add passphrase if needed
- For example, for ED25519:
-
Your SSH key is generated.
-
Now copy the key generated which has the extension
.pubin it.- To view the key, use
catcommand

- To view the key, use
-
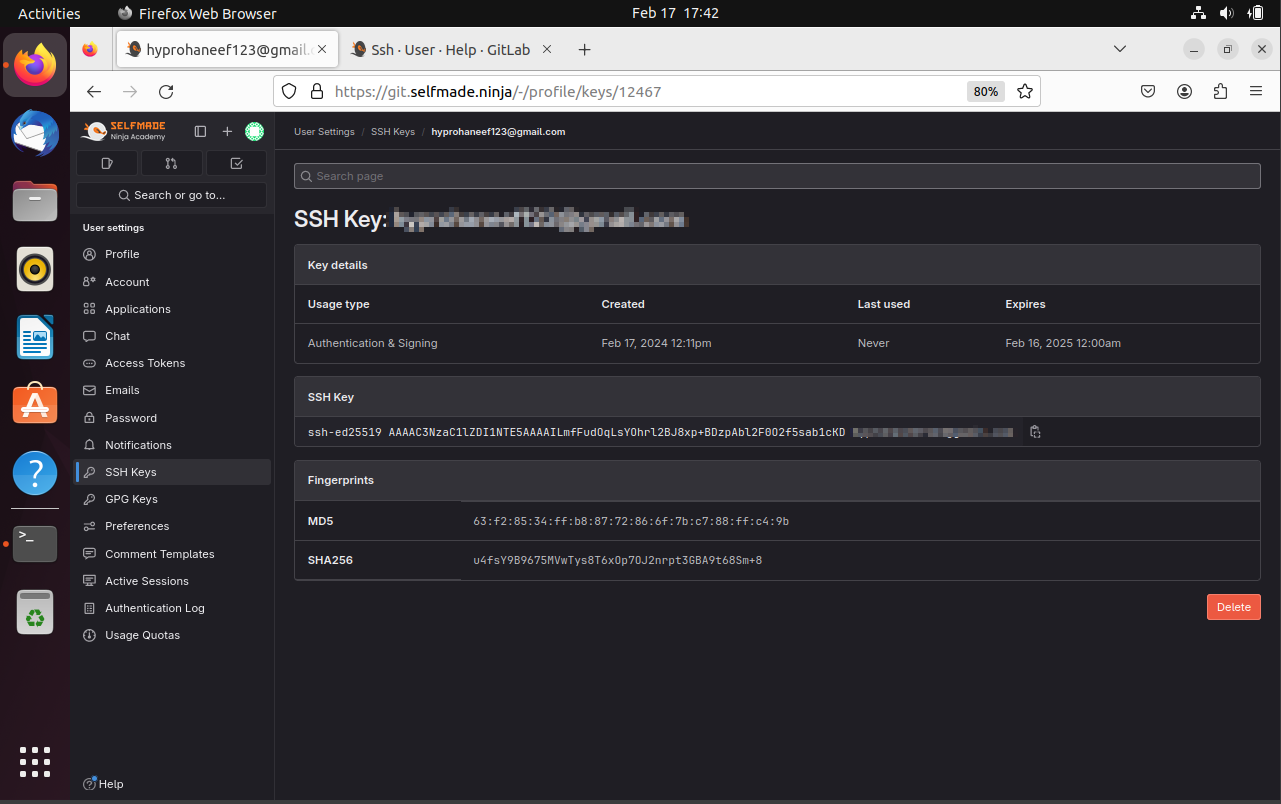
Paste the public key in the 'key' field, Change the title if needed, then press 'Add key'

-
Now your key has been successfully added.
Wireguard connection
-
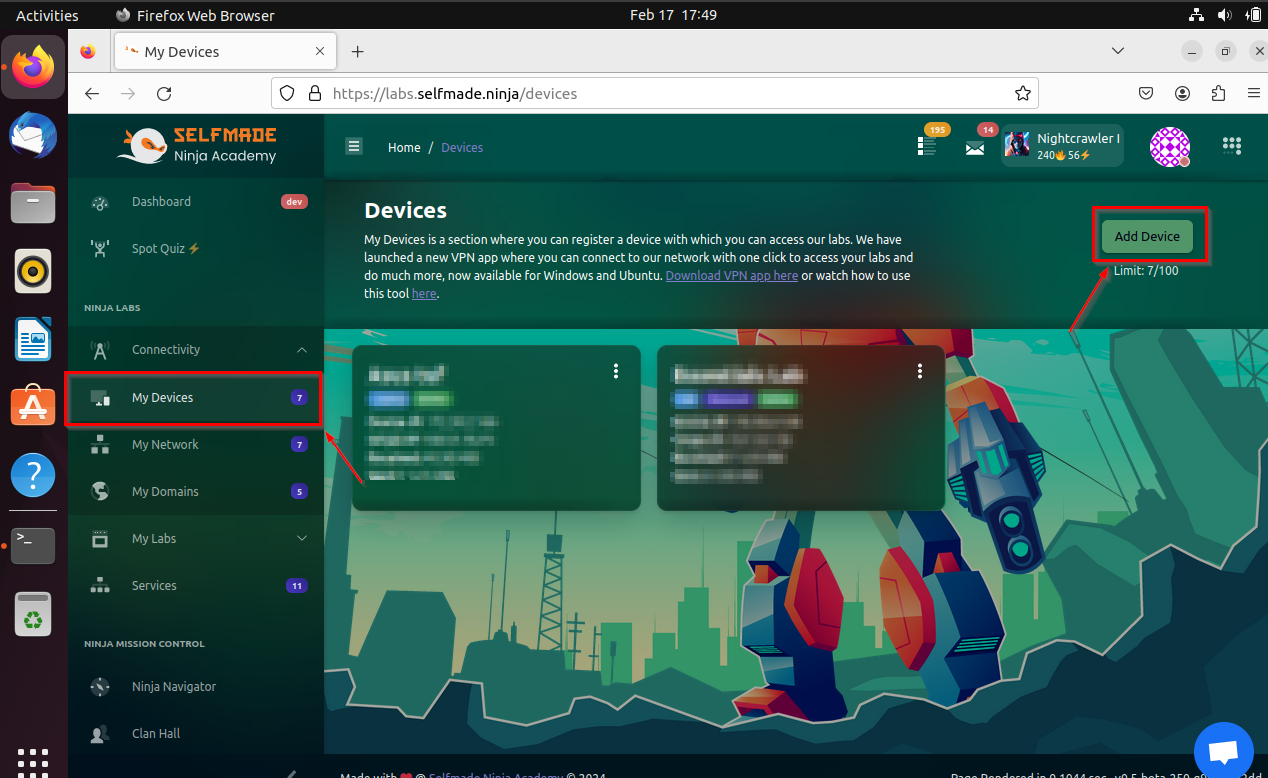
Now open https://labs.selfmade.ninja and login. Go to 'My Devices' under the connectivity tab, then click on 'Add Device' button and Fill it with your appropriate device requirements.
-
Open your terminal and install wireguard by putting the following command
sudo apt install wireguard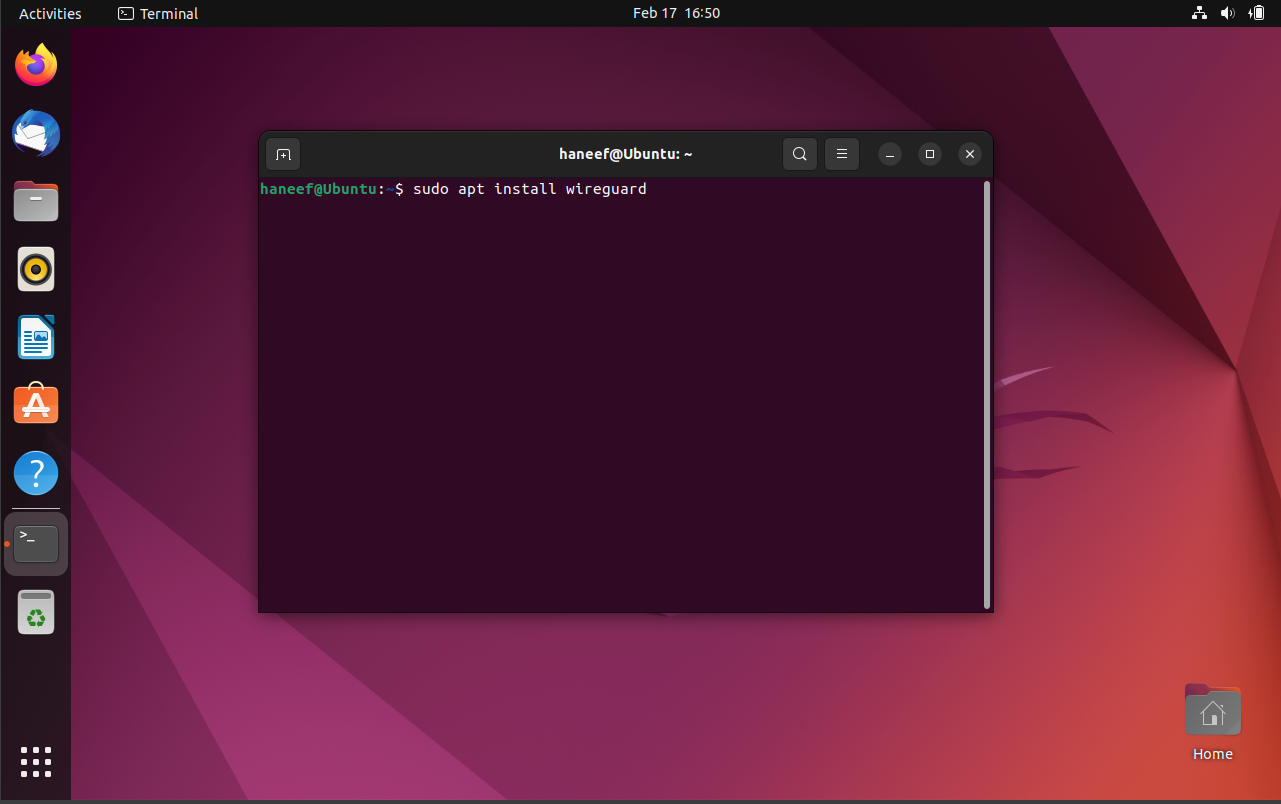
-
Check whether wireguard has been successfully installed by putting the following command
wg --version
-
Now generate a wireguard public key and private key by putting the following command
wg genkey | tee privatekey | wg pubkey > publickey
-
You can see that the private key and public key are generated by using
lscommand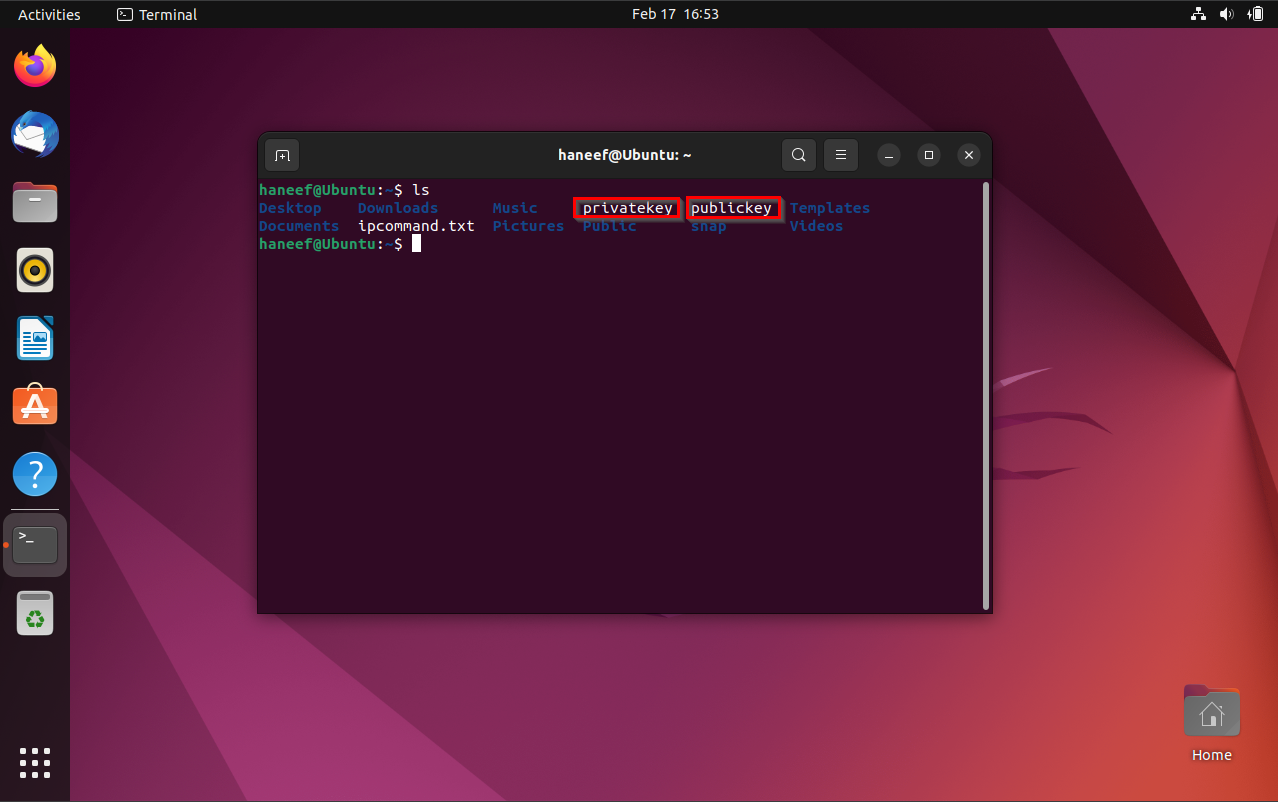
-
Copy the public key by opening it using
catcommand
-
Paste the 'Wireguard public key' which you have copied'. Then click 'Verify and Add' button.

-
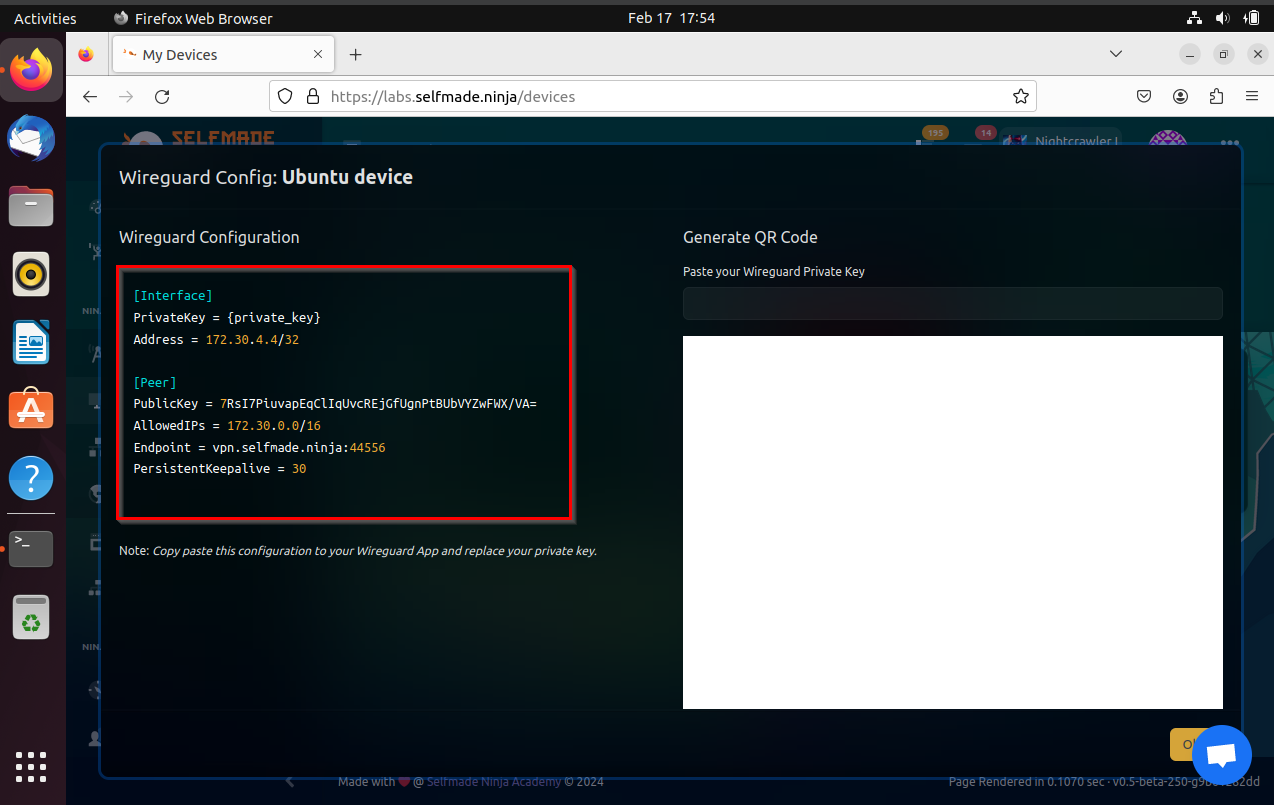
Now you can see that a new device has been added. But still there is no connection. to connect that press that three dots button, then select 'Show configuration'.

-
Copy the Info in it.
-
Now open terminal and create a new wireguard configuration file by using this command.
sudo nano /etc/wireguard/confname.conf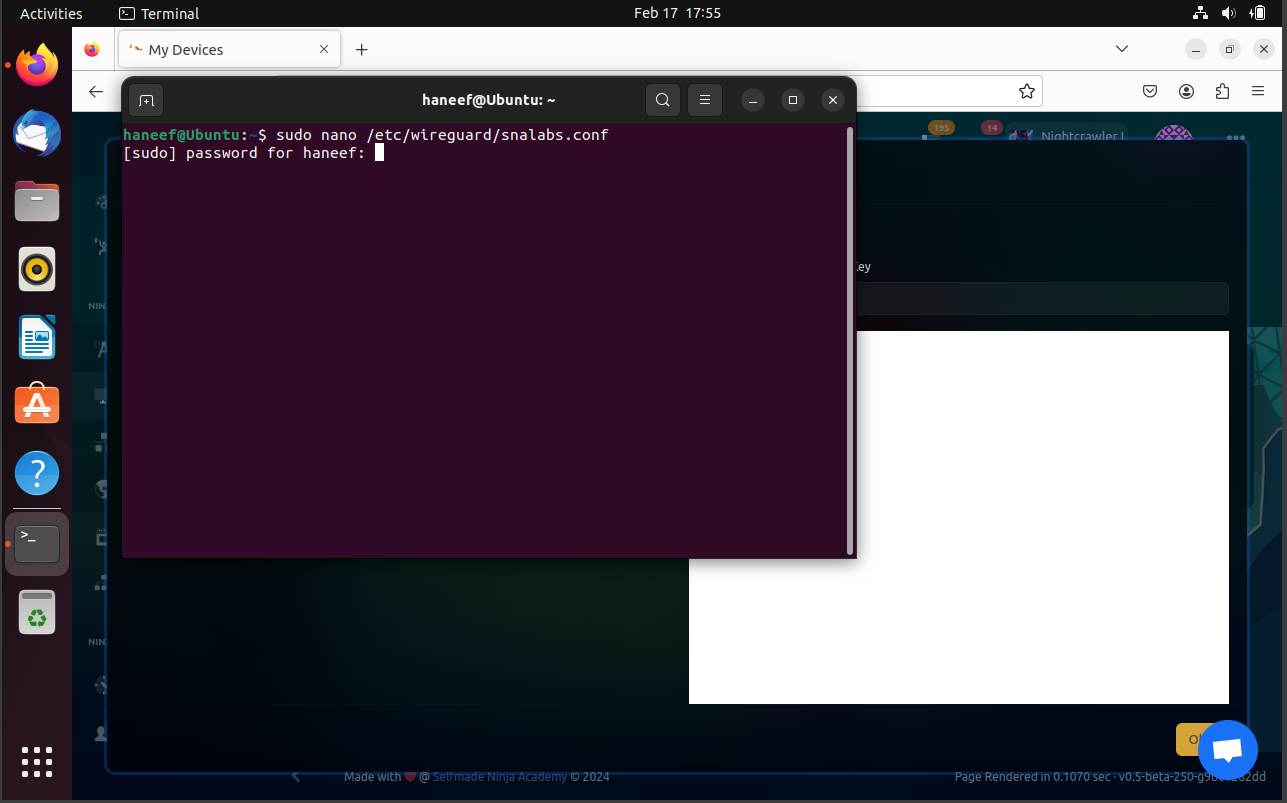
Make sure you keep the conf file in the above given location.You can change the name of the conf file as you want.
-
Replace the private key with your private key you generated. and then save it.
-
Now give the following command to start the on the wireguard connection.
sudo wg-quick up confname
-
You can check whether it has been connected successfully by using the following command
sudo wg show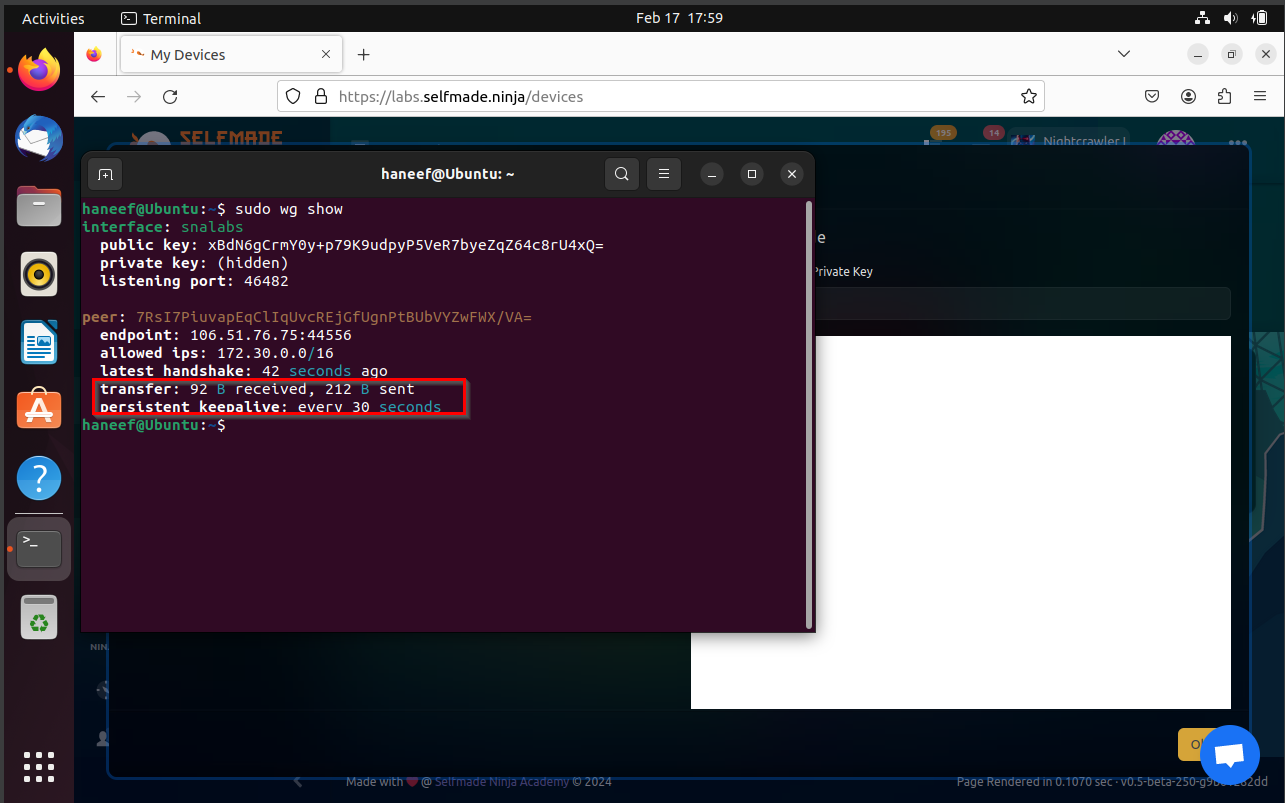
-
Now you can see that your device has become online

-
Open 'My Labs', Go to 'Machine Labs', then go to 'Essentials Labs'
-
Click 'Deploy'

-
Click on 'Confirm Deploy'

-
Now copy the SSH command from the connetion settings.

-
Open terminal and connect with essentials lab by pasting the SSH command

-
You have connected to the labs successfully
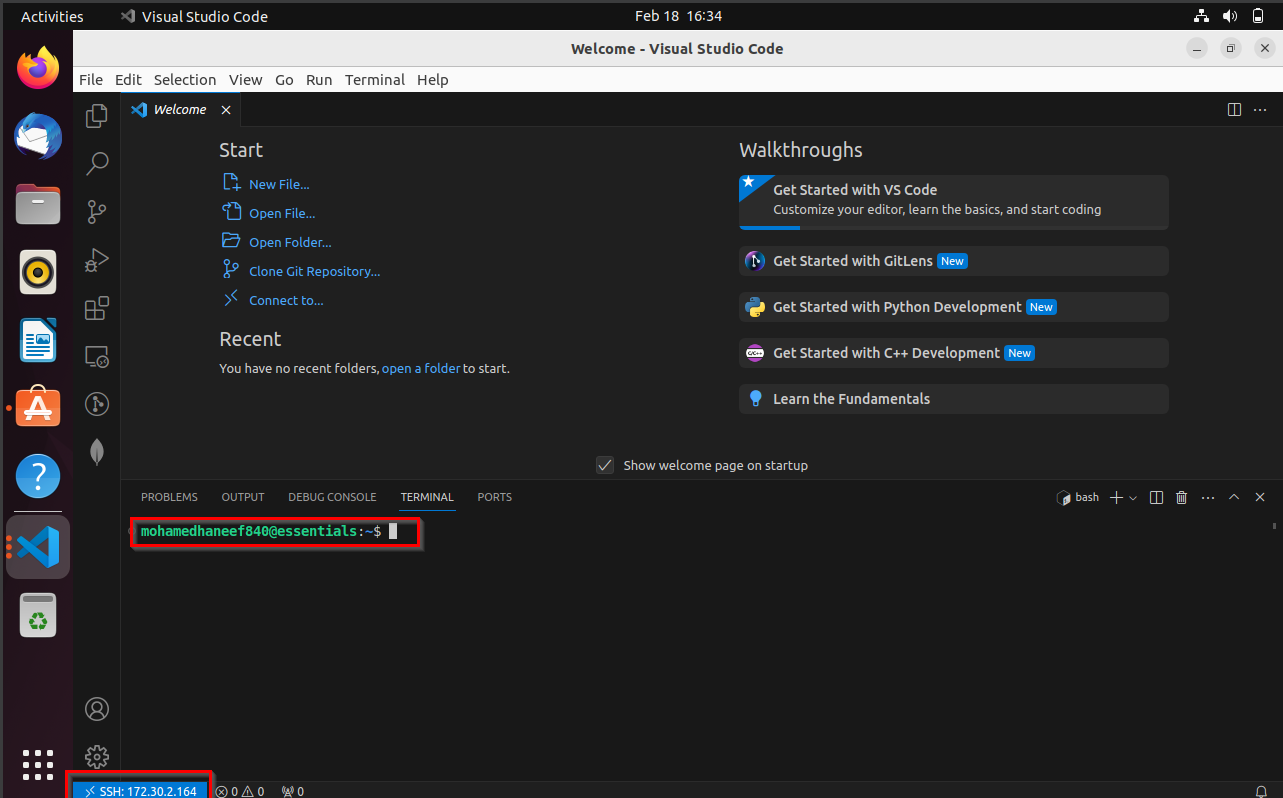
Visual Studio Code
-
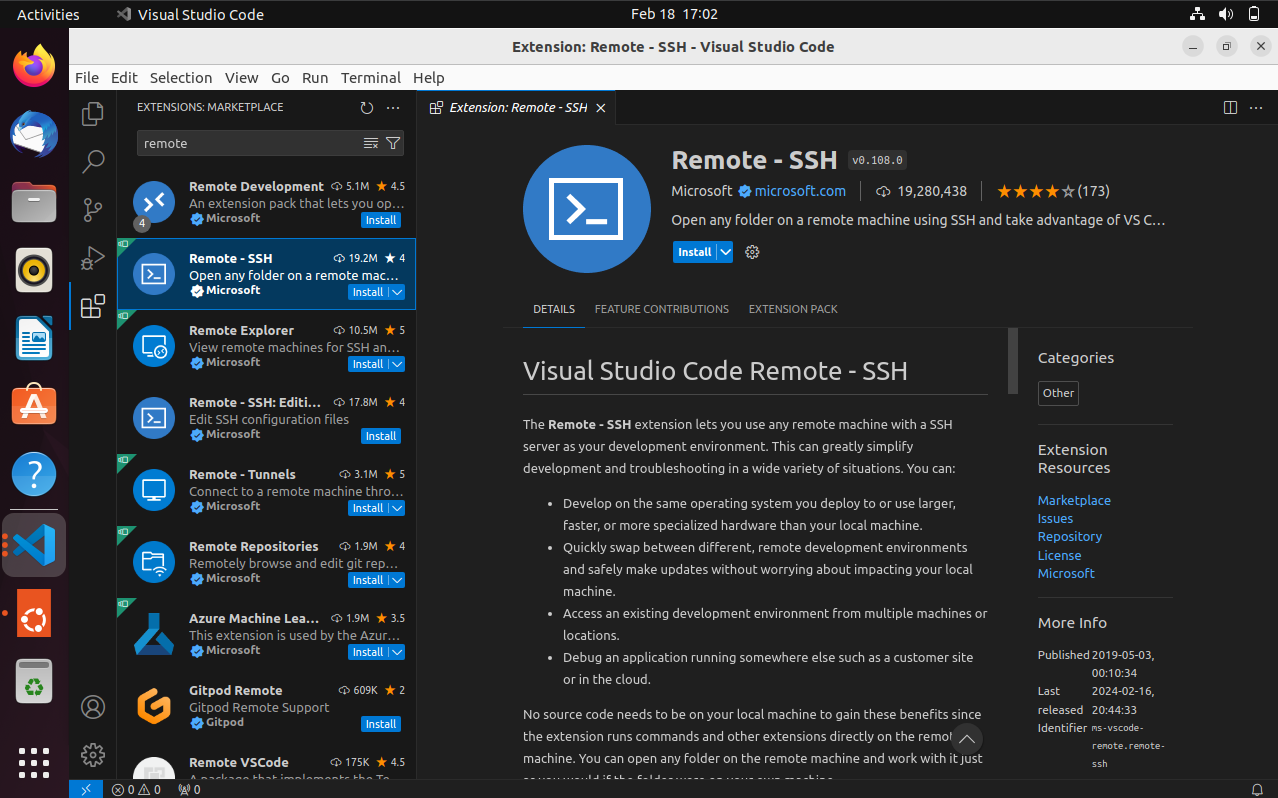
Open VS code and install Remote-SSH extenstion
-
Click the icon from the bottom-left, click 'connect to host'

-
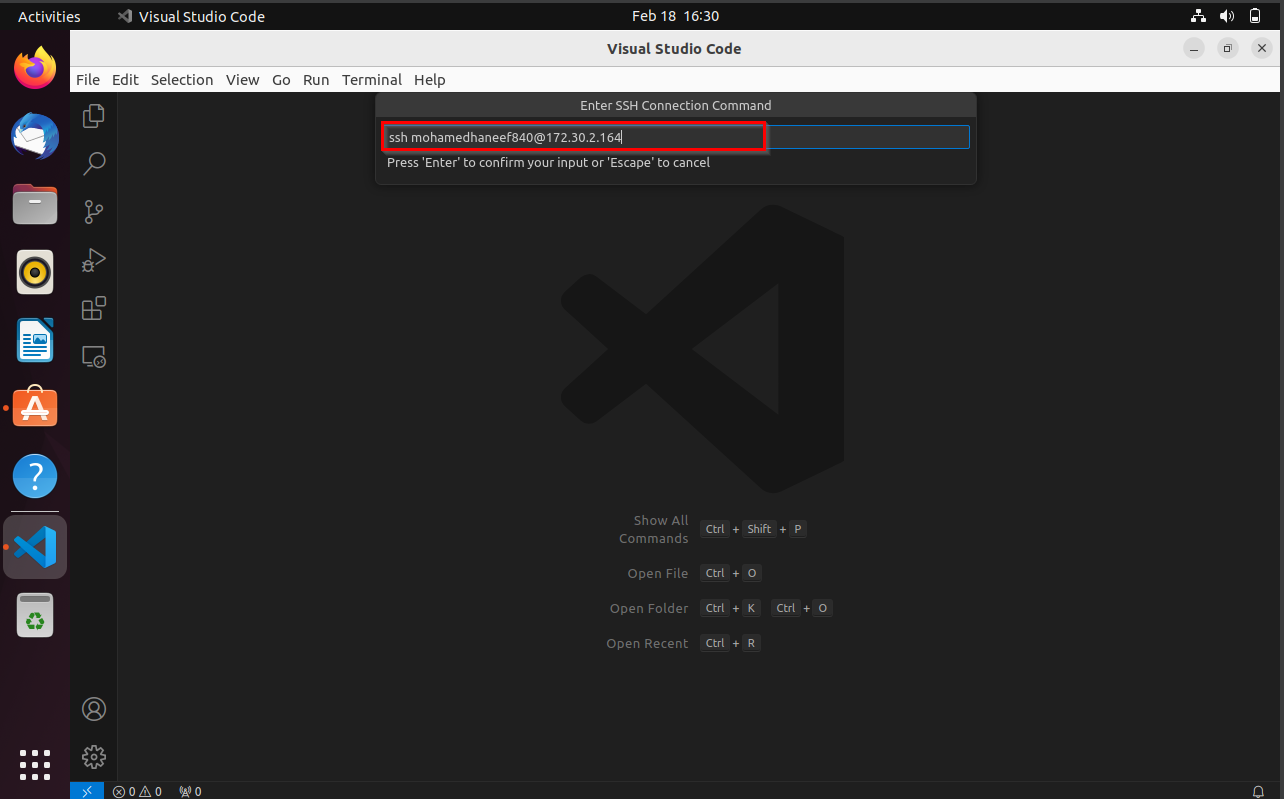
Click 'Add new SSH host'

-
Paste the SSH command, and hit enter.
-
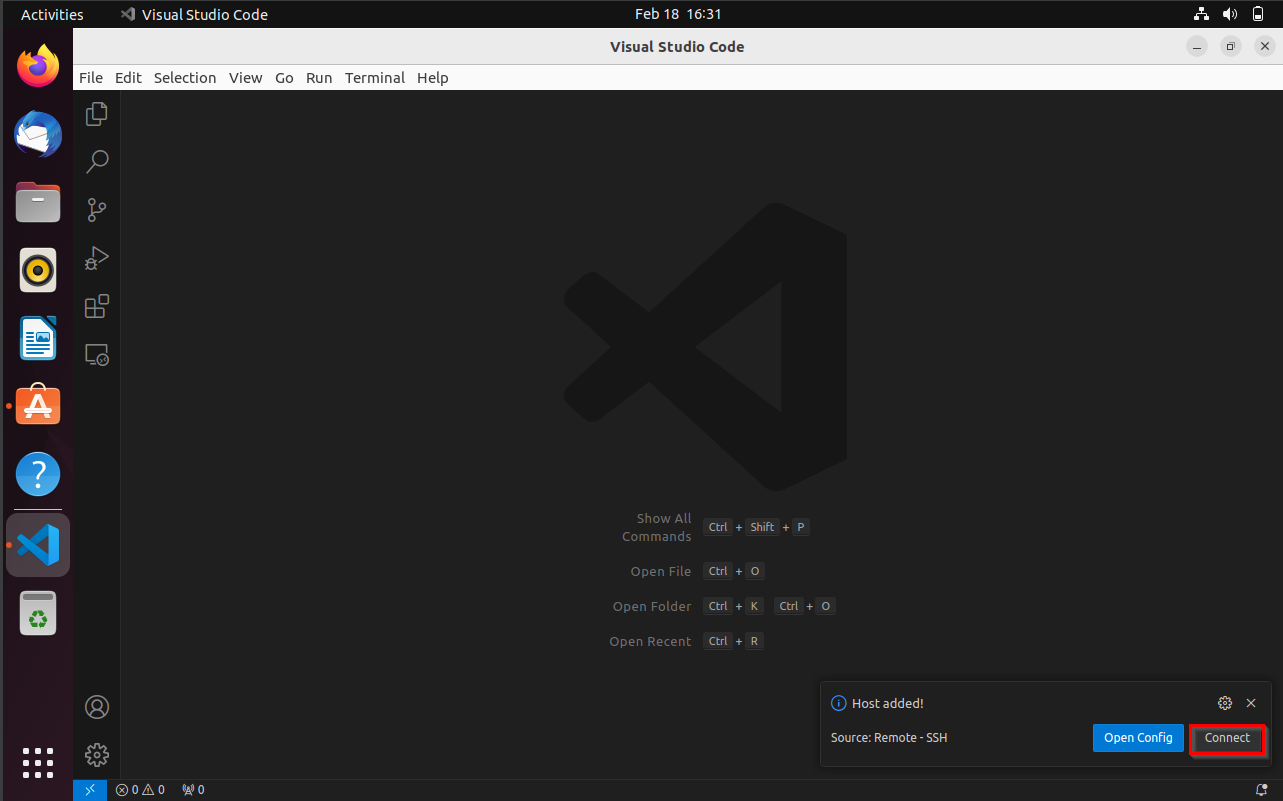
Click 'Connect' below
-
You have successfully with labs vis VS code. you can open the terminal and check it. Also you can see that the SSH is connected to your labs