Welcome to our comprehensive guide on connecting to SNA Labs using SSH and WireGuard, and configuring Visual Studio Code for remote development. In this tutorial, we'll walk you through the entire process, ensuring that you can seamlessly integrate your Ubuntu environment with these powerful tools.
Ubuntu is a versatile and robust operating system, ideal for both development and daily tasks. By leveraging Ubuntu's capabilities, you'll enhance your ability to manage remote servers, deploy applications, and streamline your workflow. Whether you're new to Ubuntu or a seasoned user, this guide will provide you with essential skills to optimize your development setup and fully utilize your Ubuntu system.
Let's dive in and unlock the full potential of Ubuntu together!
Prerequisites
- SNA Gitlab account (Create one by clicking here)
Connect to SNA Labs
Adding SSH Keys
-
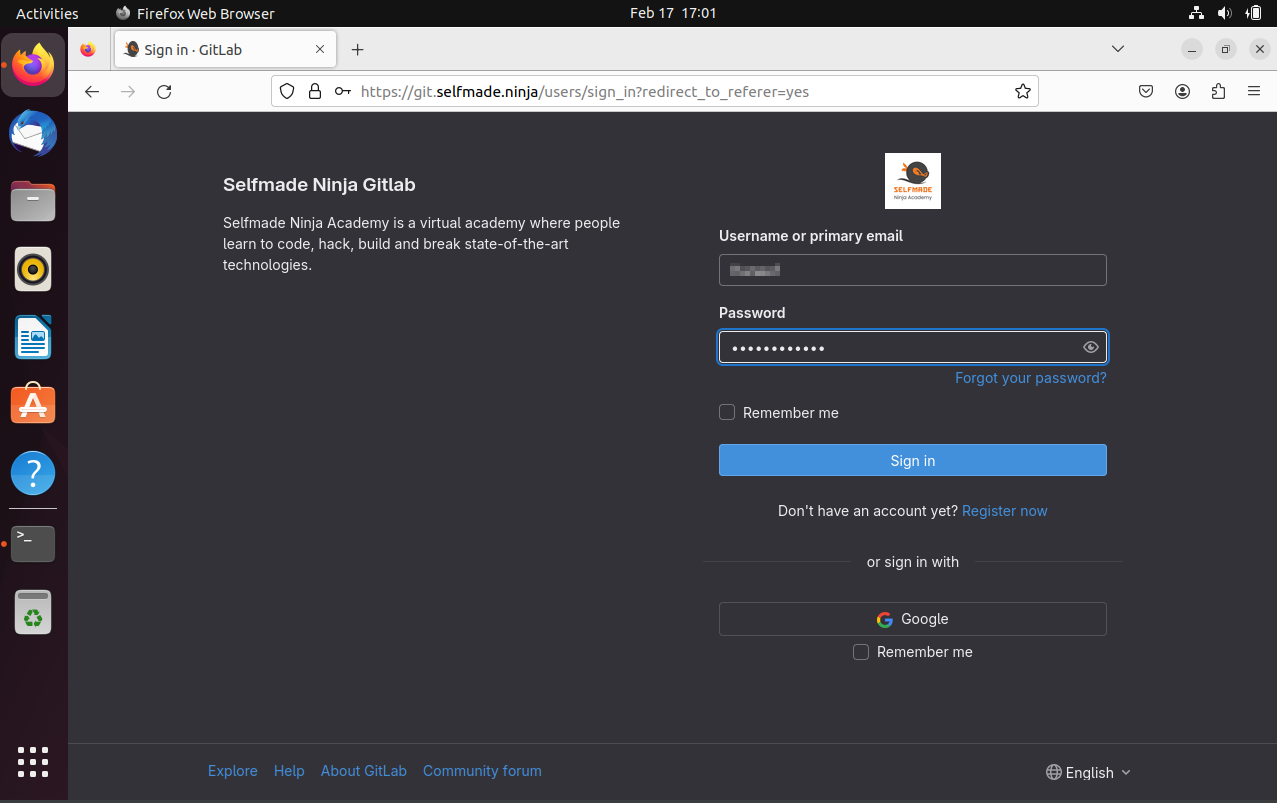
Login your credentials by clicking here.
-
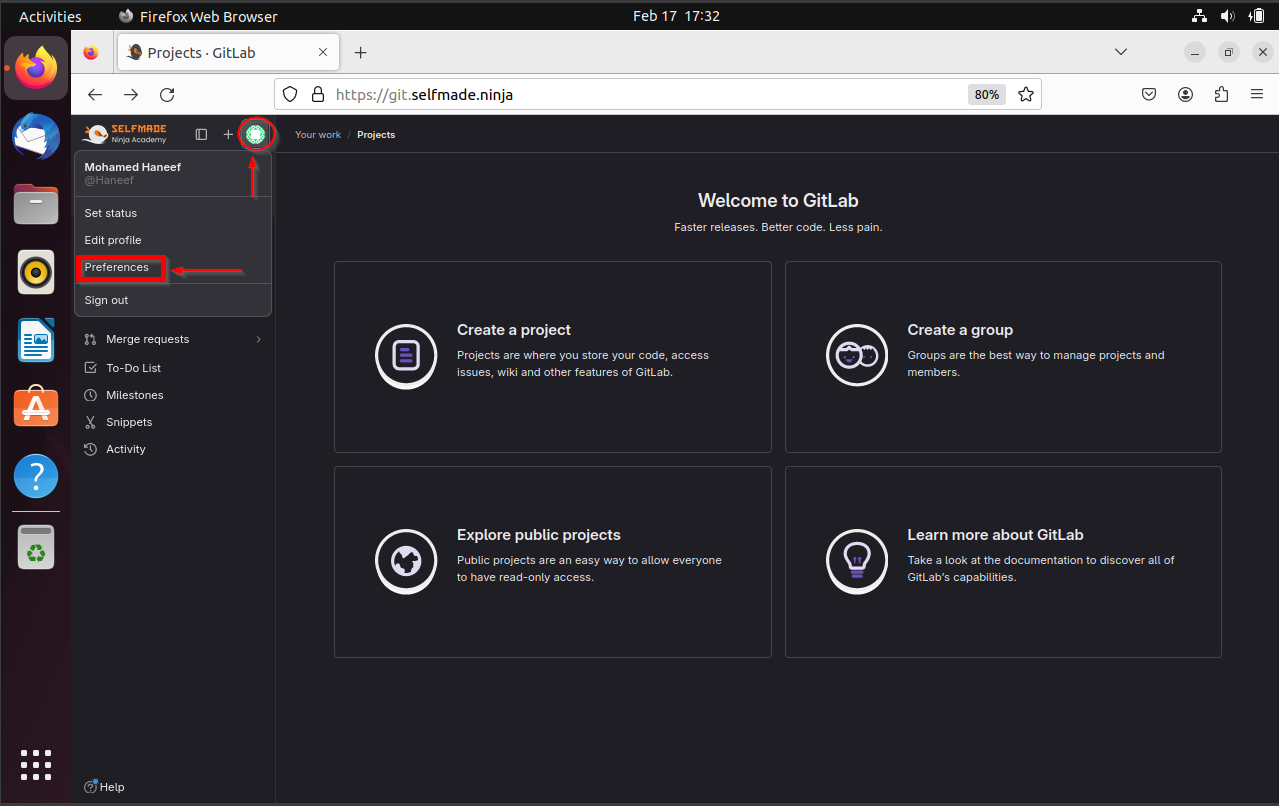
Select your profile, then click on 'preferences' tab
-
Select 'SSH keys' from the list of options, then select 'Add key'

-
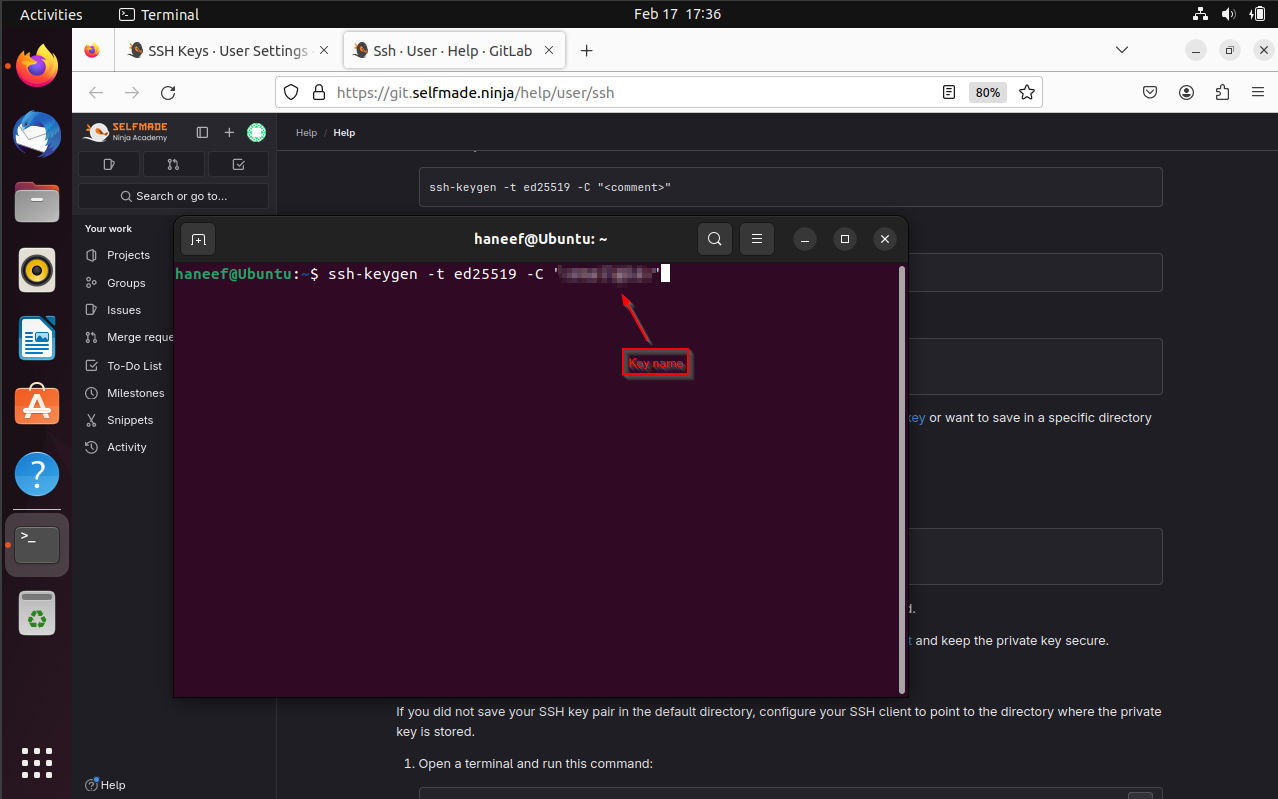
Open your Terminal and put any of the following commands to generate SSH keys
- For example, for ED25519:
ssh-keygen -t ed25519 -C "key-name" - For 2048-bit RSA:
ssh-keygen -t rsa -b 2048 -C "key-name"
You can add passphrase if needed
- For example, for ED25519:
-
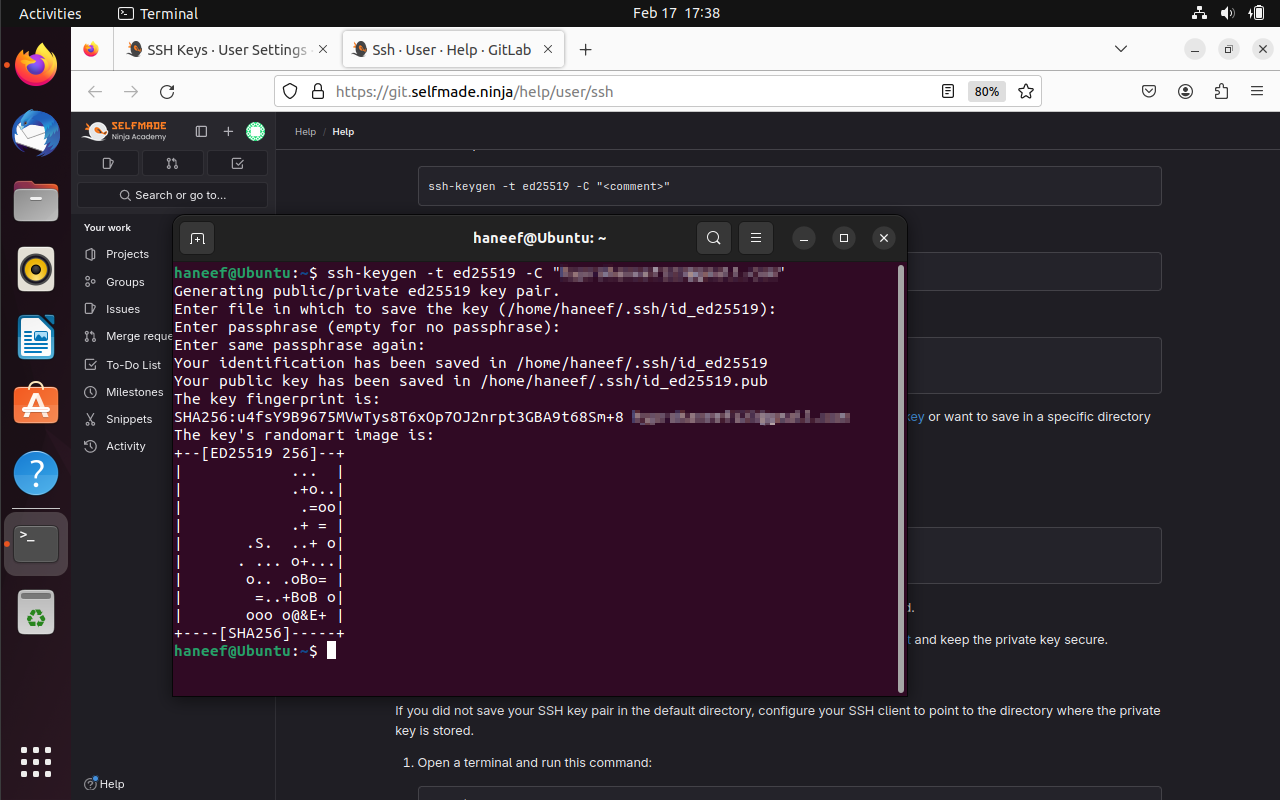
Your SSH key is generated.
-
Now copy the key generated which has the extension
.pubin it.- To view the key, use
catcommand

- To view the key, use
-
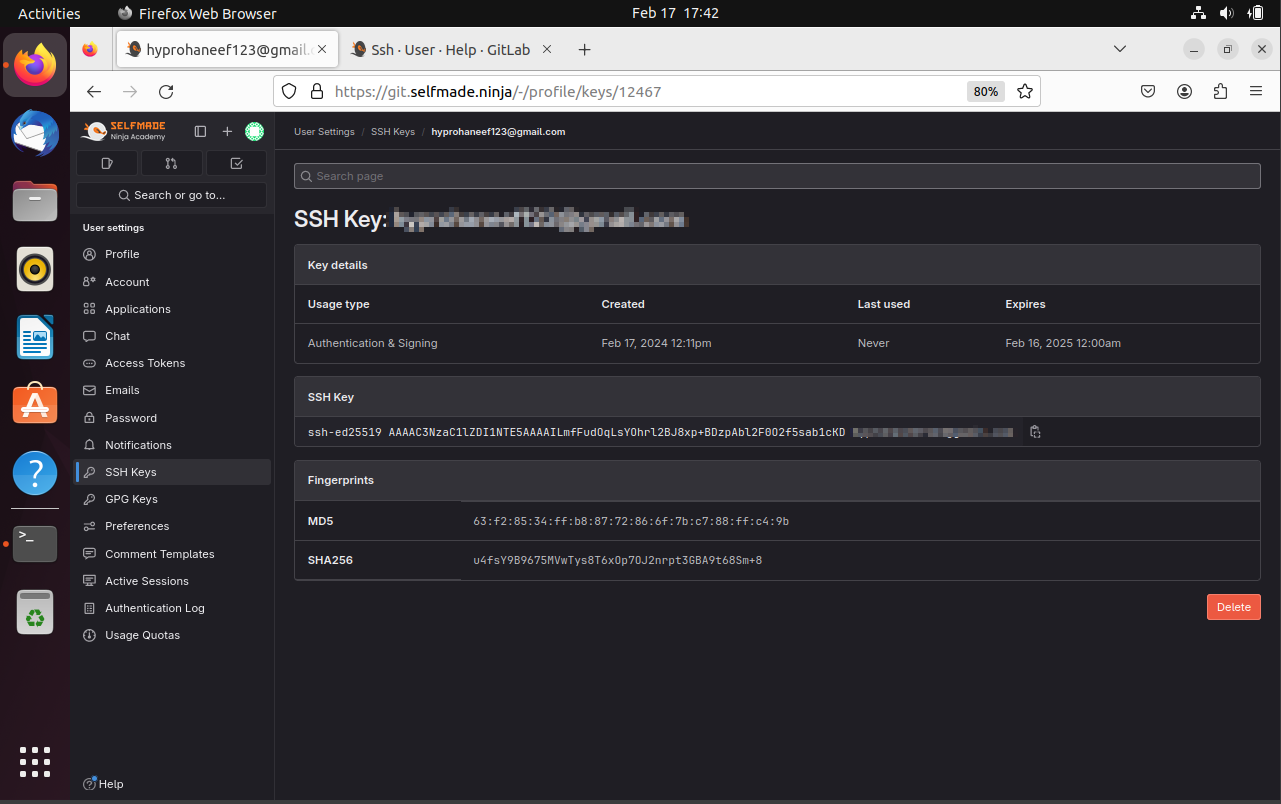
Paste the public key in the 'key' field, Change the title if needed, then press 'Add key'

-
Now your key has been successfully added.
Wireguard connection
-
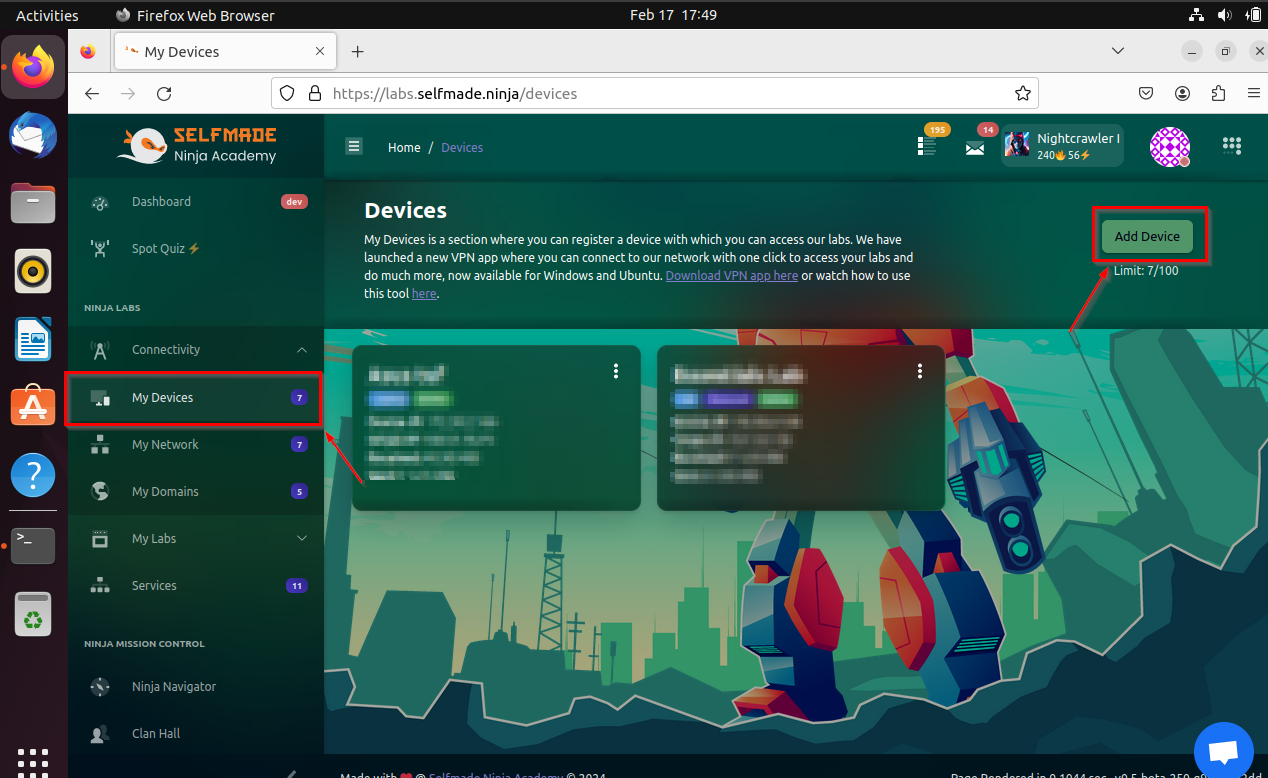
Now open https://labs.selfmade.ninja and login. Go to 'My Devices' under the connectivity tab, then click on 'Add Device' button and Fill it with your appropriate device requirements.
-
Open your terminal and install wireguard by putting the following command
sudo apt install wireguard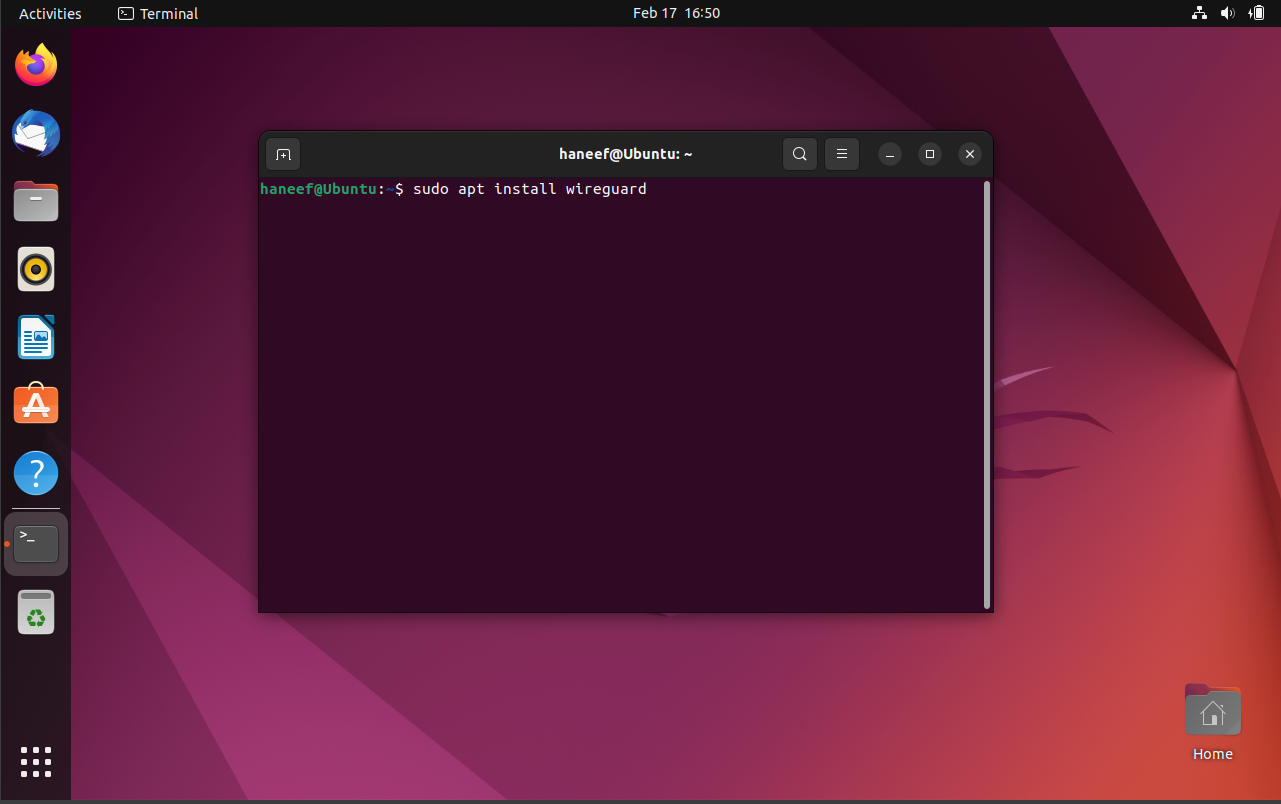
-
Check whether wireguard has been successfully installed by putting the following command
wg --version
-
Now generate a wireguard public key and private key by putting the following command
wg genkey | tee privatekey | wg pubkey > publickey
-
You can see that the private key and public key are generated by using
lscommand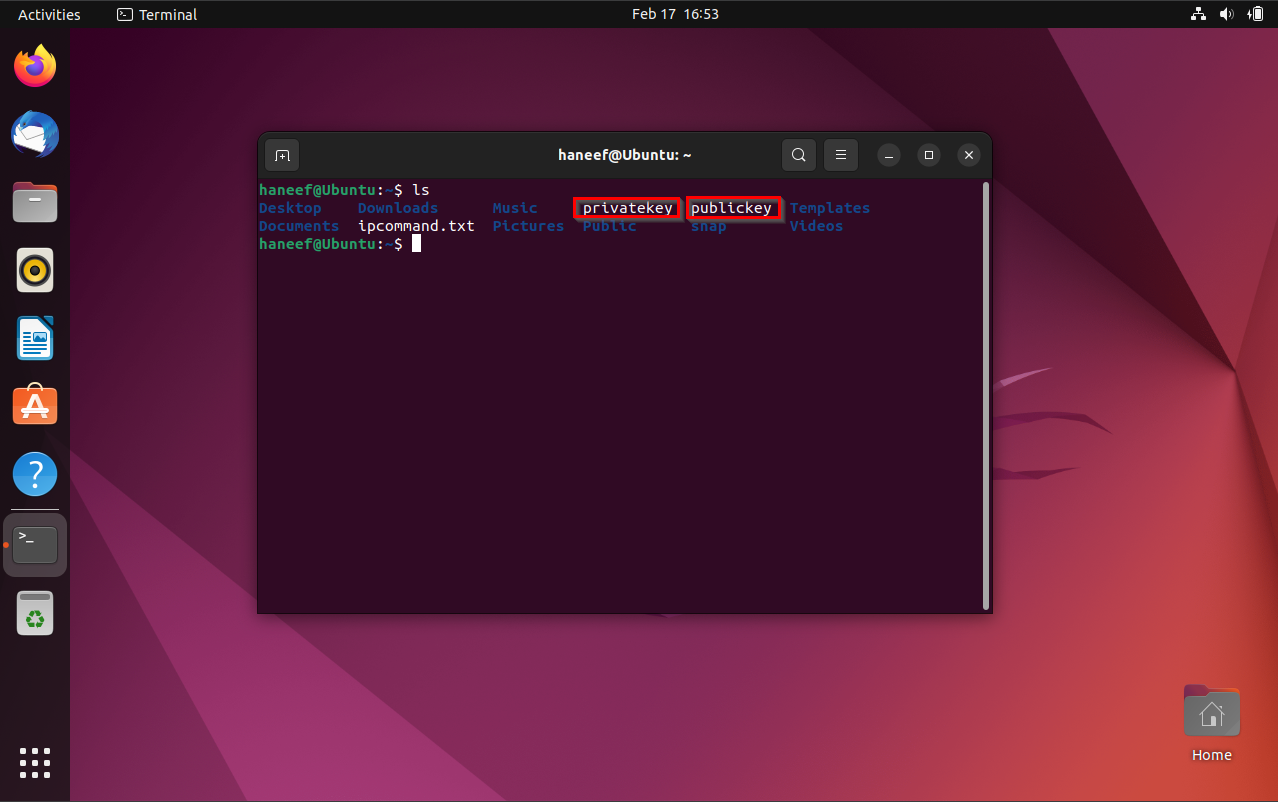
-
Copy the public key by opening it using
catcommand
-
Paste the 'Wireguard public key' which you have copied'. Then click 'Verify and Add' button.

-
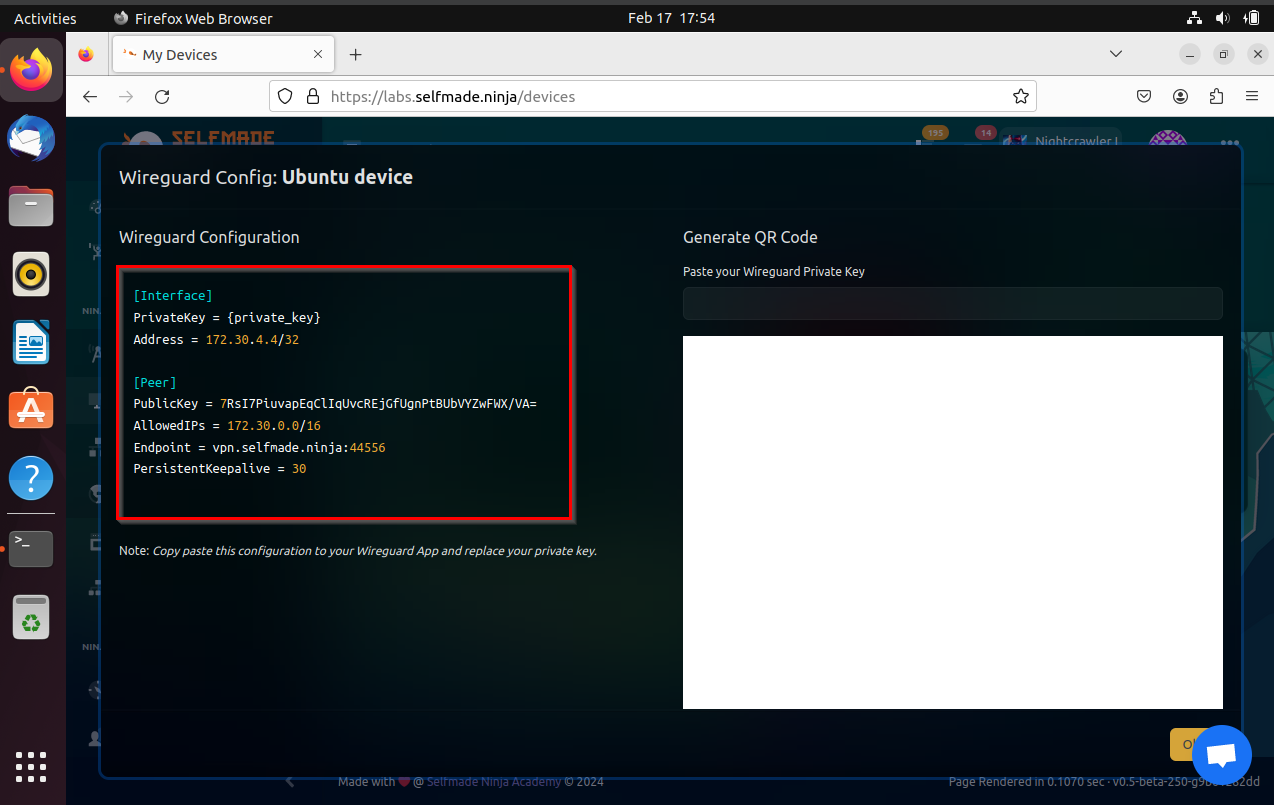
Now you can see that a new device has been added. But still there is no connection. to connect that press that three dots button, then select 'Show configuration'.

-
Copy the Info in it.
-
Now open terminal and create a new wireguard configuration file by using this command.
sudo nano /etc/wireguard/confname.conf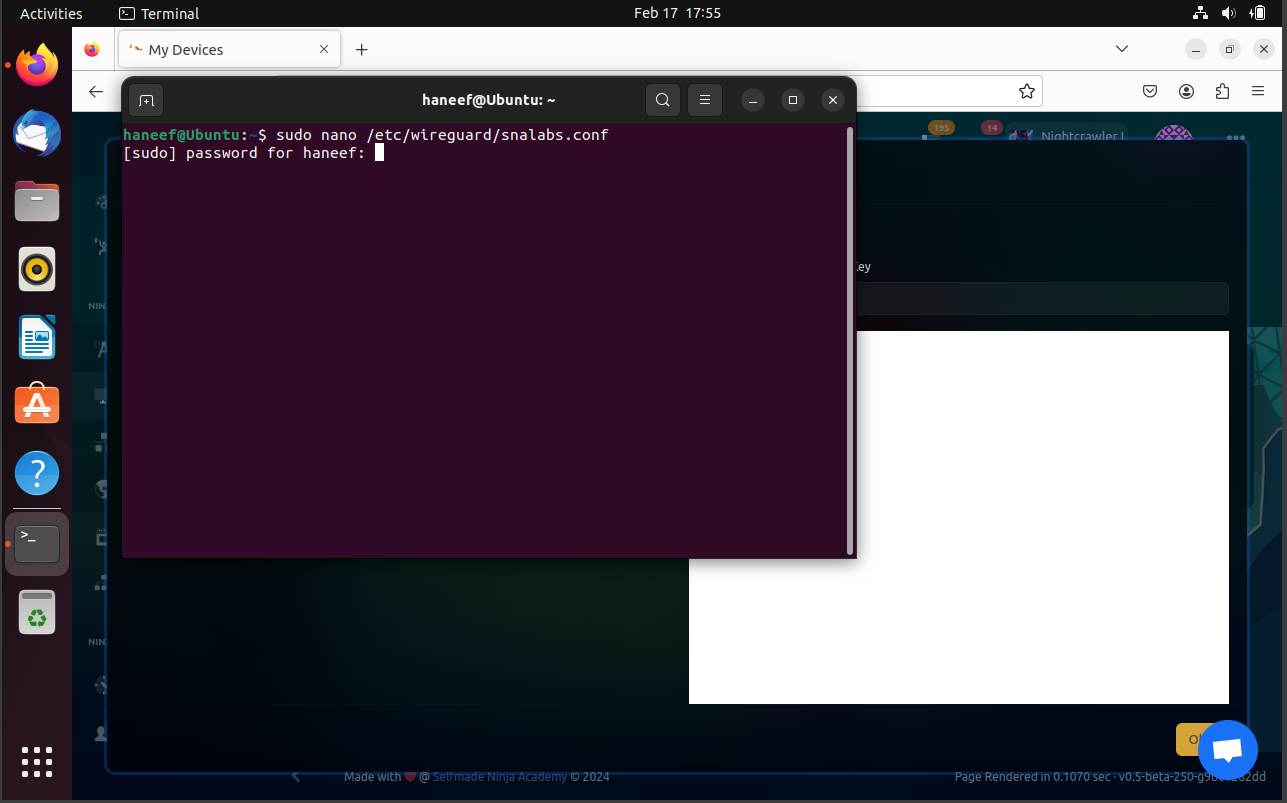
Make sure you keep the conf file in the above given location.You can change the name of the conf file as you want.
-
Replace the private key with your private key you generated. and then save it.
-
Now give the following command to start the on the wireguard connection.
sudo wg-quick up confname
-
You can check whether it has been connected successfully by using the following command
sudo wg show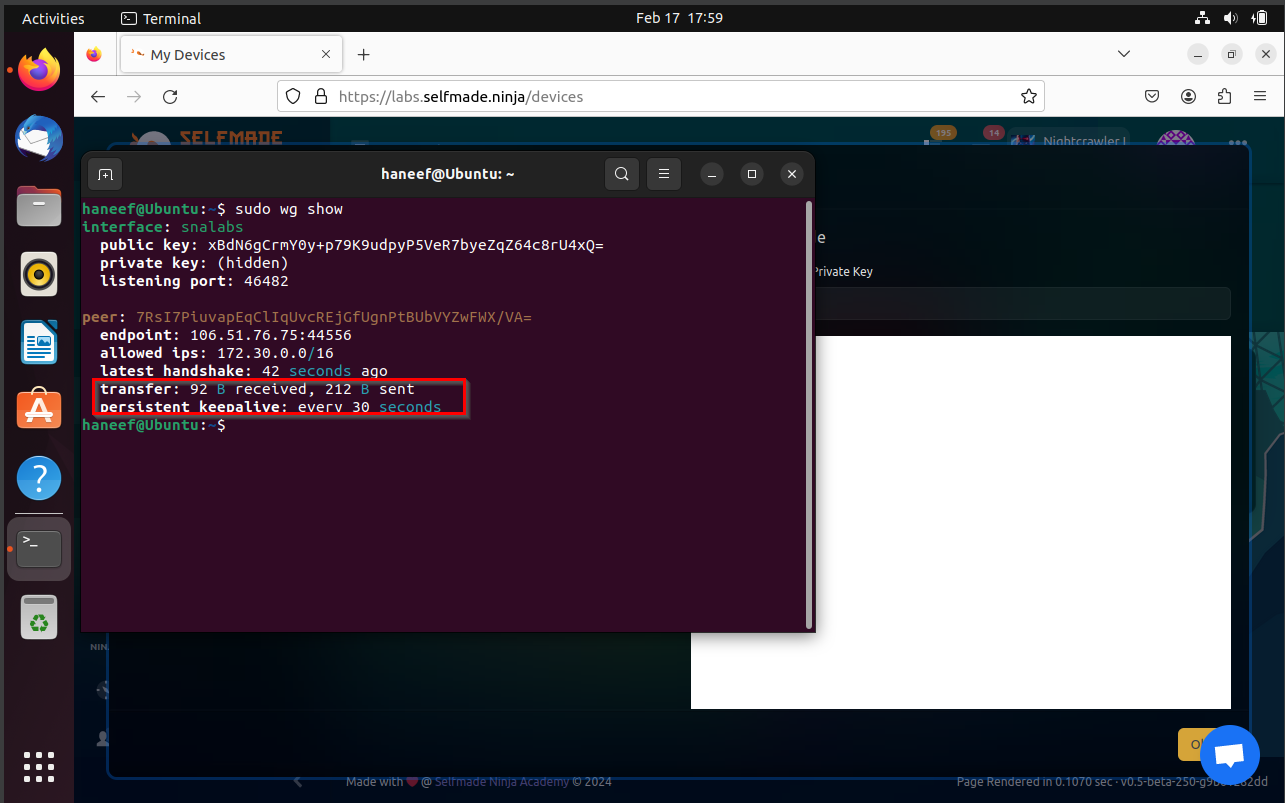
-
Now you can see that your device has become online

-
Open 'My Labs', Go to 'Machine Labs', then go to 'Essentials Labs'
-
Click 'Deploy'

-
Click on 'Confirm Deploy'

-
Now copy the SSH command from the connetion settings.

-
Open terminal and connect with essentials lab by pasting the SSH command

-
You have connected to the labs successfully
Visual Studio Code
-
Open VS code and install Remote-SSH extenstion
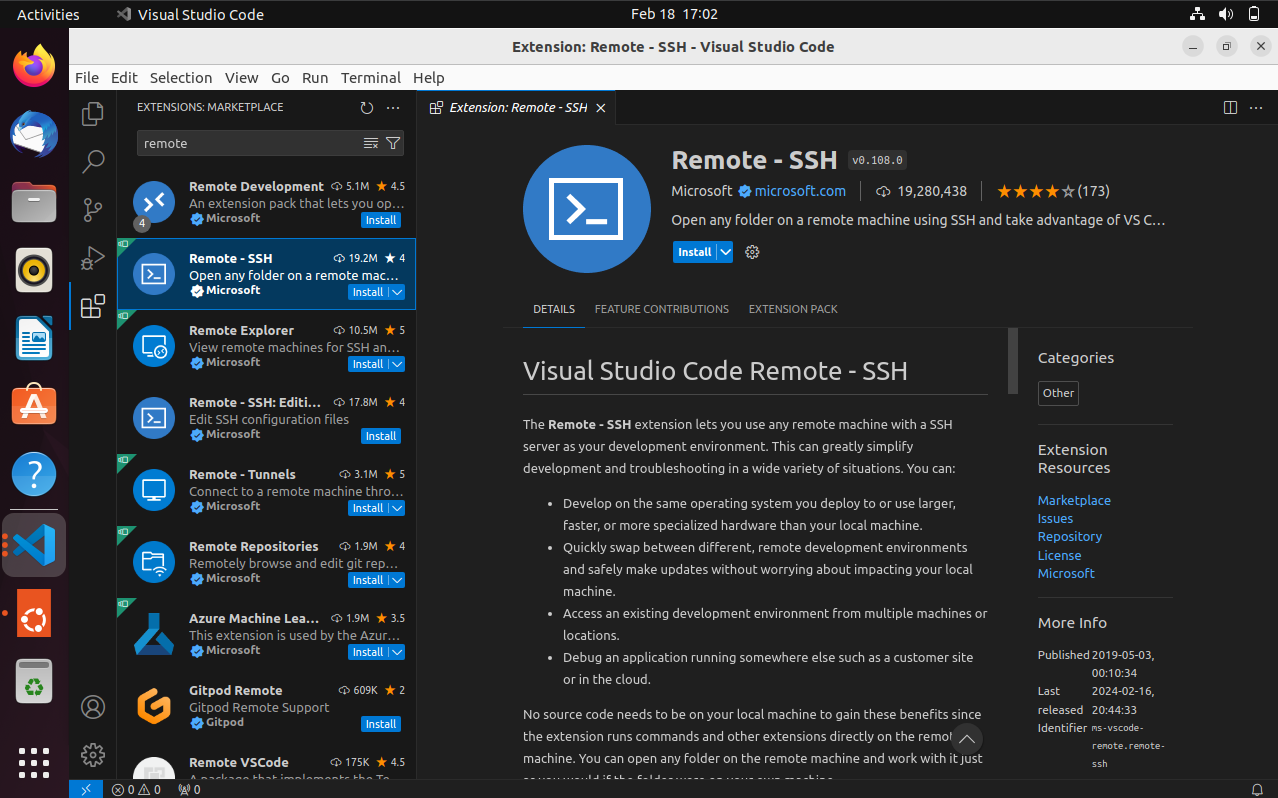
-
Click the icon from the bottom-left, click 'connect to host'

-
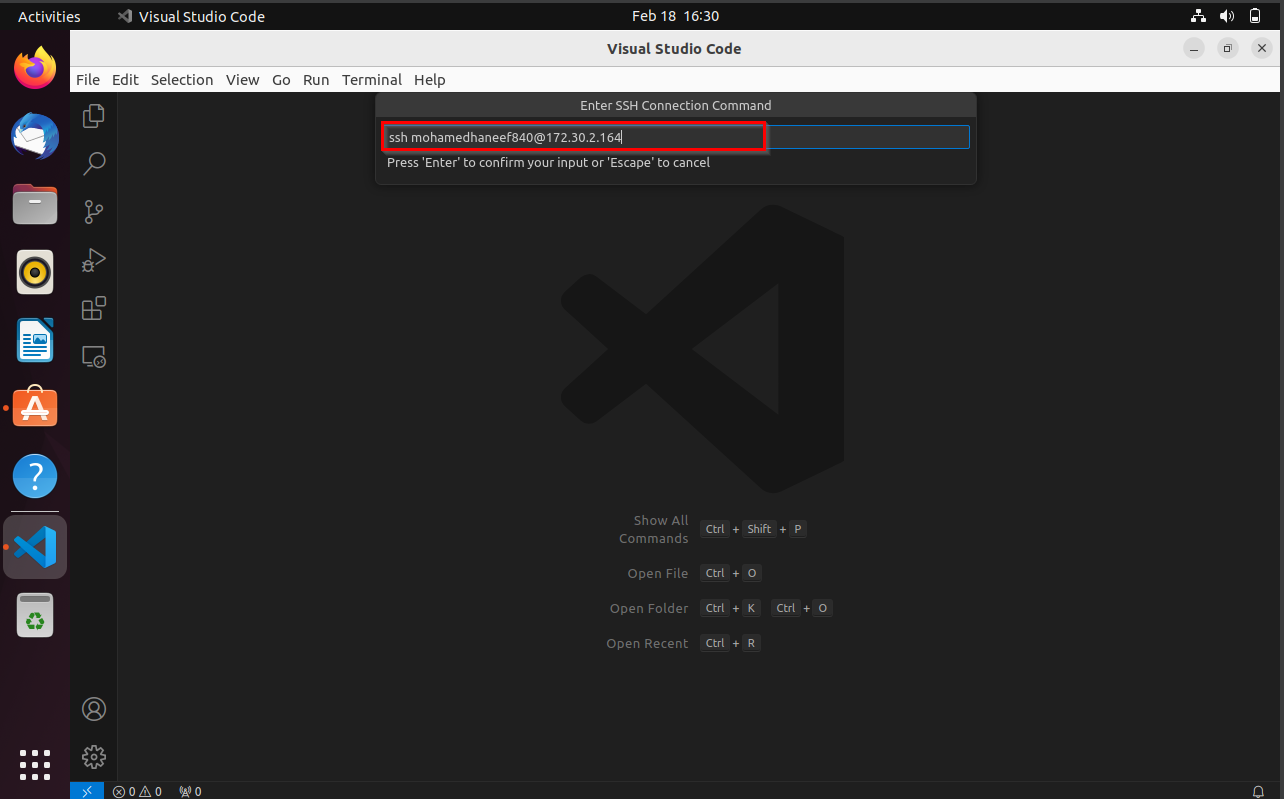
Click 'Add new SSH host'

-
Paste the SSH command, and hit enter.
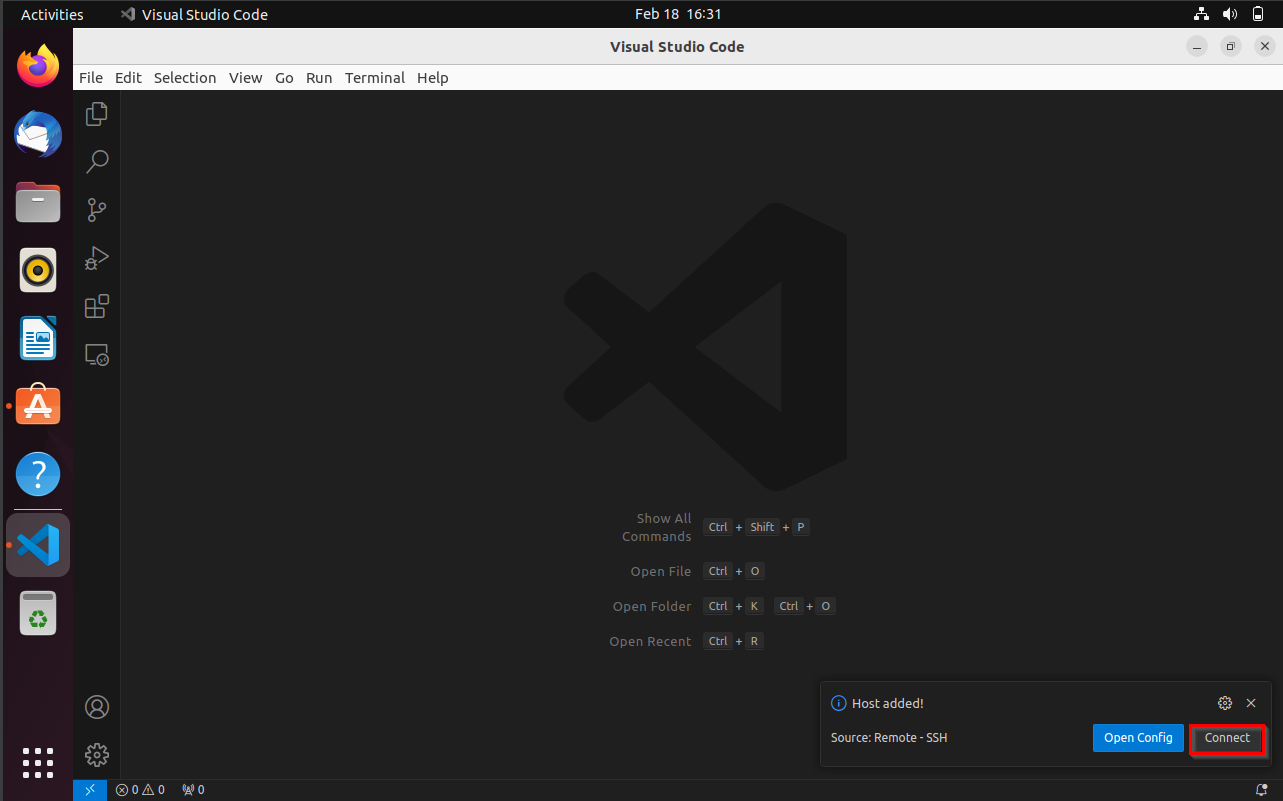
-
Click 'Connect' below
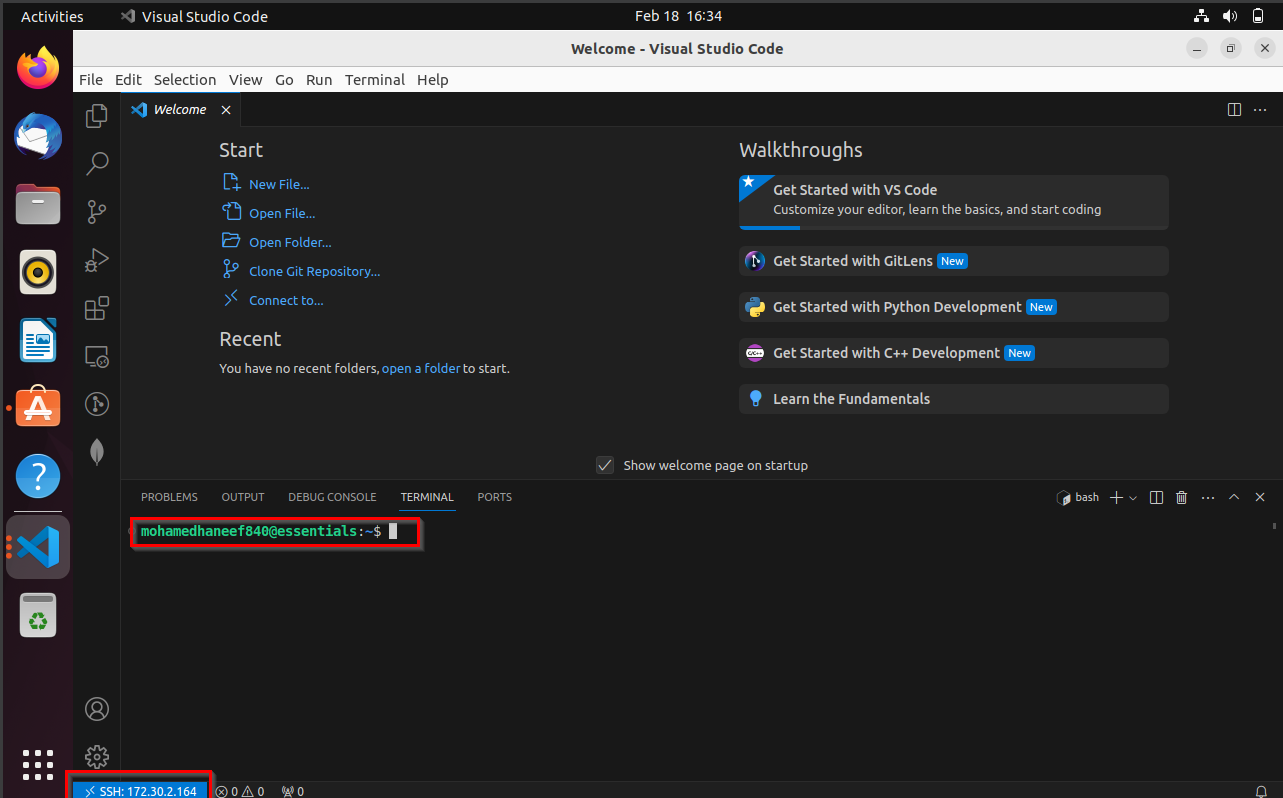
-
You have successfully with labs vis VS code. you can open the terminal and check it. Also you can see that the SSH is connected to your labs
Conclusion
Congratulations! You've successfully navigated the setup process for connecting to SNA Labs using SSH and WireGuard, and even configured Visual Studio Code for remote development. With these steps completed, you now have a robust environment to work on your projects directly from Ubuntu.
By mastering these techniques, you're equipped to efficiently manage and access remote servers, all from the comfort of your Ubuntu system. Whether you're deploying applications, performing complex tasks, or simply exploring new functionalities, Ubuntu will serve as your reliable platform.
Feel free to revisit these steps as needed and continue leveraging the power of Ubuntu to streamline your workflow. Happy coding and enjoy your enhanced Ubuntu experience!